Although the video below is from 2006 (it’s from the first Railsconf), it’s still pretty representative of the Ruby on Rails development world: most of it seems to happen on Macs. From the Supreme Overlord DHH down to the newest newbie typing “rails s” on the console for the first time, it looks as though most Rails projects out there start their lives on computers with Apple logos:
(That’s me going “Mac…Mac…Mac…” as I tally each laptop. I can’t be certain, but I believe that the guy in the brown zip-up sweater at the 0:09 mark is Tobias Lütke, Shopify’s CEO and the guy who offered me my current job. Strange how things work out.)
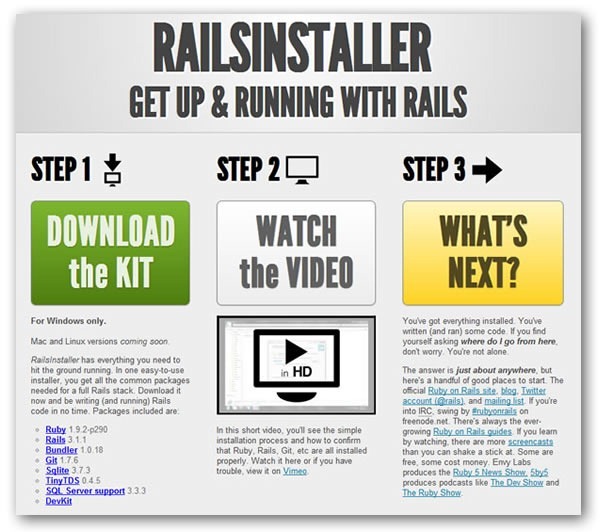
It used to take a fair bit of jiggery-pokery to set up a Rails development environment on Windows. That’s not the case anymore, thanks to RailsInstaller, a single double-clickable setup program.
RailsInstaller installs the following on your Windows machine:
I used RailsInstaller to set up my Windows laptop for Rails development this weekend, and it worked like a charm. I took some screenshots along the way and present them below.
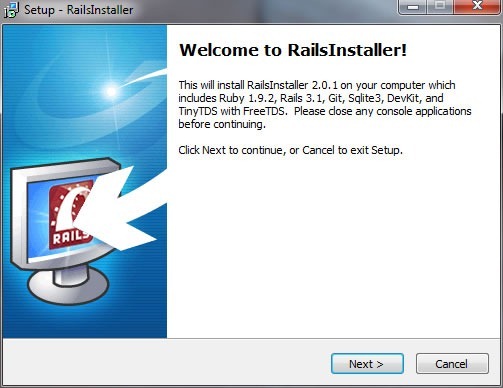
Double-clicking on the RailsInstaller executable gives you a familiar welcome window:
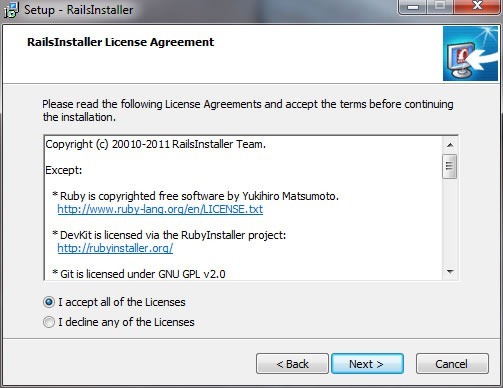
Blah blah blah legal stuff. Just give me the software and I’ll worry about compliance later, okay?
By default, RailsInstaller installs all its software into the C:\RailsInstaller directory, creating it first if necessary. I broke away from the default and instead specified that the software should go into a new directory called C:\Rails, a name that I thought made a little more sense:
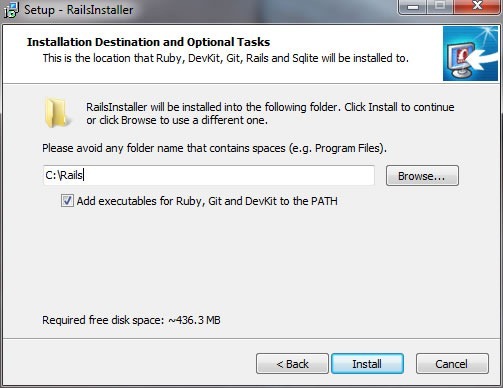
And we’re off!
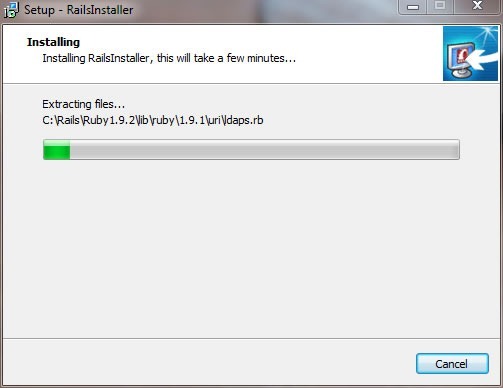
Less than two minutes later:
And finally:
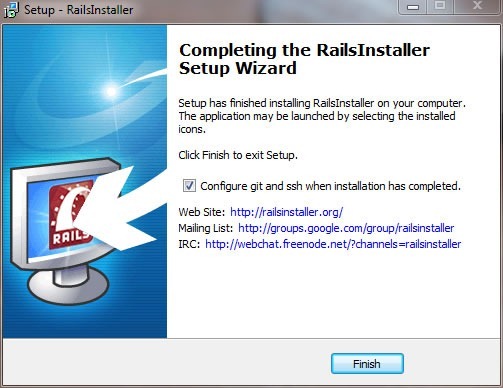
With the install wizard complete, we get kicked into command line mode to set up git and SSH:
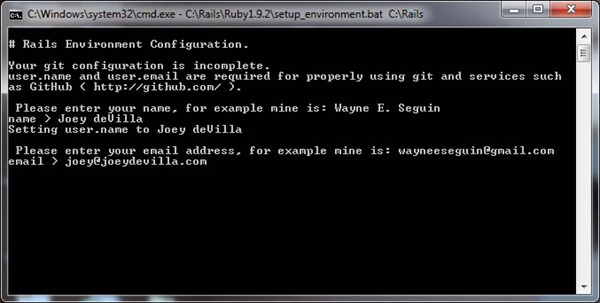
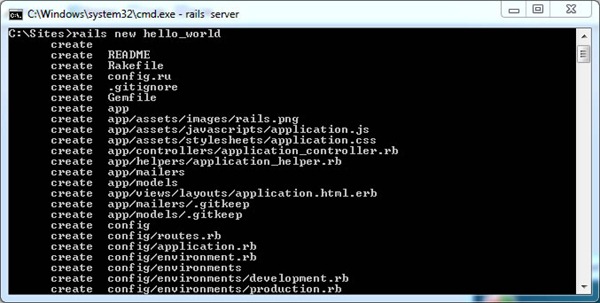
And that’s it! I checked to make sure it was working by creating a new Rails app:
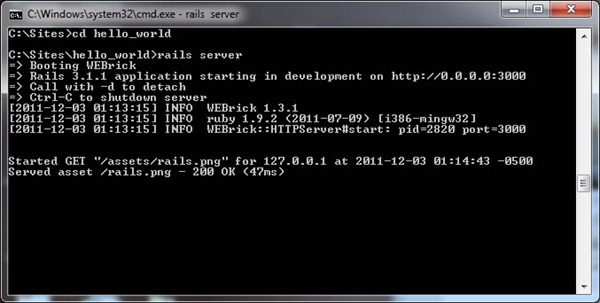
…we have lift-off!
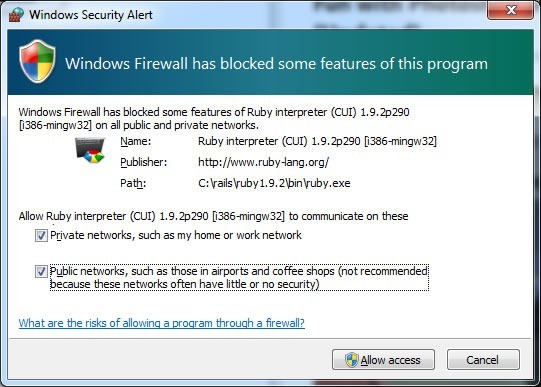
The first time you run Rails on Windows, you might get a message from Windows Firewall asking if you’re cool with Ruby communicating with the outside world on private and/or public networks. I said “yes” to both:
So far, Rails on Windows, as installed by RailsInstaller, has been working like a charm for me.
Links
- RailsInstaller.org: Site for the all-in-one Rails-on-Windows installer. They say they’re working on Mac and Linux versions, which they hope to release in the future.
- The RailsInstaller 1.1.1 video: A screencast showing RailsInstaller in action.
- The RailsInstaller Google Group: Having trouble with RailsInstaller? Talk about it here.
