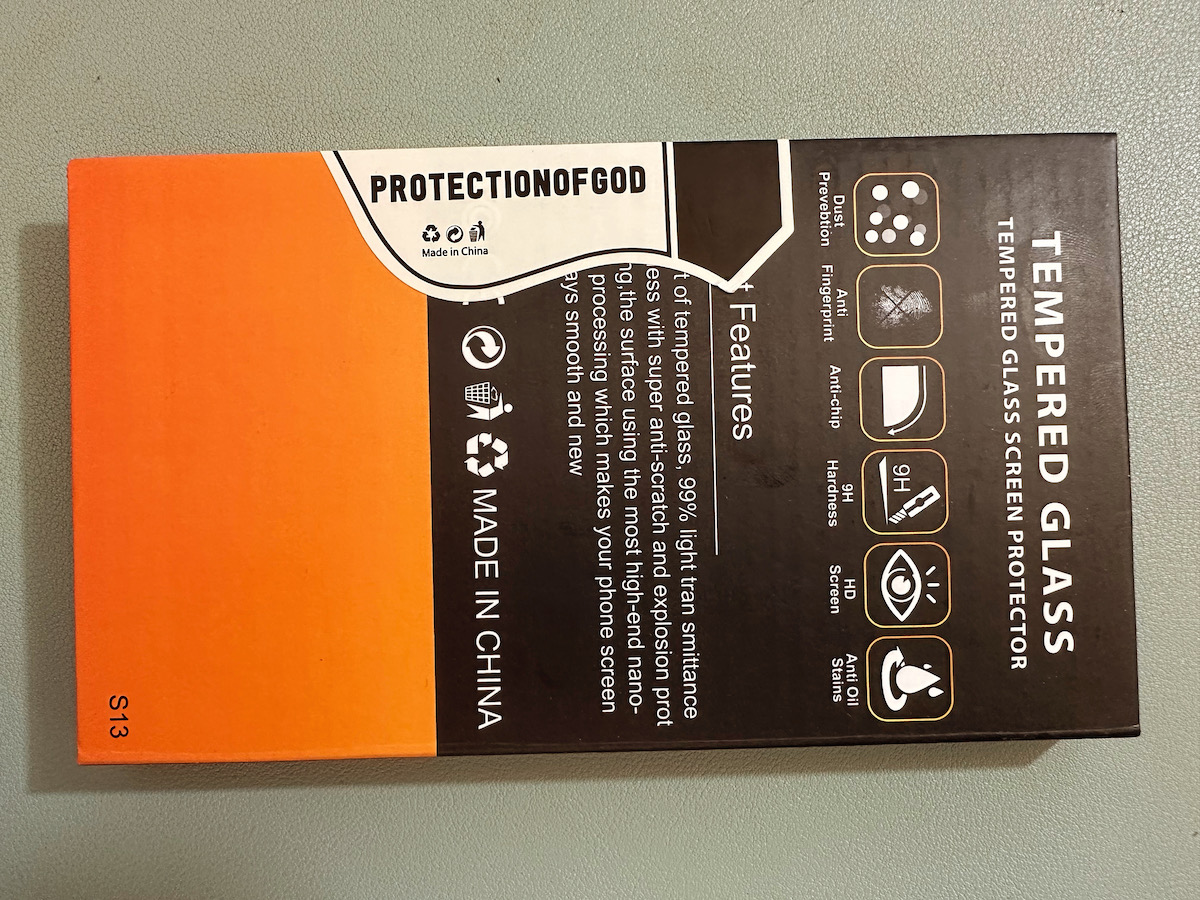
Pictured above is the back of the packaging for Samcorn’s 9H tempered glass screen protector for smartphones. I chuckled at the “Protection of God” sticker that seals the box — these screen protectors are good, but they’re not that good.
Tap to view at full size.
Of more interest to me is what they’re protecting: a Google Pixel 7 phone with 128GB storage, pictured above. It’s not the newest Pixel anymore, but its specs are pretty good (its benchmark scores are 813,114 for AnTuTu v9: 813114, 3288 for GeekBench v5.1, and 59fps for GFXBench). I picked up a refurbished model for a little over $300. If you can find one at this price, it’s one of the best “bangs for the buck” in smartphones right now.
I’ve got a whole lot of mobile development articles coming up — for both here and the Auth0 Developer Blog — and having a nice Android unit will come in handy.
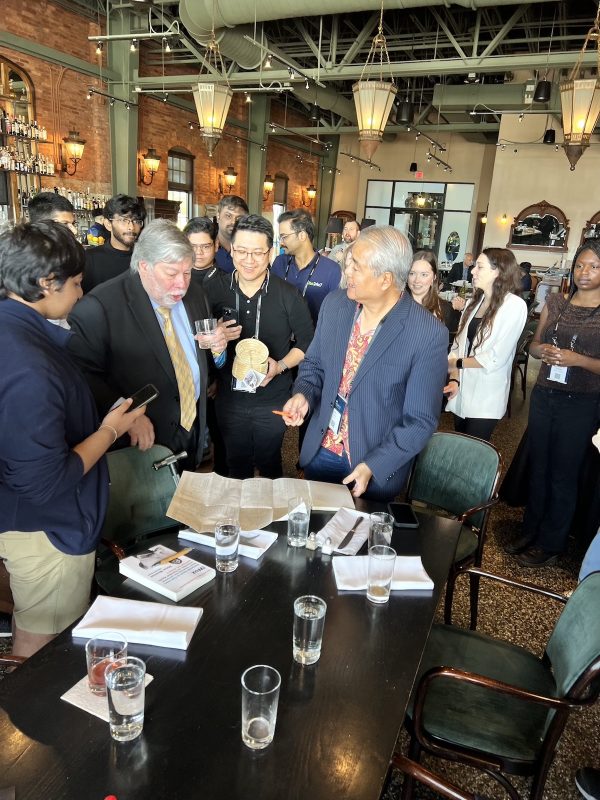
Here’s another photo of “Woz” — Steve Wozniak, Apple’s technical co-founder — and me, looking at the schematic that was included in my copy of the Apple ][ Reference Manual. I got it with my Apple //e and have held onto it since I was 15, and he signed it. Thanks to James Gress for taking the photo!
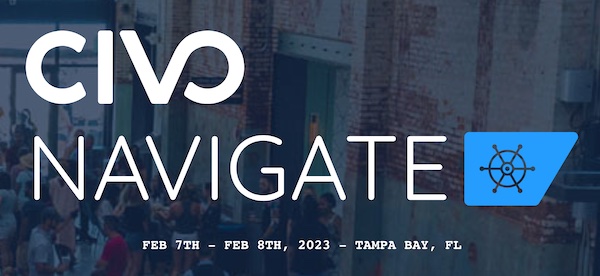
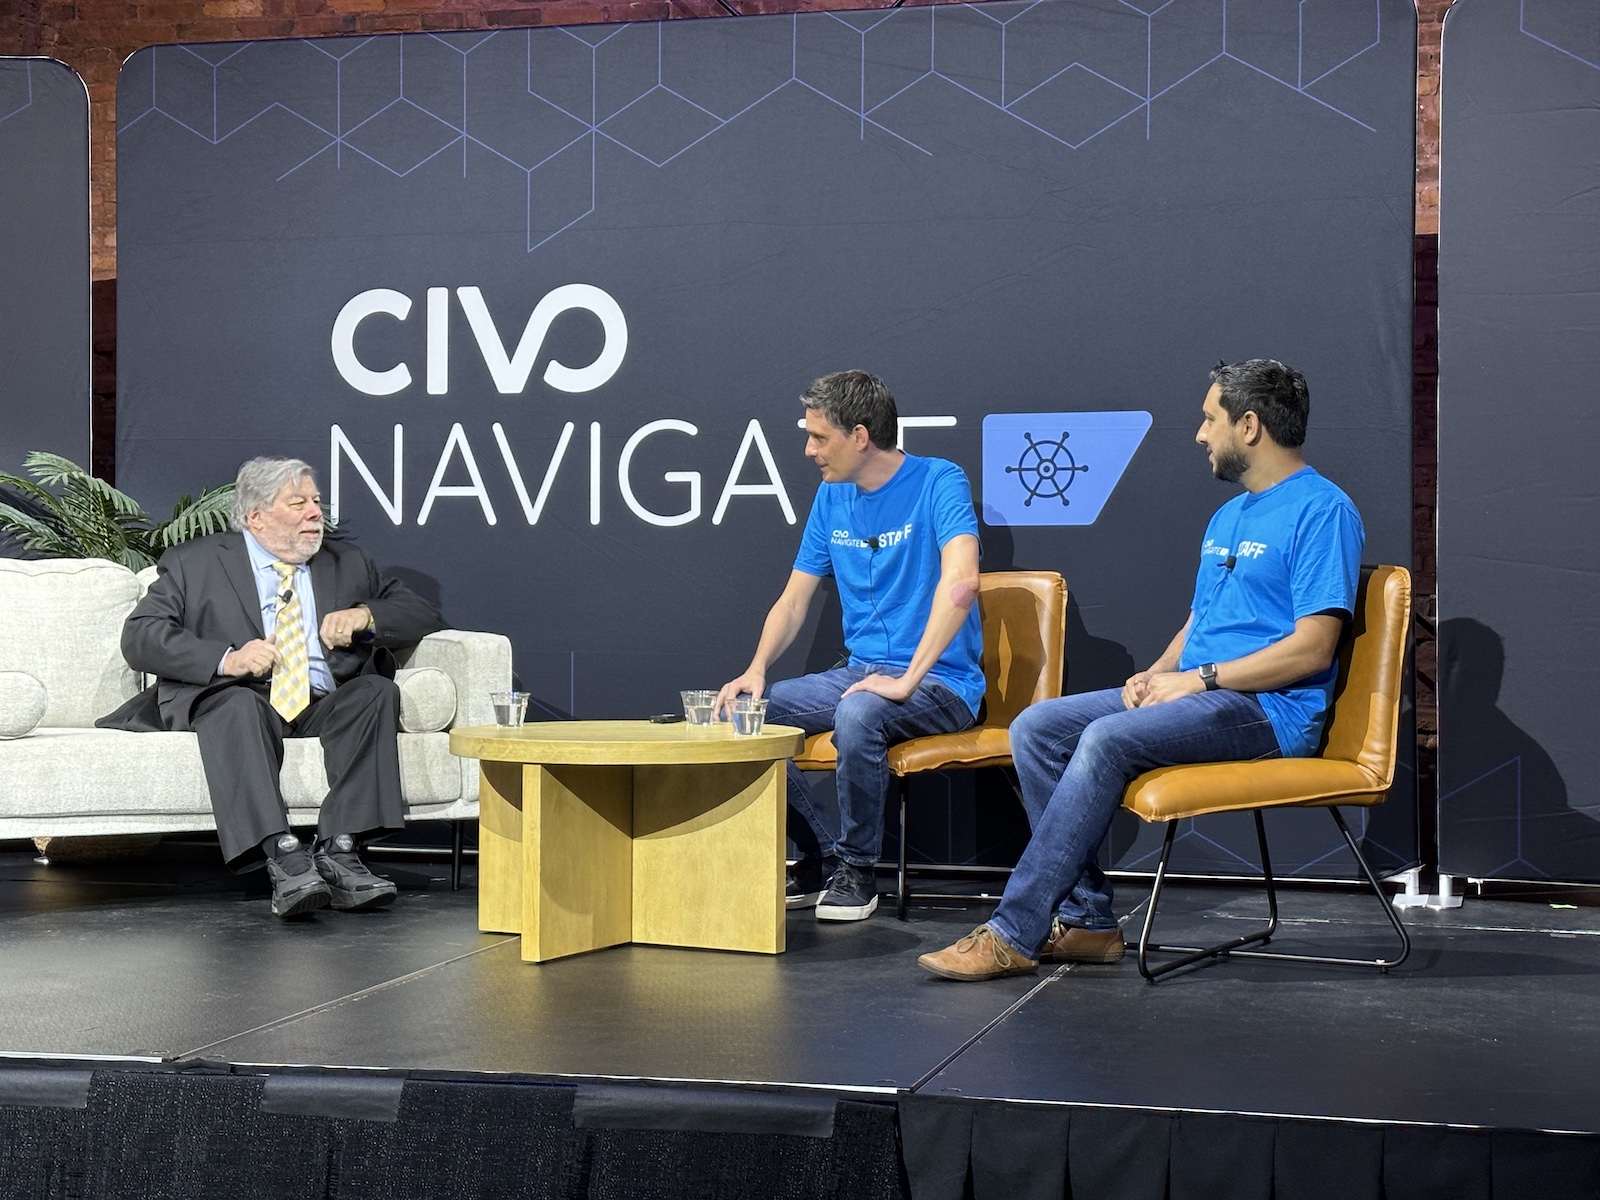
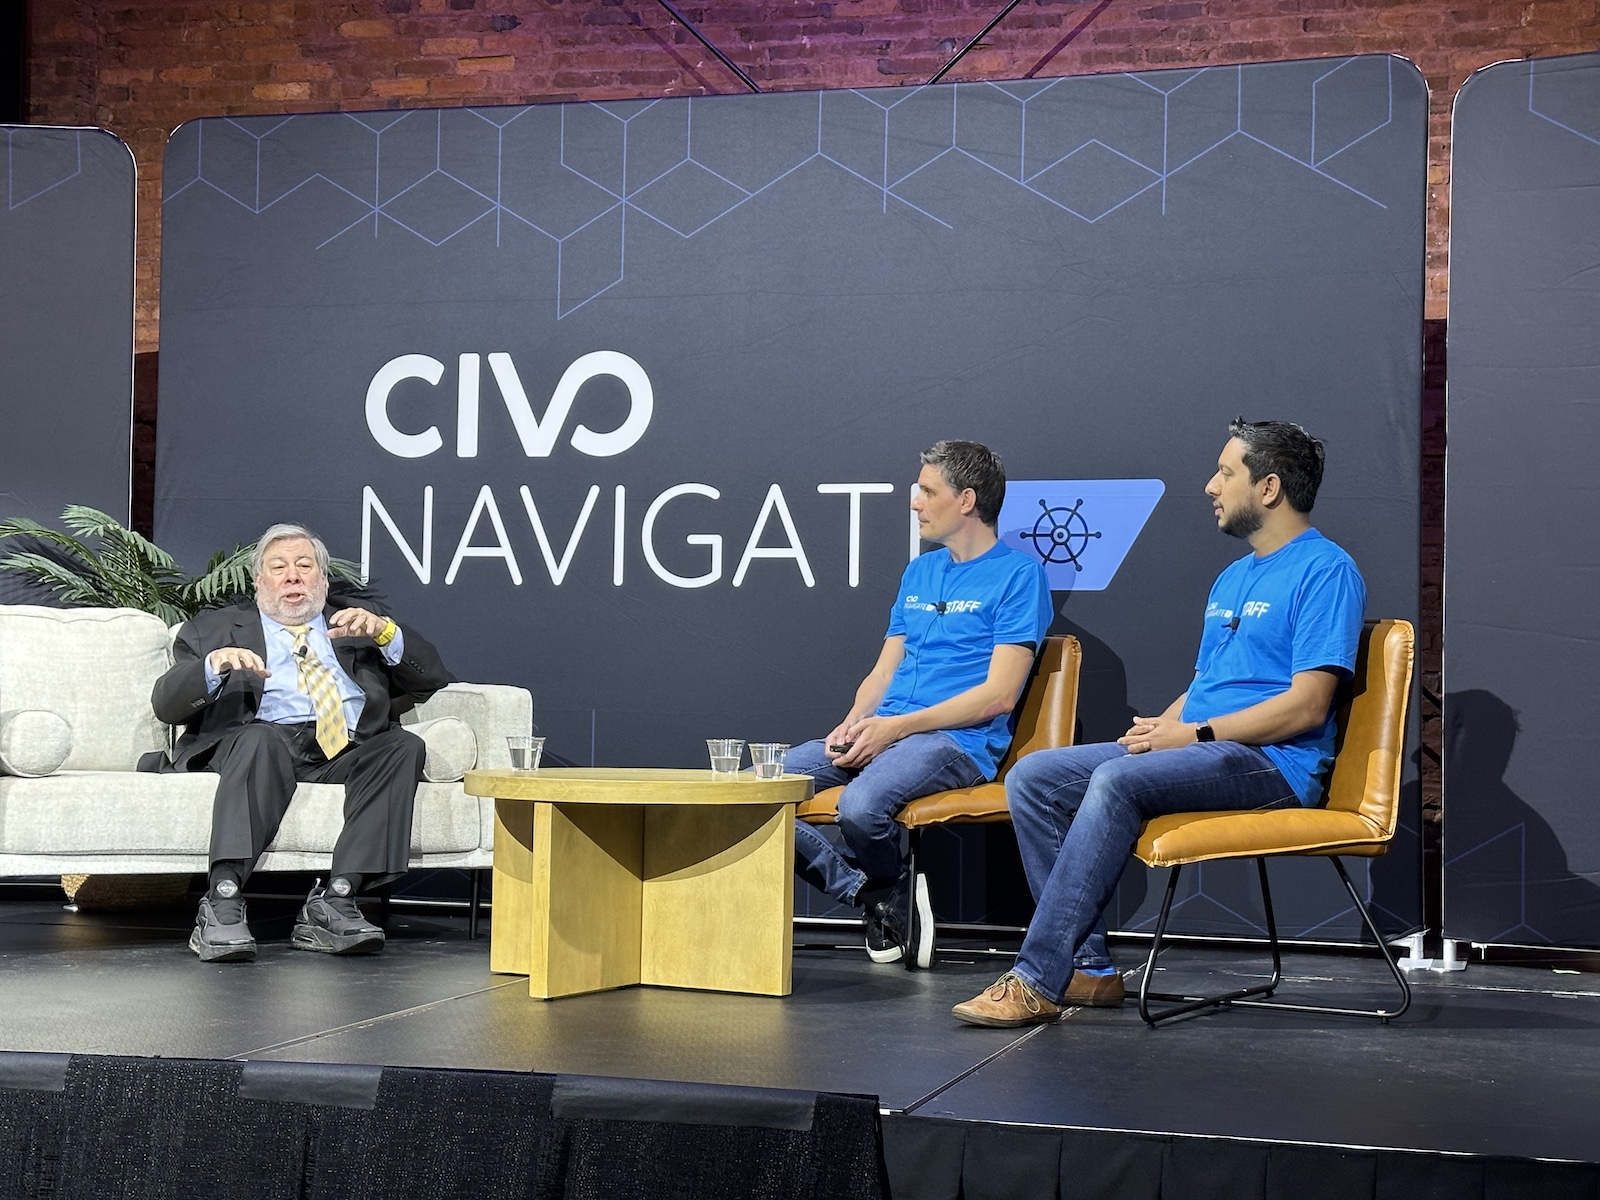
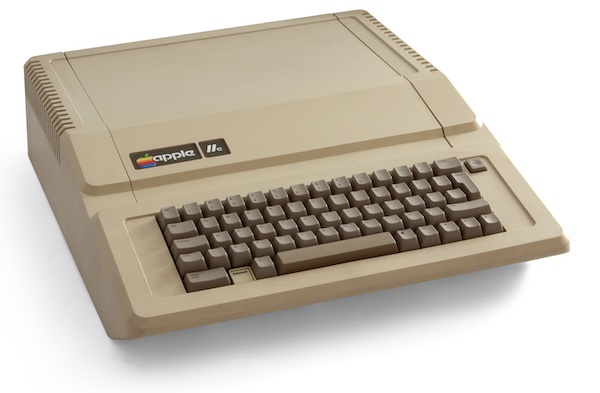
One of the highlights of the Civo Navigate conference that took place here in Tampa earlier this week was opening keynote speaker Steve “Woz” Wozniak, hardware genius, technical founder of Apple, and the creator of Apple’s first computers, including my first computer, the Apple //e.
After a quick “welcome” speech, Civo co-founder and CEO Mark Boost sat down to have what was probably going to be a Q&A-style chat with Woz.
However, Woz loves to talk, and he’ll happily do so for hours. I’m sure Mark had a list of questions for his guest, but he wisely put them aside and just let Woz be Woz. He went a little longer than scheduled, but that was all right with the audience, who were glad to be in the same room and listening to stories and opinions from one of the pioneers of our industry.
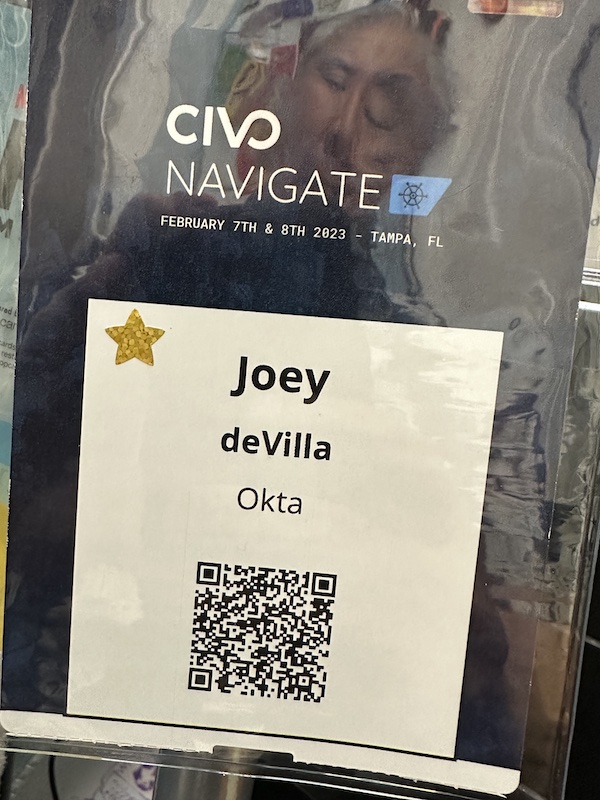
Mark kindly gave me a VIP pass for helping spread the word about Civo Navigate, which entitled me to attend the special VIP brunch at Oak and Ola, where we could get a moment’s one-on-one time with the Wizard of Woz. I had the pleasure of sharing breakfast with social media and technology author Shel Israel, who recently moved to St. Pete while listening to Woz, who delivered a short continuation of his keynote to the VIPs.
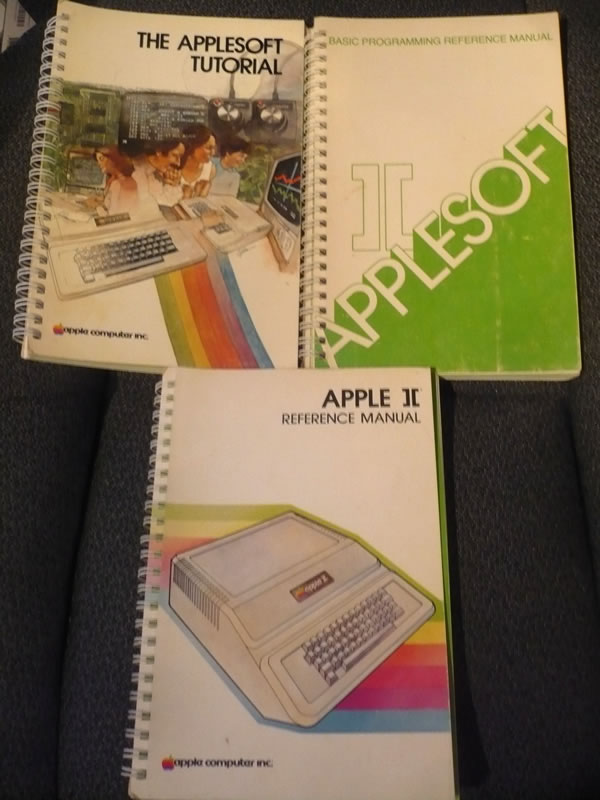
I’ve had this manual since the 1980s! Tap to view at full size.
As I mentioned earlier, my first computer, which my parents bought when I was 15, was the Apple //e (pictured on the right). It’s how I learned programming in BASIC, Pascal, and 6502 assembler. I put in my “10,000 hours” on that computer, which set me on the path to an interesting career in tech.
The computer went to a relative when I went off to university and graduated to my second machine, a 640K IBM clone made by a long-forgotten company, but I kept my Apple manuals, pictured above, as mementos.
In my move from Toronto to Tampa in 2014, I had to be really picky about which books I kept. I sold or gave away the lion’s share, holding only on to those with some personal, academic, or historical significance, and the Apple manuals made the cut.
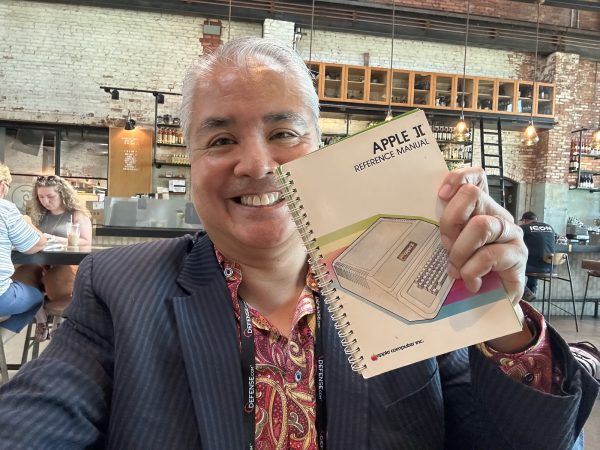
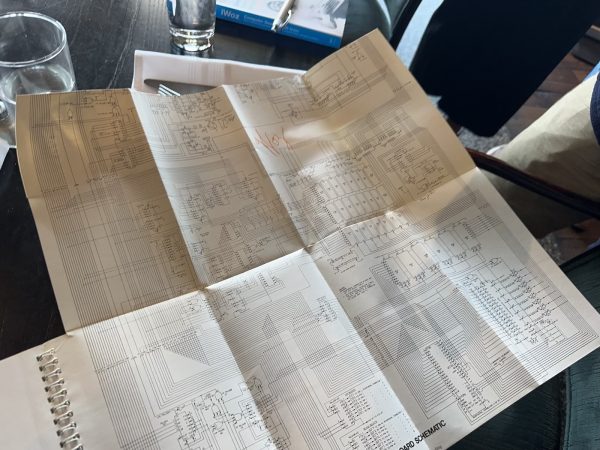
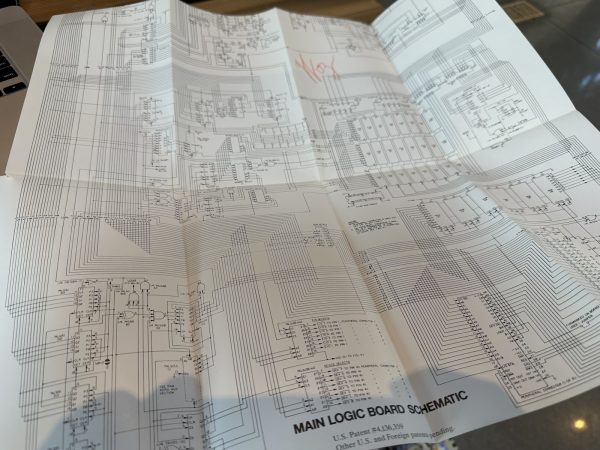
I figured that I’d maybe get 30 seconds with him at the VIP brunch, which would be just enough time to get him to autograph just one of the books. I decided to bring the Apple ][ Reference Manual (which you can read on the Internet Archive), a manual that’s far more technical than anything that comes with today’s machines. Not only did it provide detailed instructions on how to get started programming it, but it also had sections on the reading the computer’s memory directly via the system monitor, using the built-in mini-assembler, full listings of the system ROM, and even a fold-out schematic diagram of the motherboard!
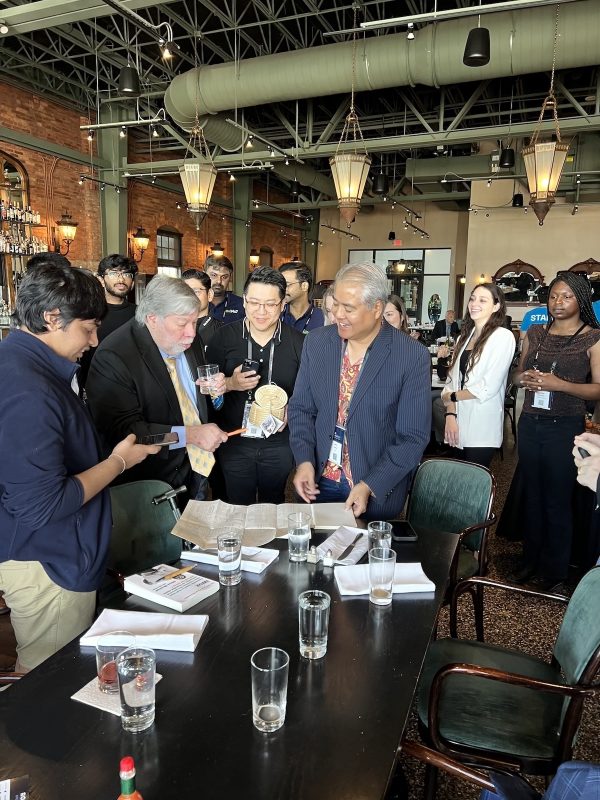
There was an opportunity for the VIPs to have quick individual meet-and-greets with Woz after his speech. I figured that I’d get his attention by placing the manual on the table in front of him, opening it to the back cover, and unfolding the schematic of the Apple ][ motherboard that was bound into the book as its last page.
He caught a glimpse of it, and a look of familiarity came over his face.
“Is that a…?” “Yes, it is!” Photo by Suzanne Ricci. Tap to view at full size.
“Is that a…?” he asked.
“Yes, it is,” I replied. “Came with my very first computer — the //e. Could you please autograph your handiwork?” I asked, pointing to the schematic.
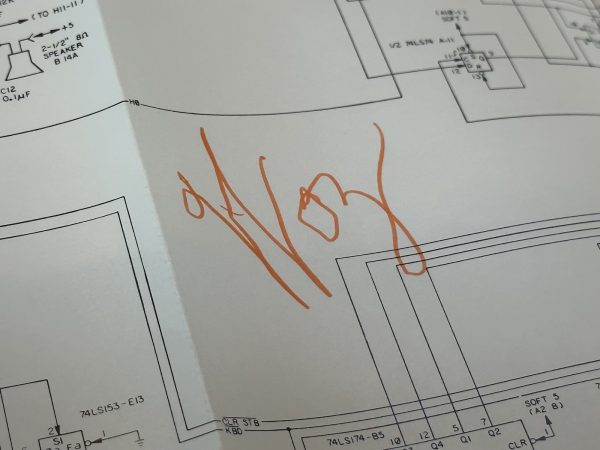
Autograph acquired! Photo by Suzanne Ricci. Tap to view at full size.
I handed him an orange magic marker and he signed the schematic with his traditional “Woz”:
Tap to view at full size.
We chatted really quickly about how transparent they were back in those days. The Apple ][ Reference Manual had not just the schematic for the entire motherboard, but a complete listing of the system ROMs. That sort of openness doesn’t exist anymore with commercially-available computers, with the notable exception being platforms like the Raspberry Pi.
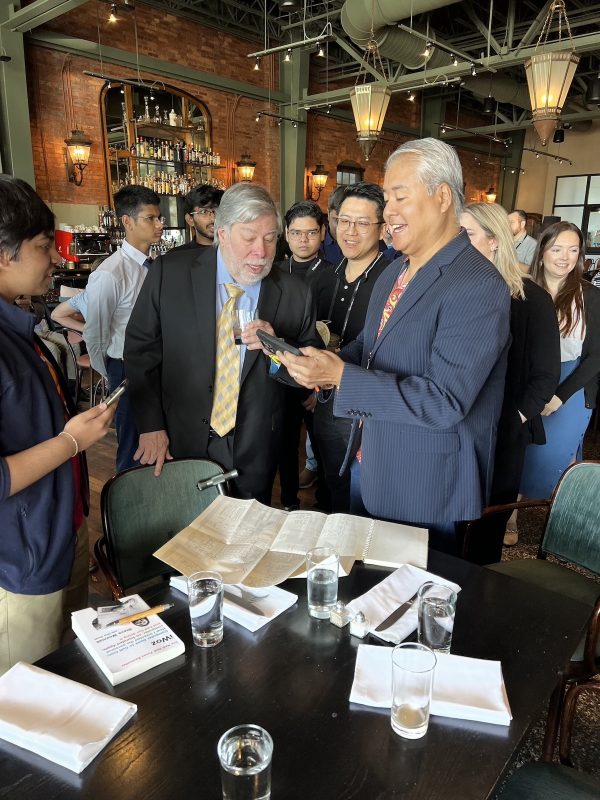
Setting up for the selfie. Photo by Suzanne Ricci. Tap to view at full size.
My turn soon ended, and I returned to our table, where Shel kindly took some victory photos:
Mission accomplished! Tap to view at full size.
Tap to view at full size.
Here’s a closer look at the schematic:
Tap to view at full size.
Tap to view at full size.
My inner 15-year-old is high-fiving me so hard right now.
I haven’t been following Horizon Worlds at all, so my first question was: “They don’t already have feet?”
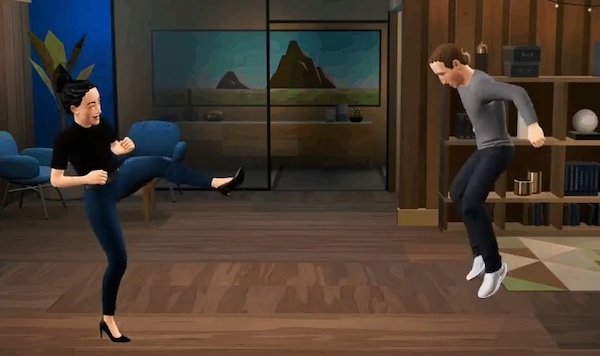
So I did a quick search, and wow, do the current Horizon Worlds avatars look odd:
They don’t look all that different from Xbox 360 avatars from the Kinect era (and my time at Microsoft) — and remember, that was a dozen years ago! — minus legs and feet:
…but then it turned out that the demo was faked with motion capture
For those who’ve been wondering about the legs shown in the Connect keynote (@hrafntho). Meta: “To enable this preview of what’s to come, the segment featured animations created from motion capture.”— Ian Hamilton (@hmltn) October 13, 2022
Rather than use actual functionality from an upcoming version of Horizon Worlds to render their new leggy avatars, Zuckerberg and co. opted to use a movie-style motion capture to create an effect that yes, it does show what they’re intending to do, it doesn’t show the thing in action, but a simulation. In fact, since Horizon Worlds is a simulation, this fakery is a simulation of a simulation.
I know that there’s always some level of glossing-over or fakery in demos, or as John Perry Barlow liked to put it, “
I know that there’s always some level of glossing-over or fakery in demos, or as John Perry Barlow liked to put it, “Bullshit is the grease for the skids on which we ride into the future.” However, Meta may have applied it a little too much for so silly a feature.
“I CAN’T HEAR YOU! I’VE GOT A CONTROLLER IN MY EAR!!!”
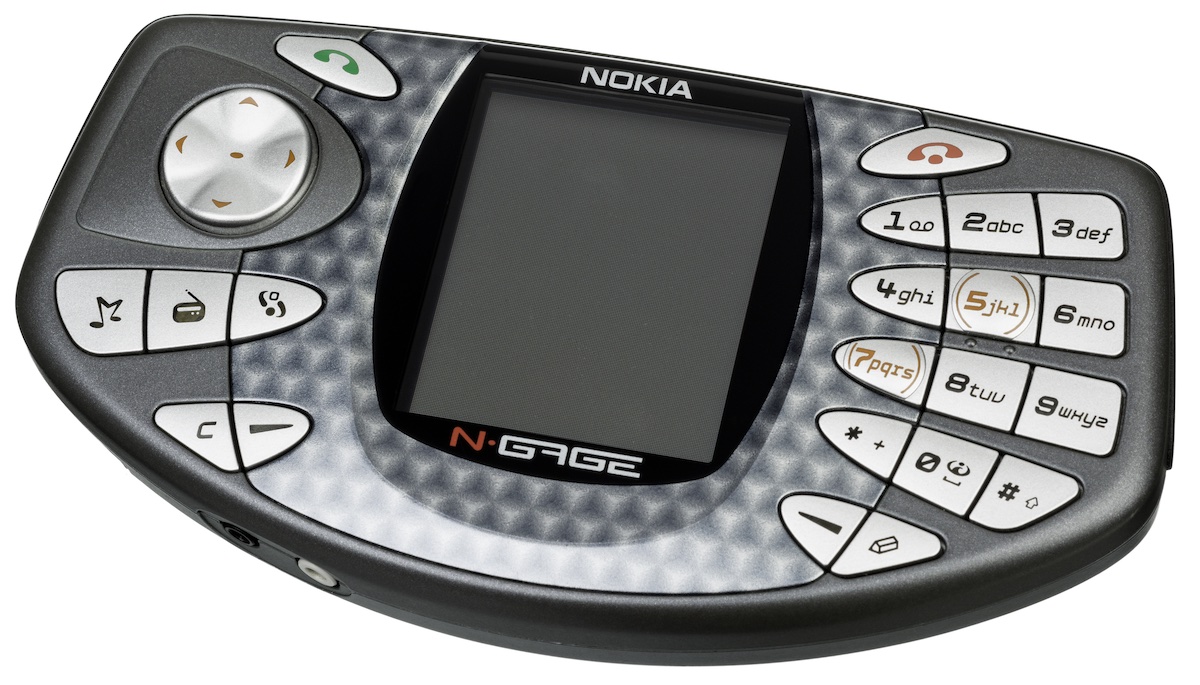
While getting groceries, I saw this endcap for cotton candy-flavored energy drink. The “XBox controller as phone” pose is silly, but it also reminded me of a phone I’d wanted way back in the early 2000s: the Nokia N-Gage.
The Nokia N-Gage. Tap to view at full size.
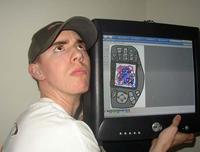
Released in 2003 (in the pre-smartphone era, back when mobile phones sported a lot of dedicated buttons), the N-Gage was a phone-meets-handheld gaming device.IGN summed it up best as “a bad console filled with bad games,” and it didn’t help that the speaker and microphone were mounted on its side. In order to use it as a phone, you’d have to hold it like this — a position that would come to be known as sidetalking:
Sidetalking looked silly, so soon there were sidetalking photos featuring people using the N-Gage while making silly faces…
…followed by people ditching the N-Gage altogether and opting to take sidetalking photos with any old electronic thing, turning it into a full-blown meme:
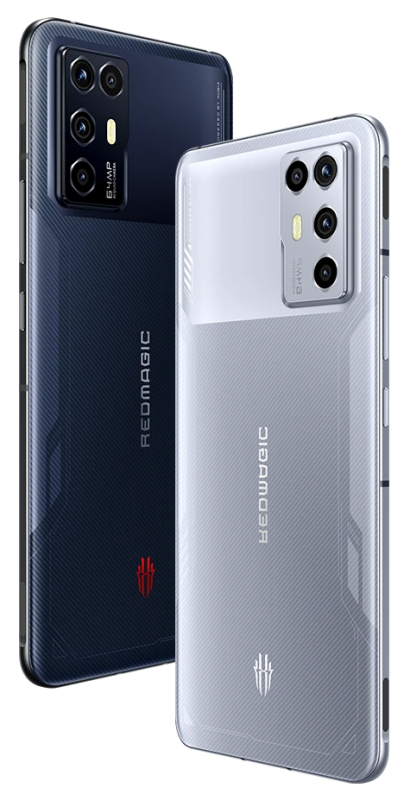
In case you’re wondering, I’m not really pining for the N-Gage anymore. My iPhone 13 Pro is a decent gaming phone, and on the Android side, I’ve got a Nubia Redmagic 6R that plays Genshin Impact rather nicely.


![“Woz” (Steve Wozniak) looks over the schematic Joey deVilla’s copy of the Apple ][ Reference Manual and Joey holds it open for him.](https://www.globalnerdy.com/wp-content/uploads/2023/02/woz-and-me.jpeg)