Arriving at BSides
Anitra and I took part in this year’s BSides Tampa cybersecurity conference, which also happened to be the tenth anniversary of this event, and it was fantastic! This post contains my photos from the event.
BSides Tampa is sponsored by the Tampa Bay chapter of (ISC)², which is clever and mathematically-correct shorthand for “International Information System Security Certification Consortium”. (ISC)² is a non-profit specializing in training and certifying information security professionals.
BSides gets it name from “b-side,” the alternate side of a vinyl or cassette single, where the a-side has the primary content and the b-side is the bonus or additional content. In 2009, when the Black Hat conference in Las Vegas received way more presentation submissions than they could take on, the rejected presenters (who still had very could presentations; there just wasn’t enough capacity for them) banded together and made their own “b-side” conference that ran in parallel with Black Hat. From that event came BSides.
Since I work in the cybersecurity field as a developer advocate for Okta’s Auth0 product, I figured I’d take an active role in BSides and volunteered to be a “runner”. I showed up on Saturday morning, picked up my badge, donned a T-shirt, and got to work helping out wherever I could.
The volunteers help run the event, and they help keep it inexpensive (admission is a mere $45, and workshops are $5 each — a far cry cheaper than most tech conferences). They were everywhere, starting with the registration desk, where they processed an amazing 1,100 attendees:
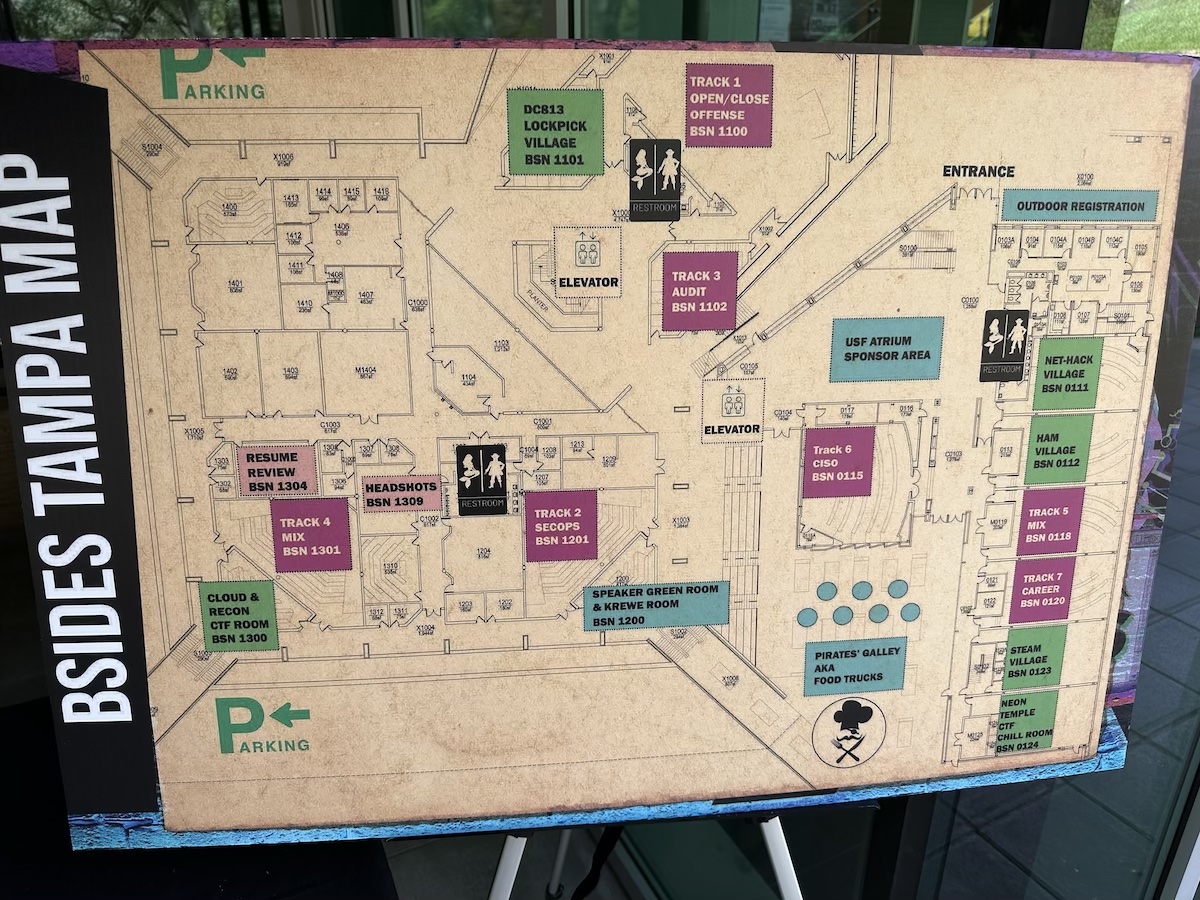
It takes a big space to hold 1,100 people. Thanks to University of South Florida for providing that space: the Muma College of Business. Here’s the BSides map, showing all the rooms and halls where all its events took place:
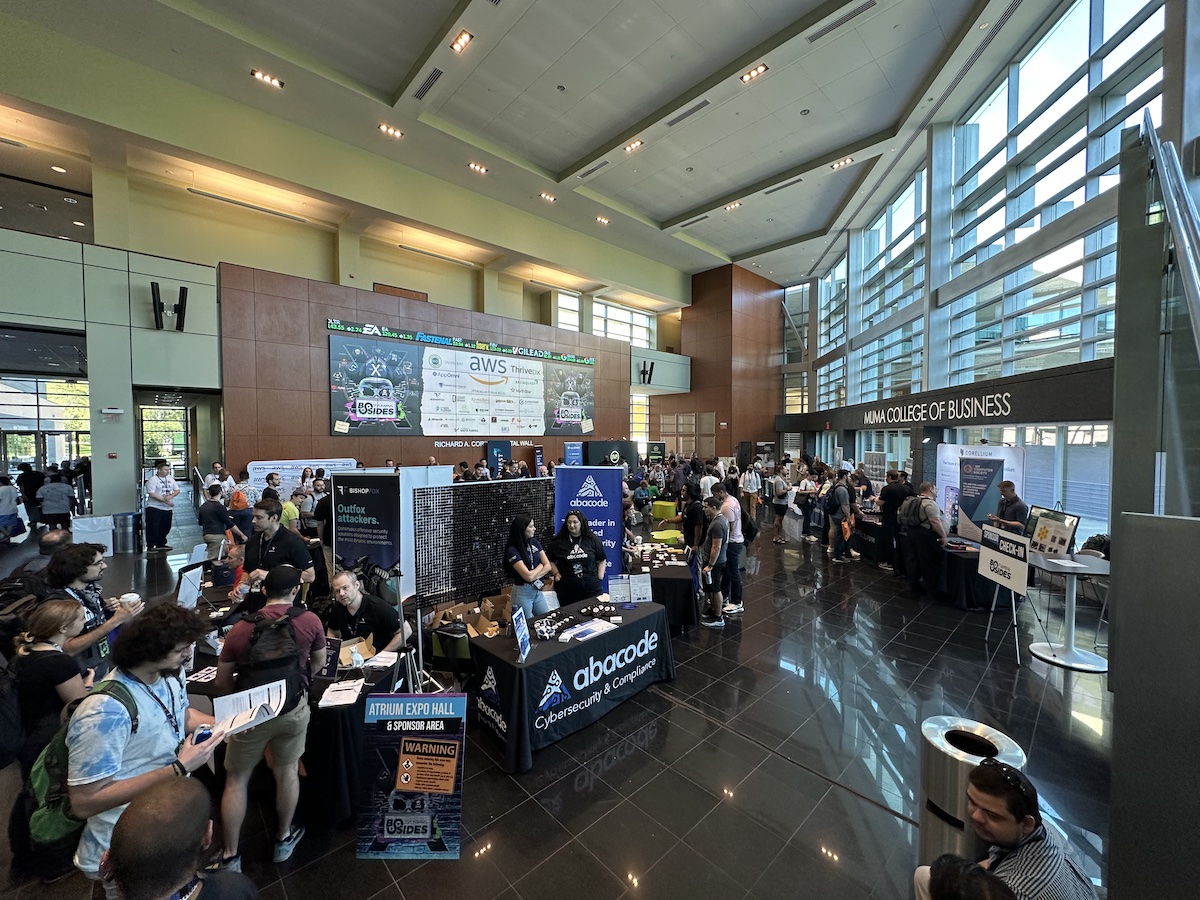
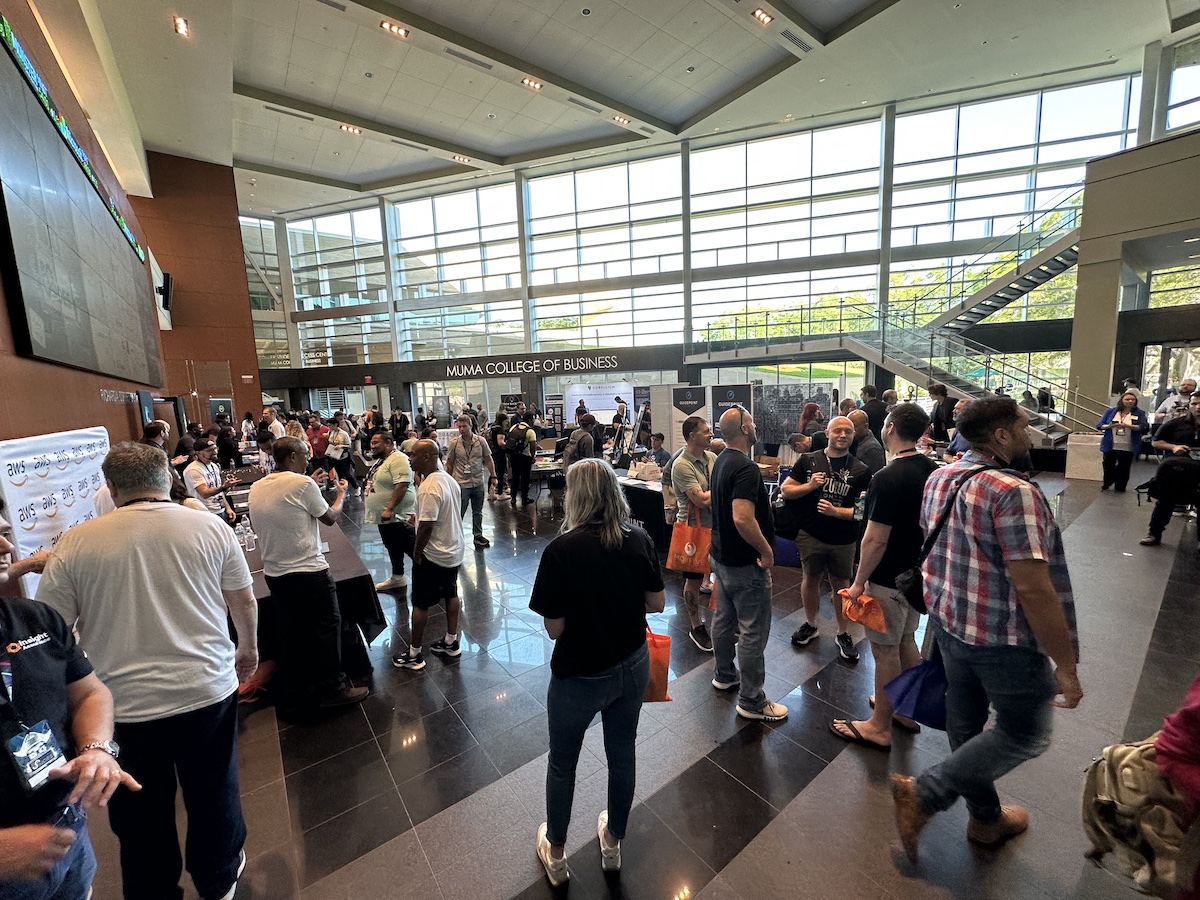
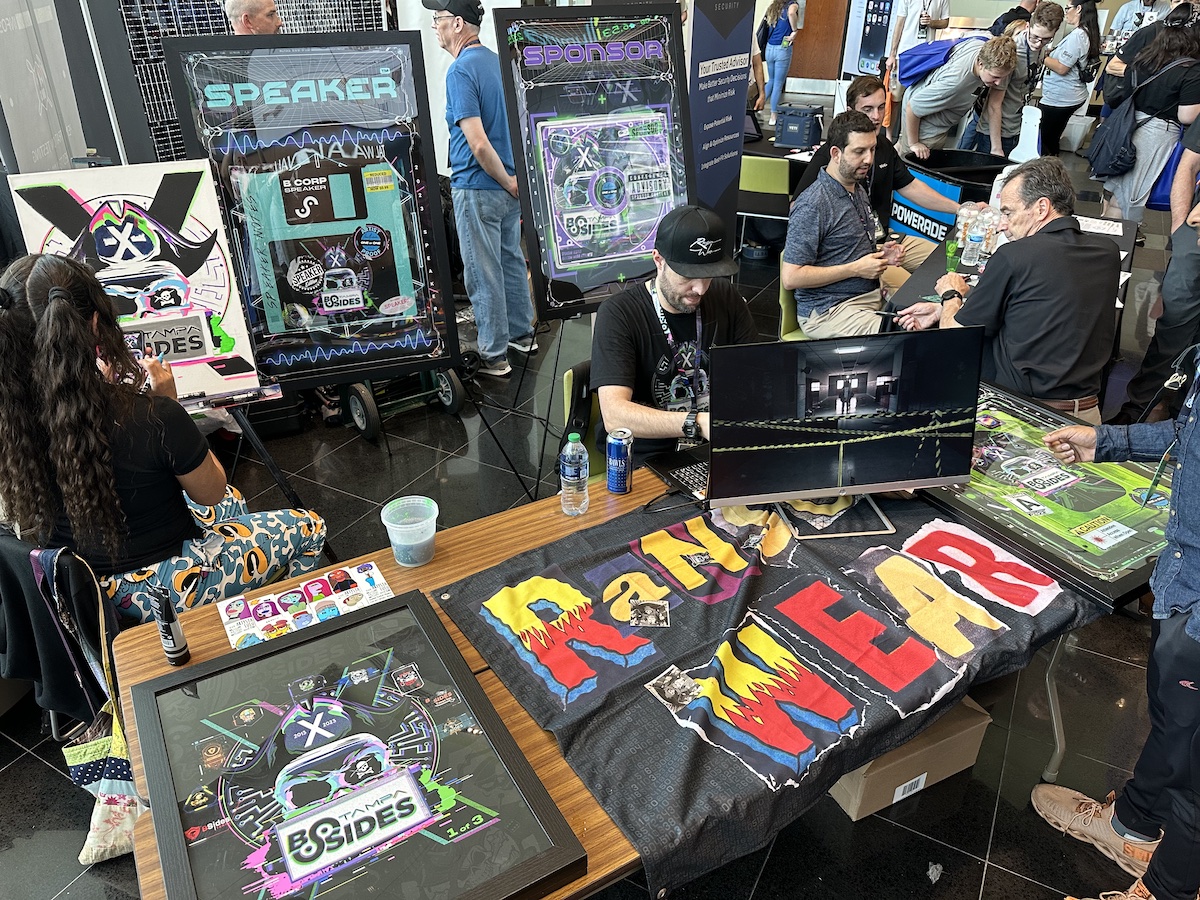
The sponsor booths
My first job was to check to see if the sponsors at the booths needed anything, which gave me a chance to take photos of each booth.
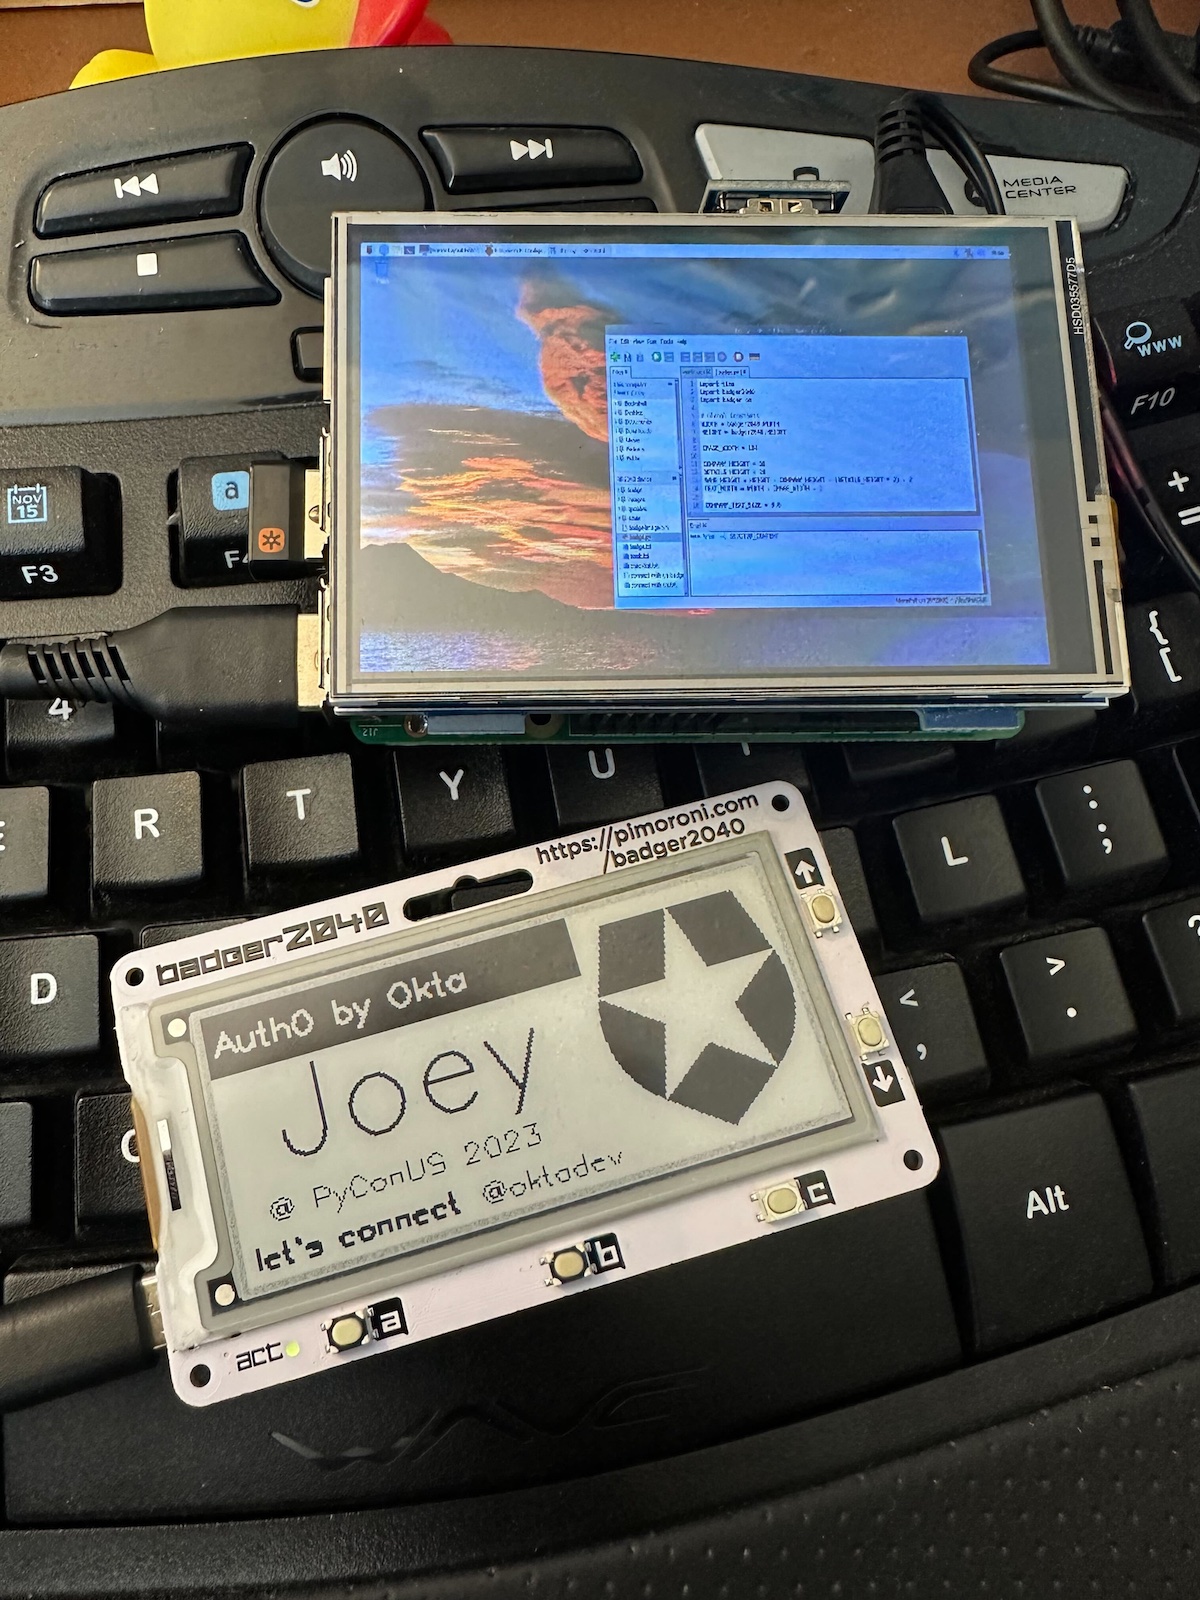
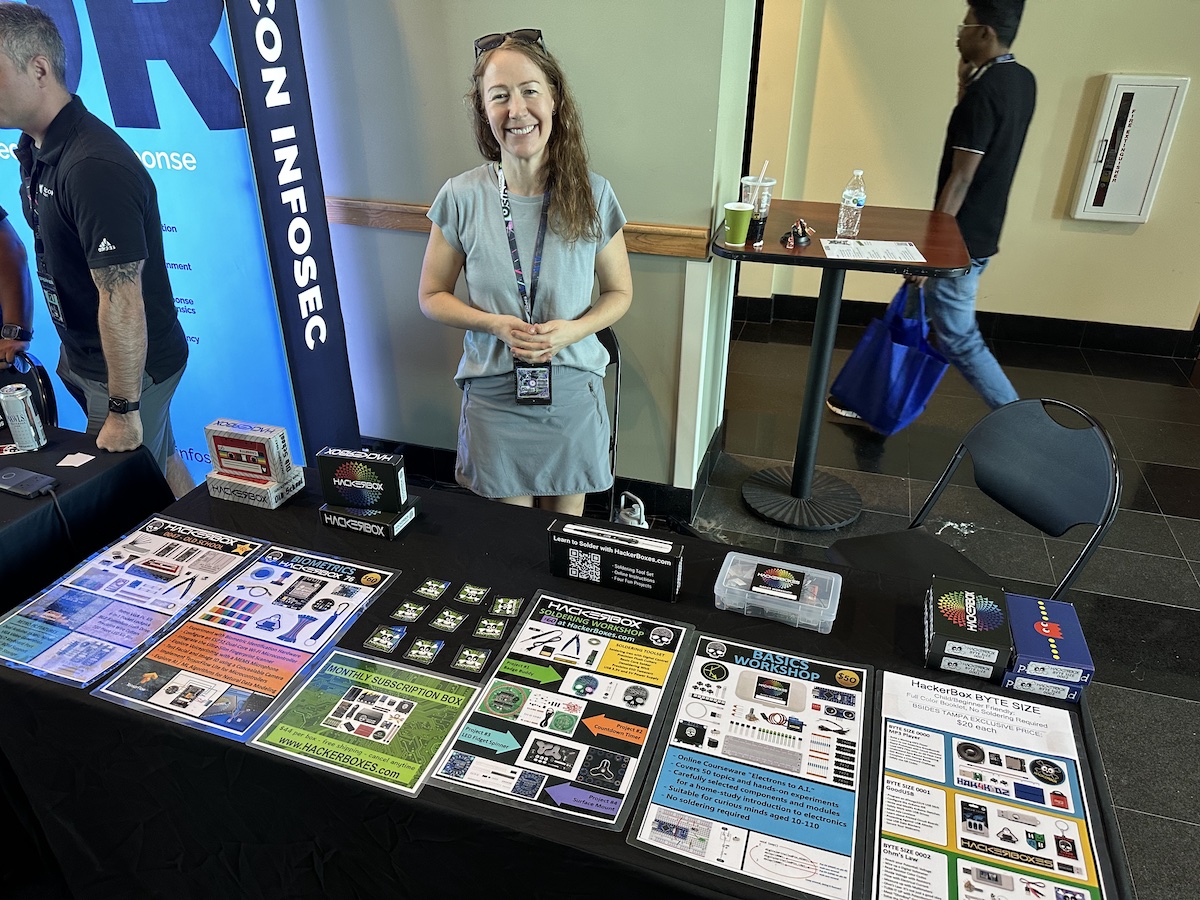
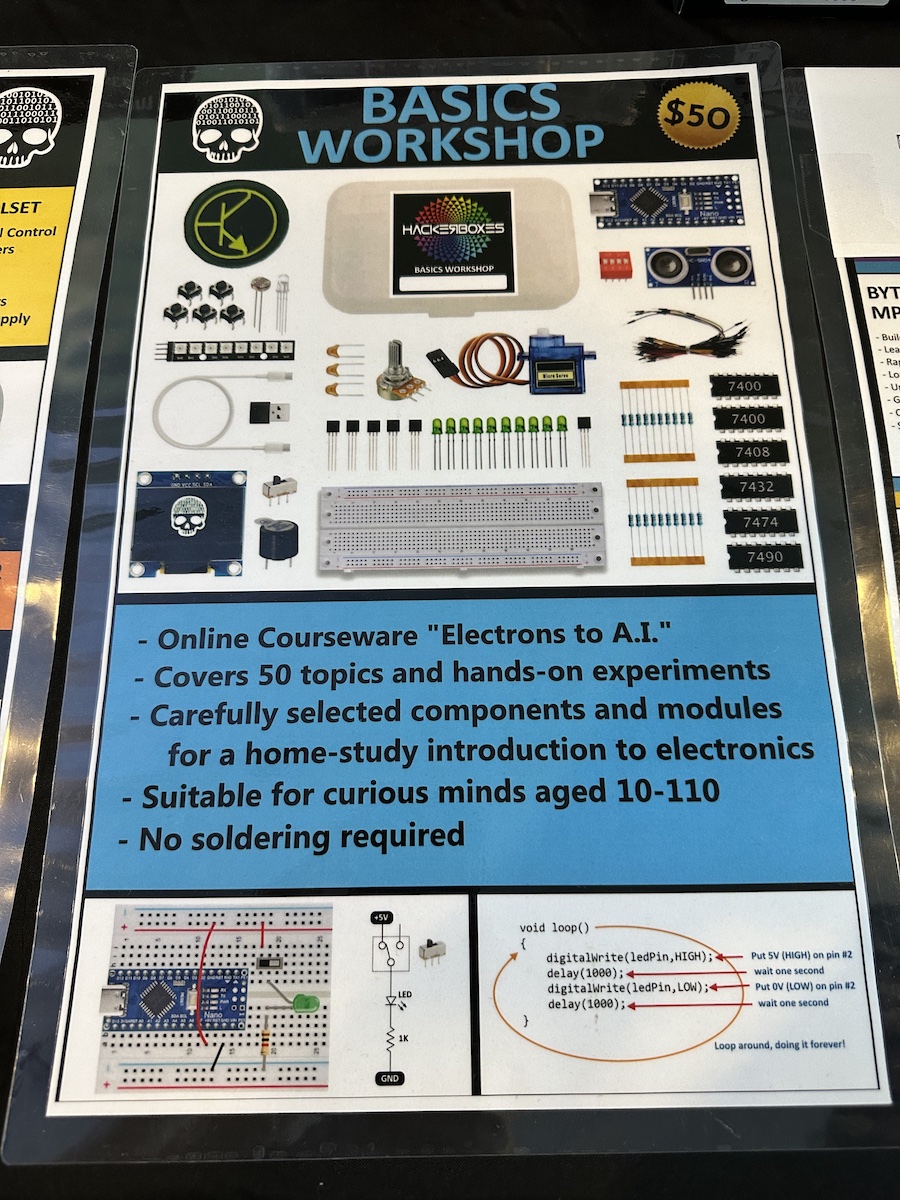
The Hackerbox booth was particularly interesting to me. I used to be fairly adept at putting together circuit projects as a teenager, having learned from Forrest Mims’ hand-drawn electronics books from Radio Shack back in the ’80s:
They sell a number of kits that let you build projects that will help you learn electronics and better understand the devices that we use daily.
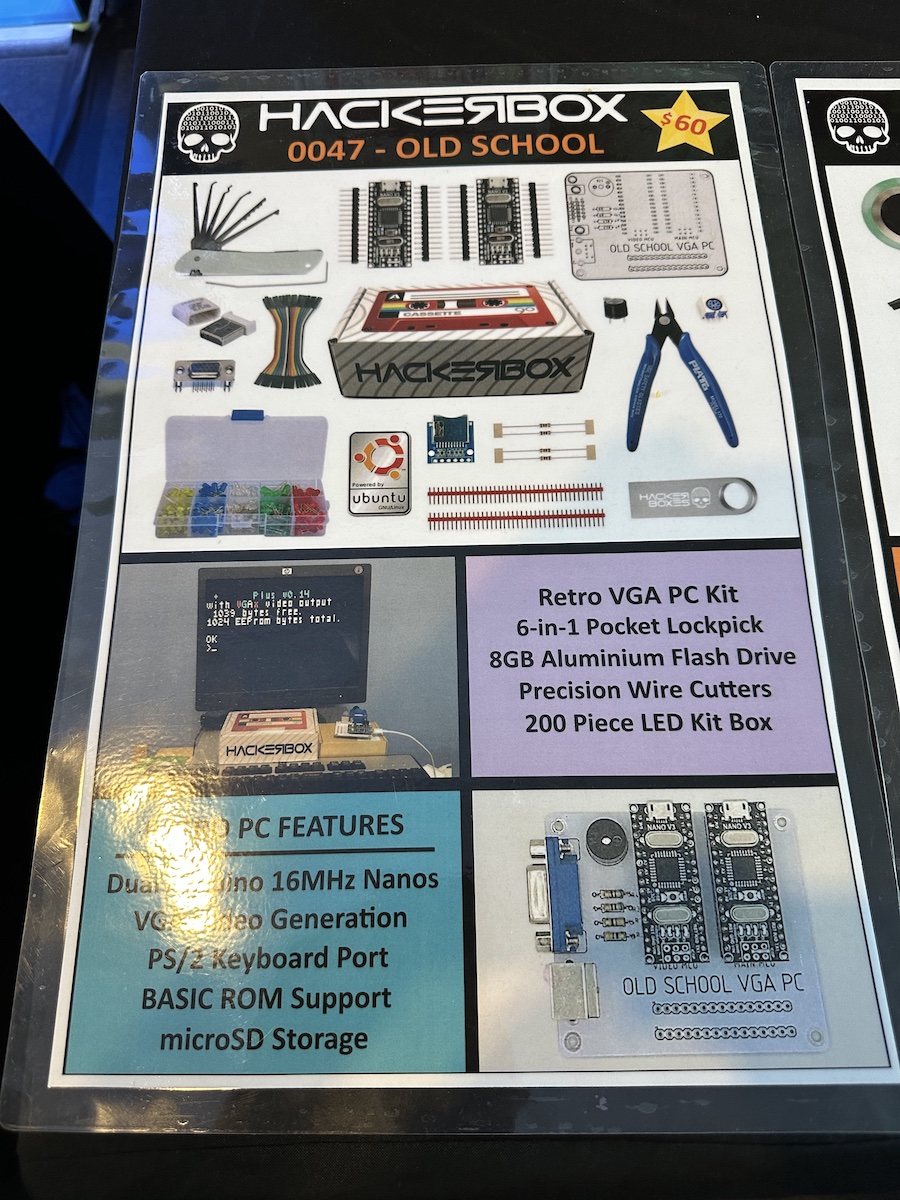
They had a number of kits for sale, including the “Old School” kit, an old-school VGA PC powered by a couple of Arduino Nano boards running Linux:
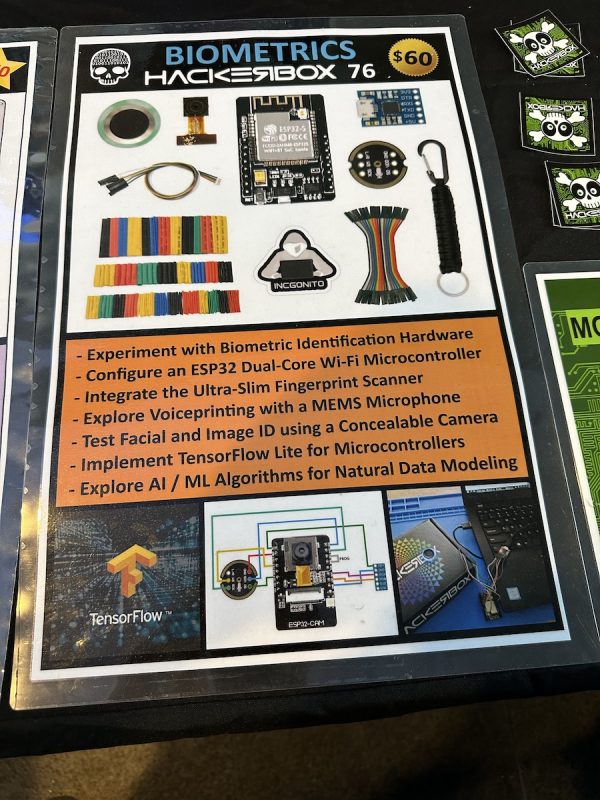
The “Biometrics” hackerbox highlights biometric identification: face recognition, fingerprint scanning, and voiceprinting. It’s powered by an ESP32 wifi microcontroller and TensorFlow Lite:
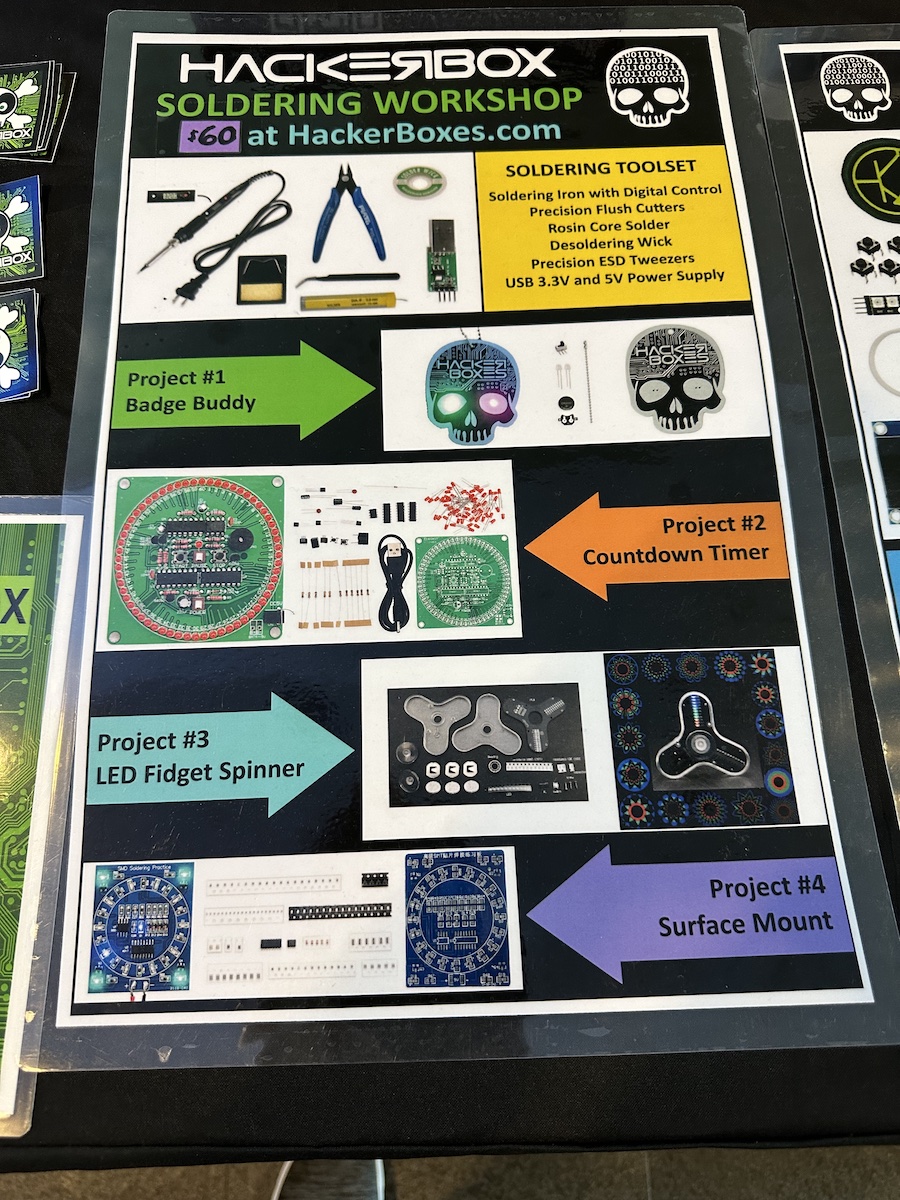
They also had some excellent kits for people wanting to get their feet wet with soldering and basic electronics…
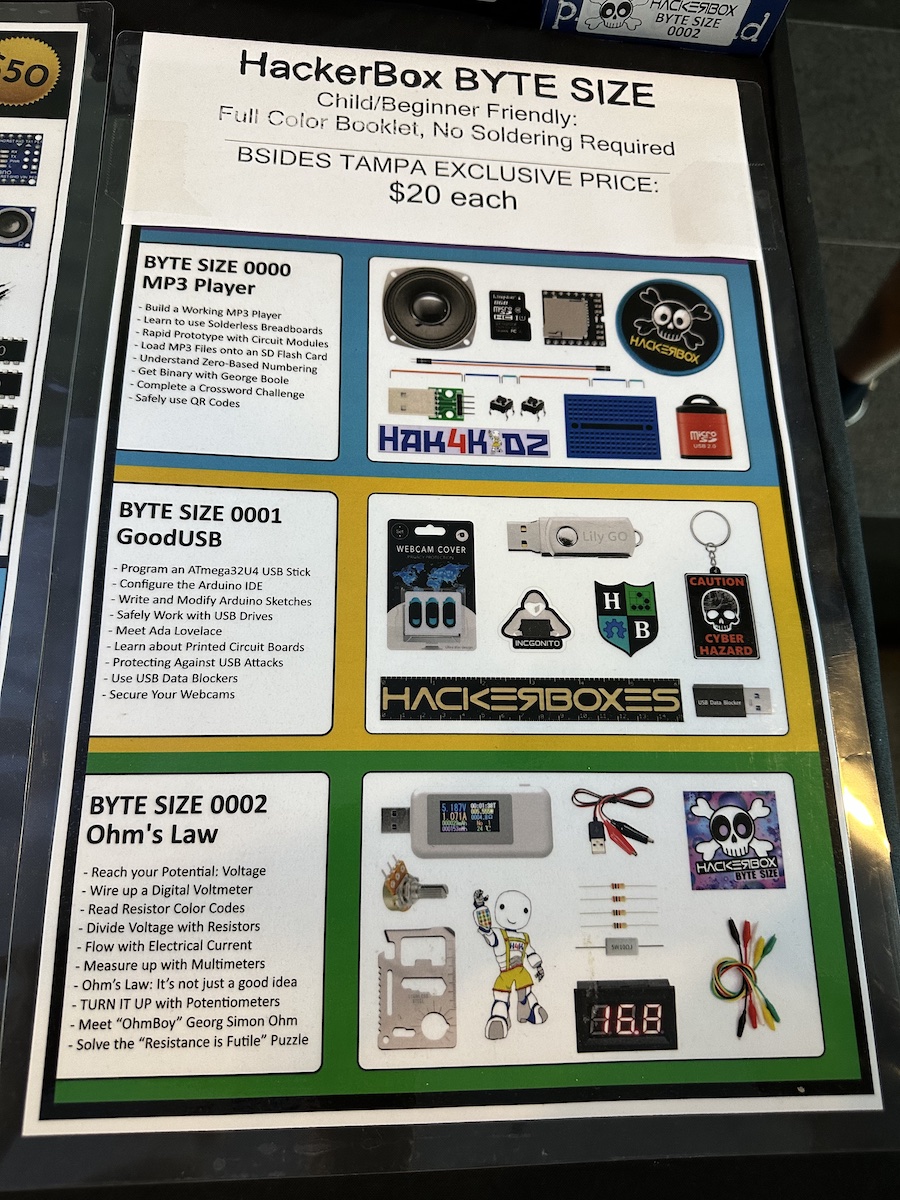
…and some kid-friendly kits for budding hardware hackers:
I then toured around the other booths, bringing them water and whatever else they needed. The booths were…
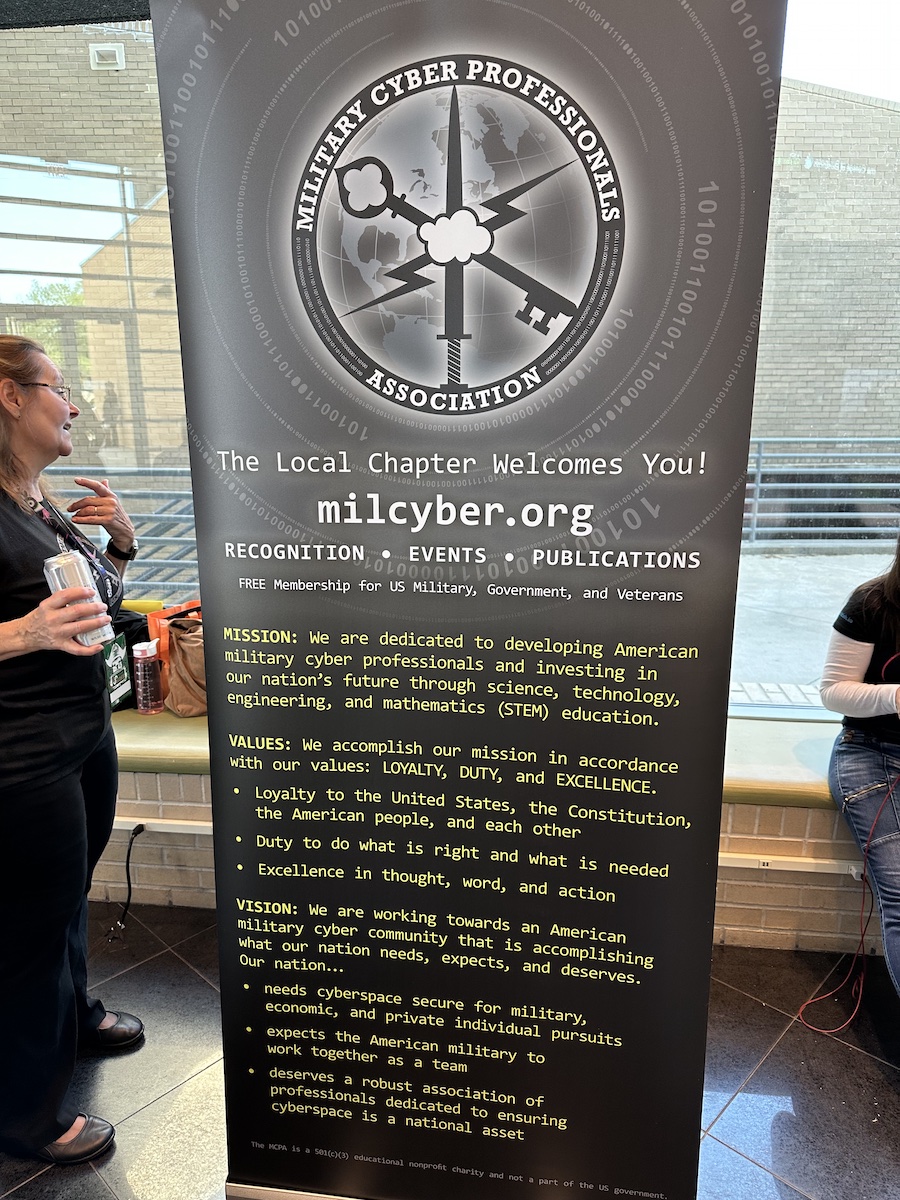
milcyber.org:
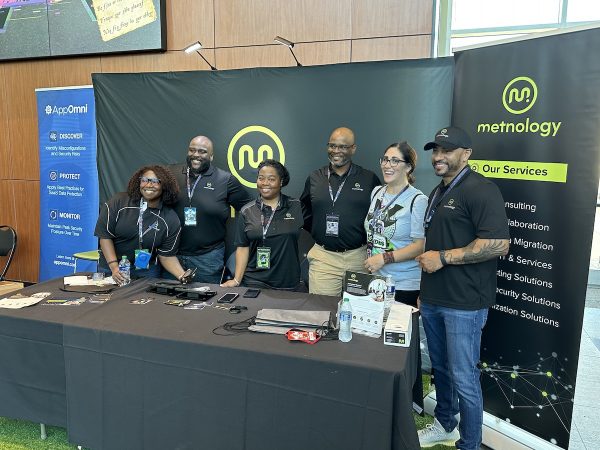
Metnology:
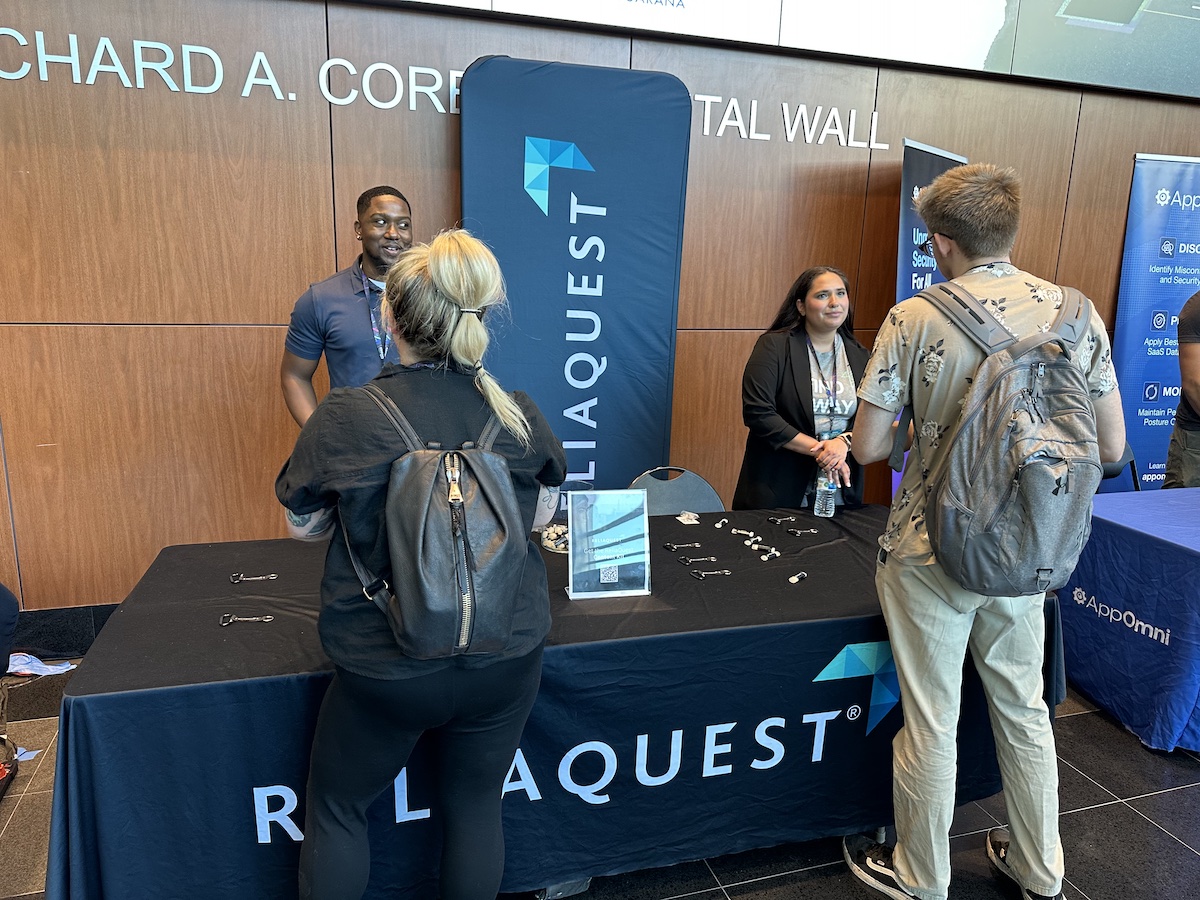
Reliaquest:
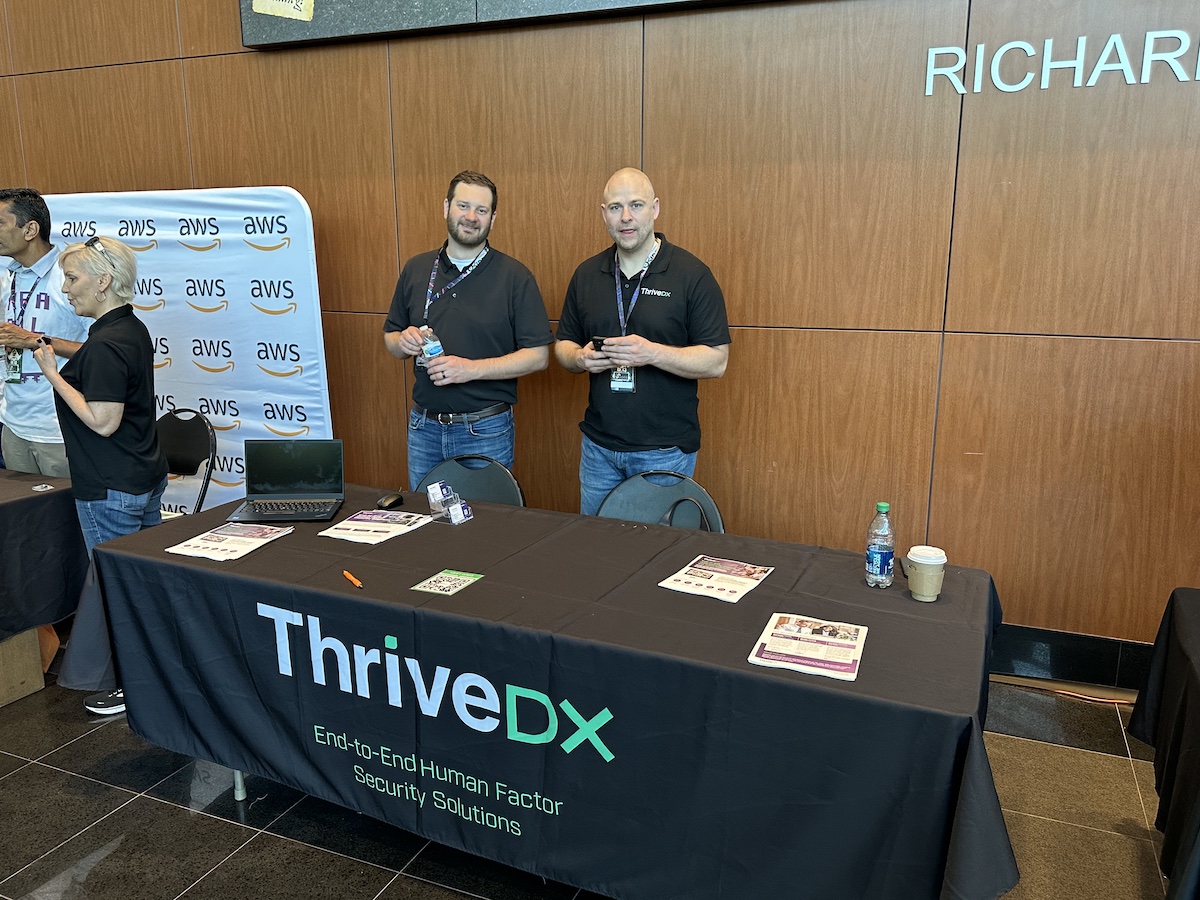
ThriveDX:
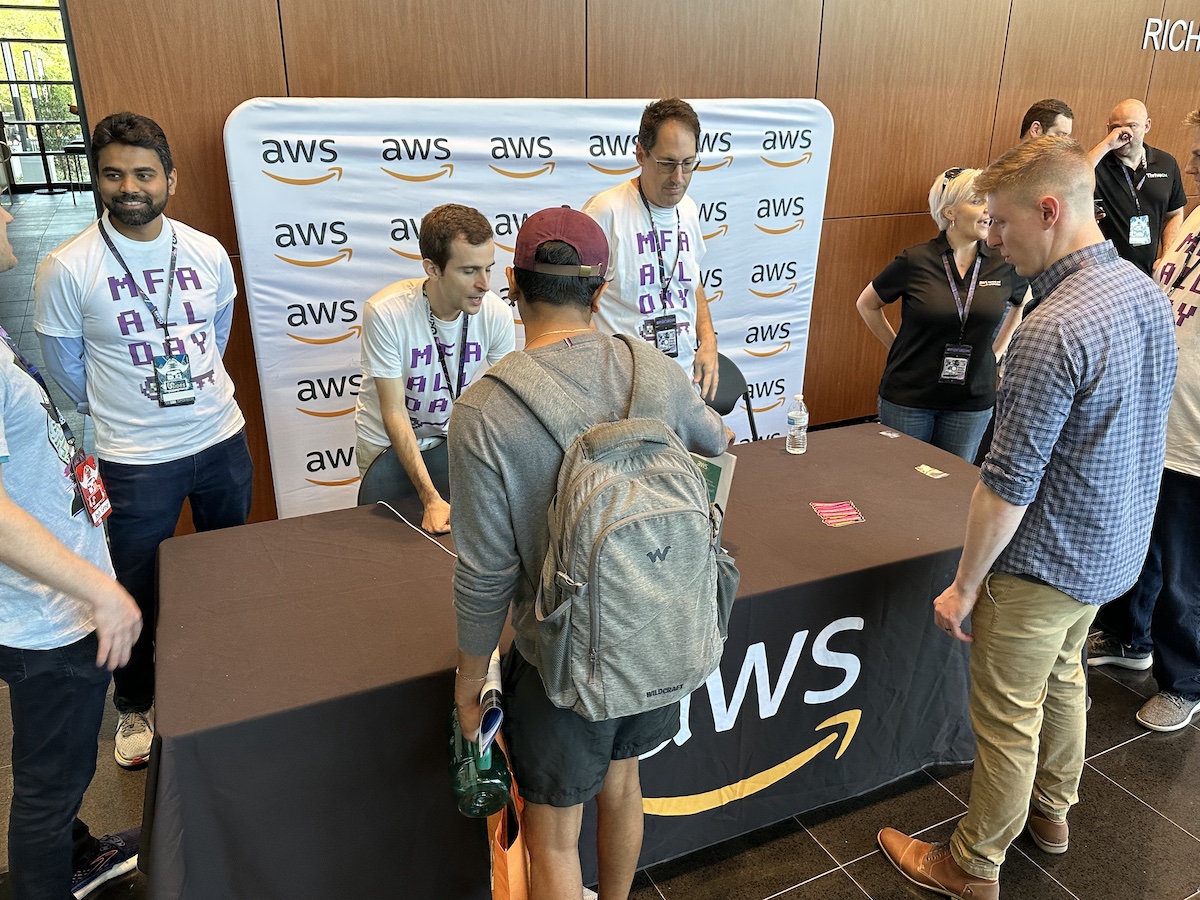
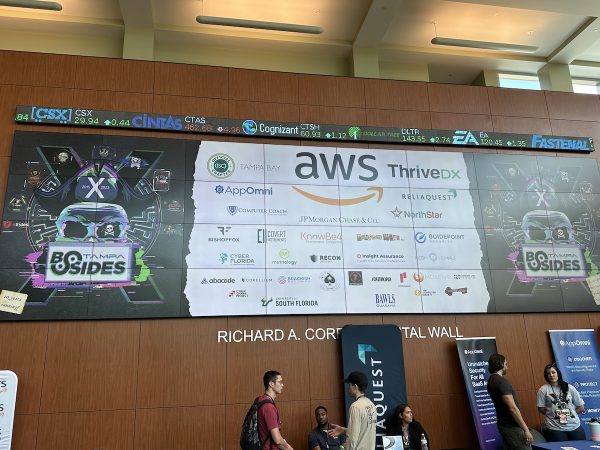
AWS:
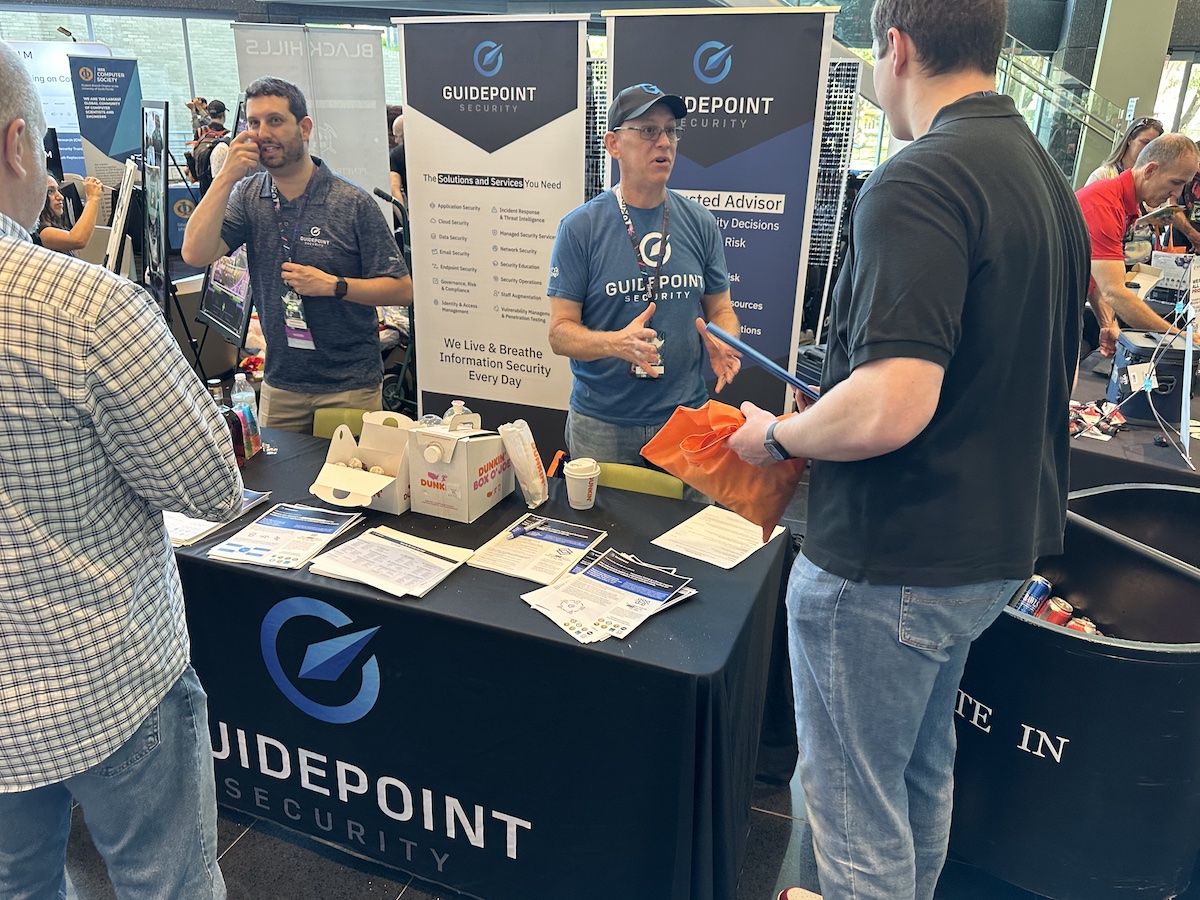
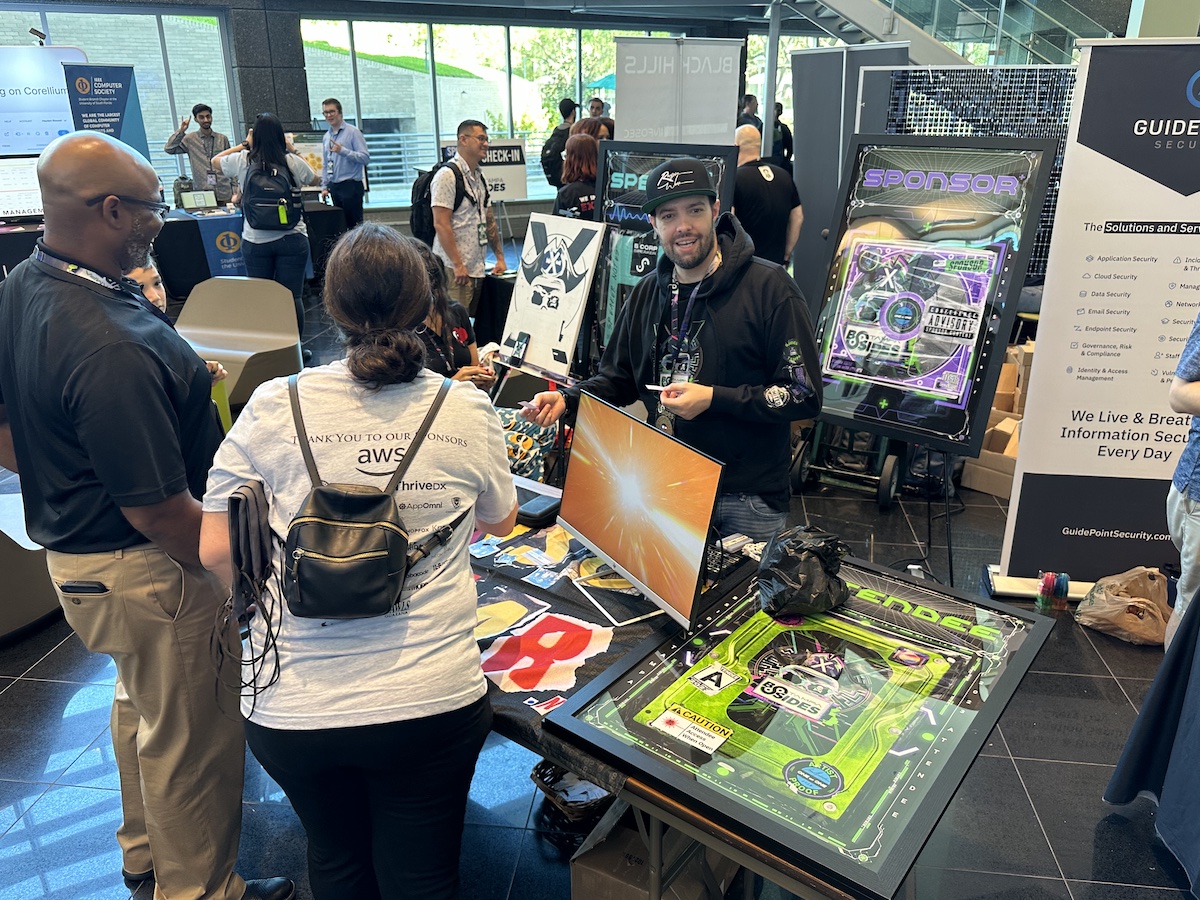
Guidepoint Security:
I know Chris Machowski from The Undercroft, the former name of the Neon Temple security guild. I was a student at the first and only cohort of UC Basline, a cybersecurity training program that The Undercroft offered in the summer of 2020. He was showing his gorgeous graphic design:
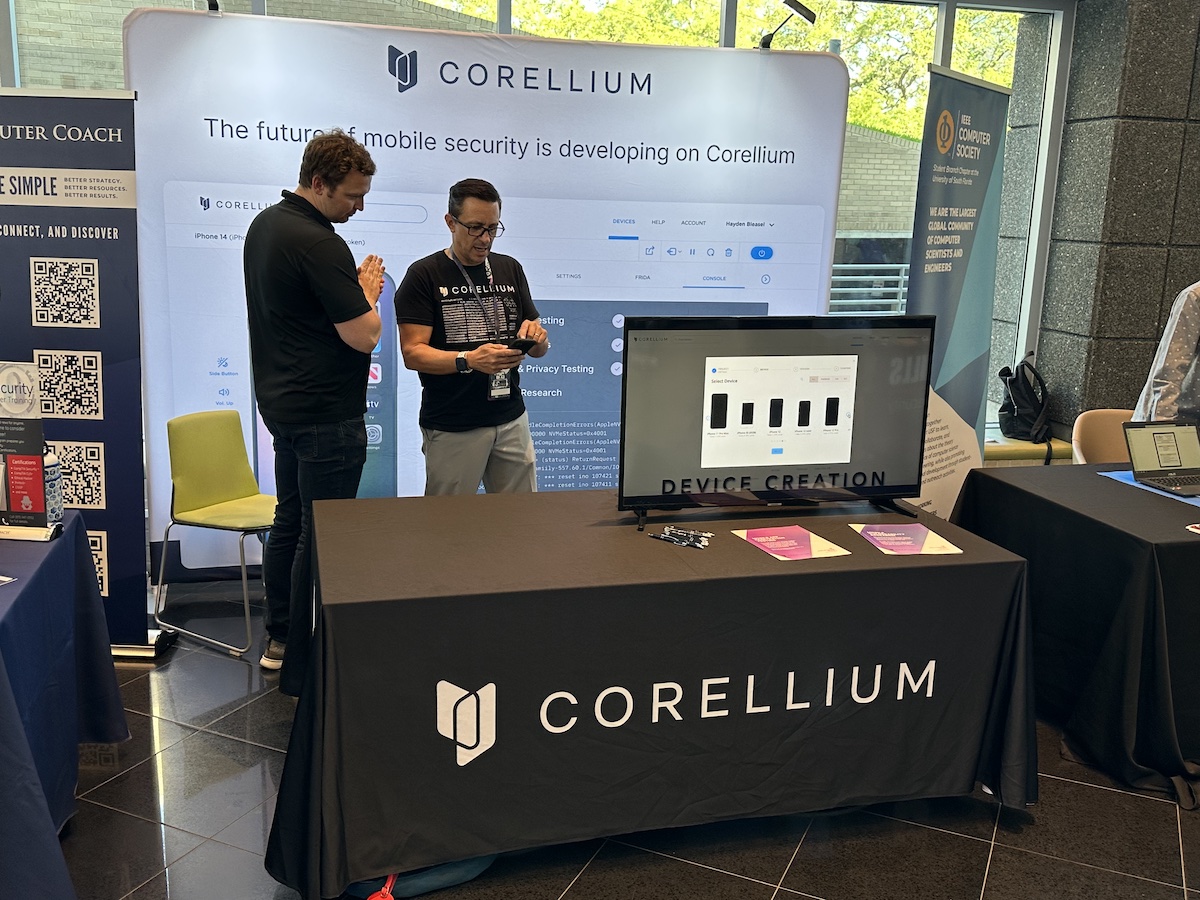
I also had a chat with the folks at Corellium, whose service provides mobile developers with virtual ARM devices for testing:
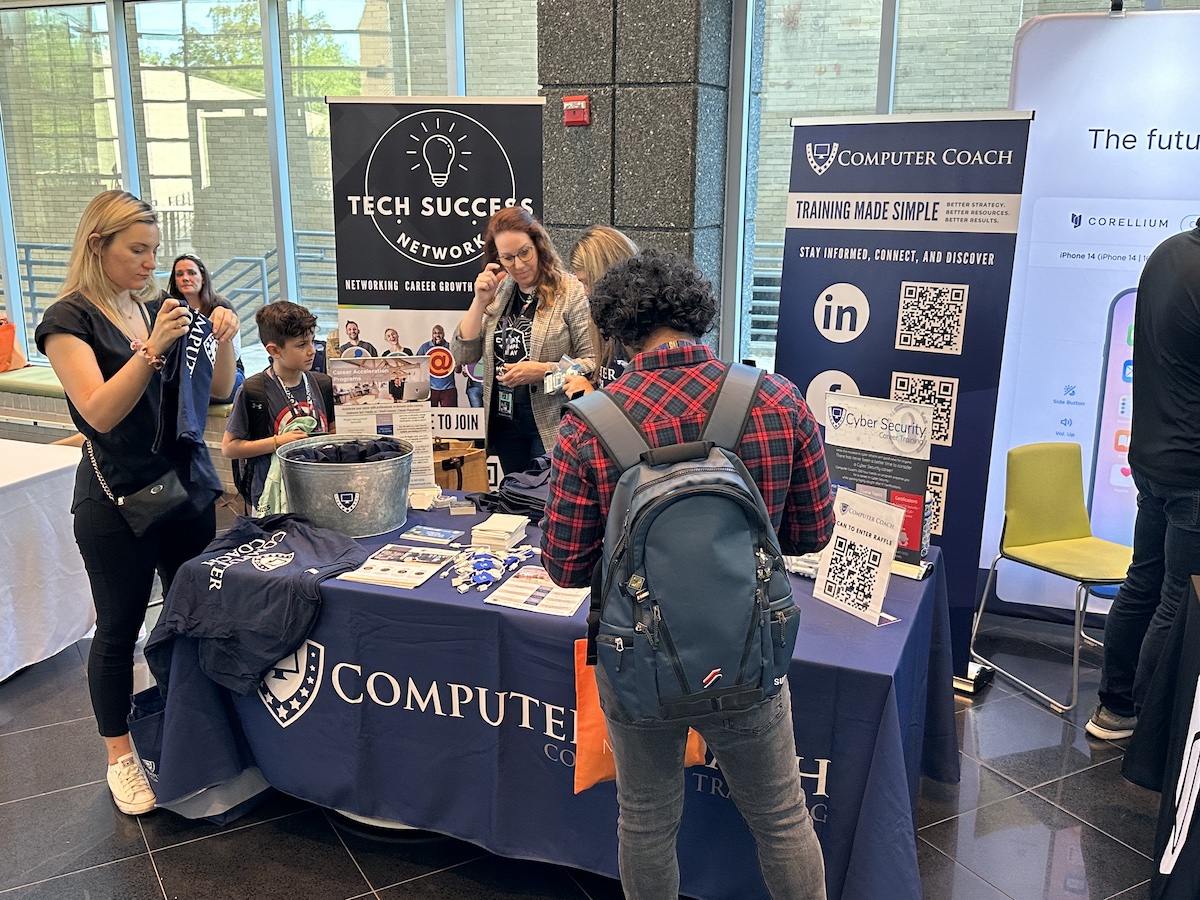
I have a great relationship with Computer Coach, for whom I’ve taught Python and JavaScript courses, and with whom I’ve worked at numerous tech events in the area:
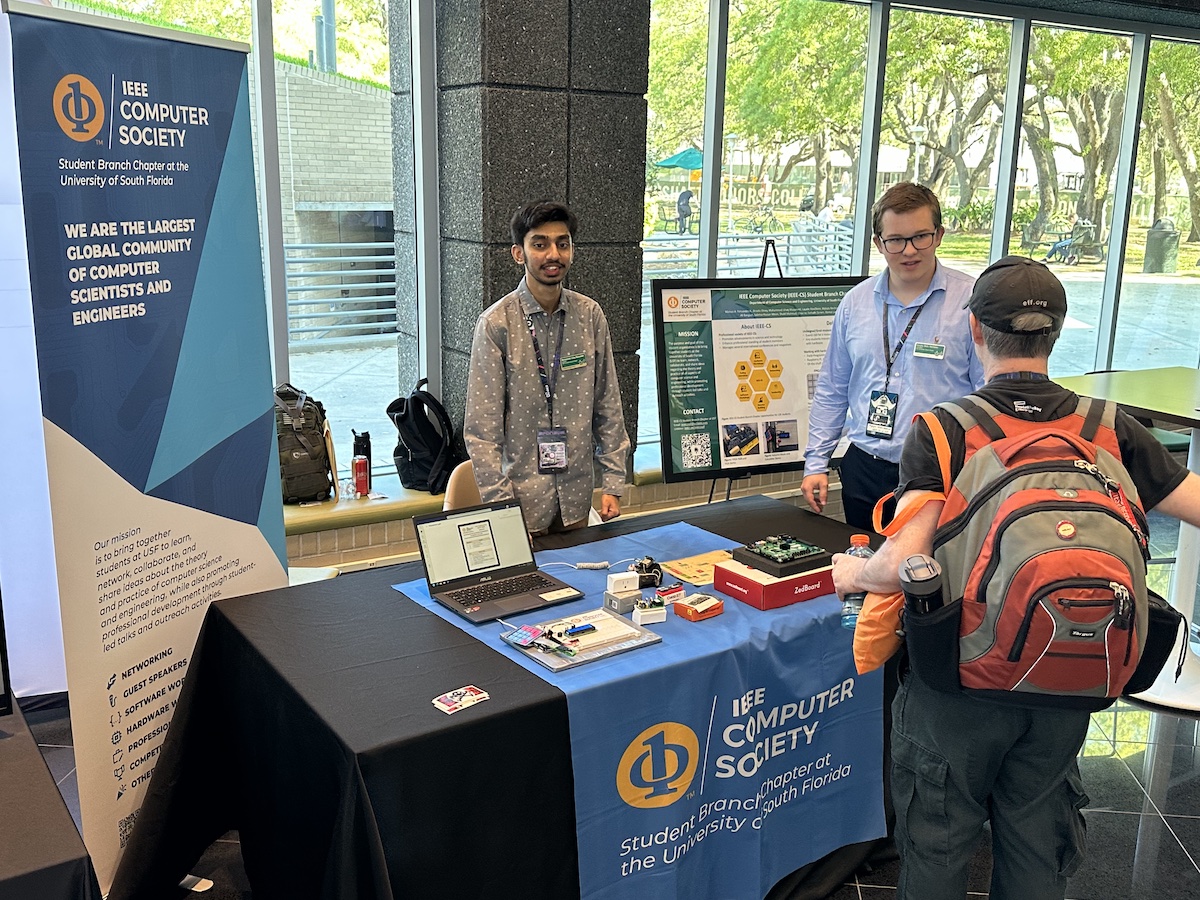
IEEE Computer Society:
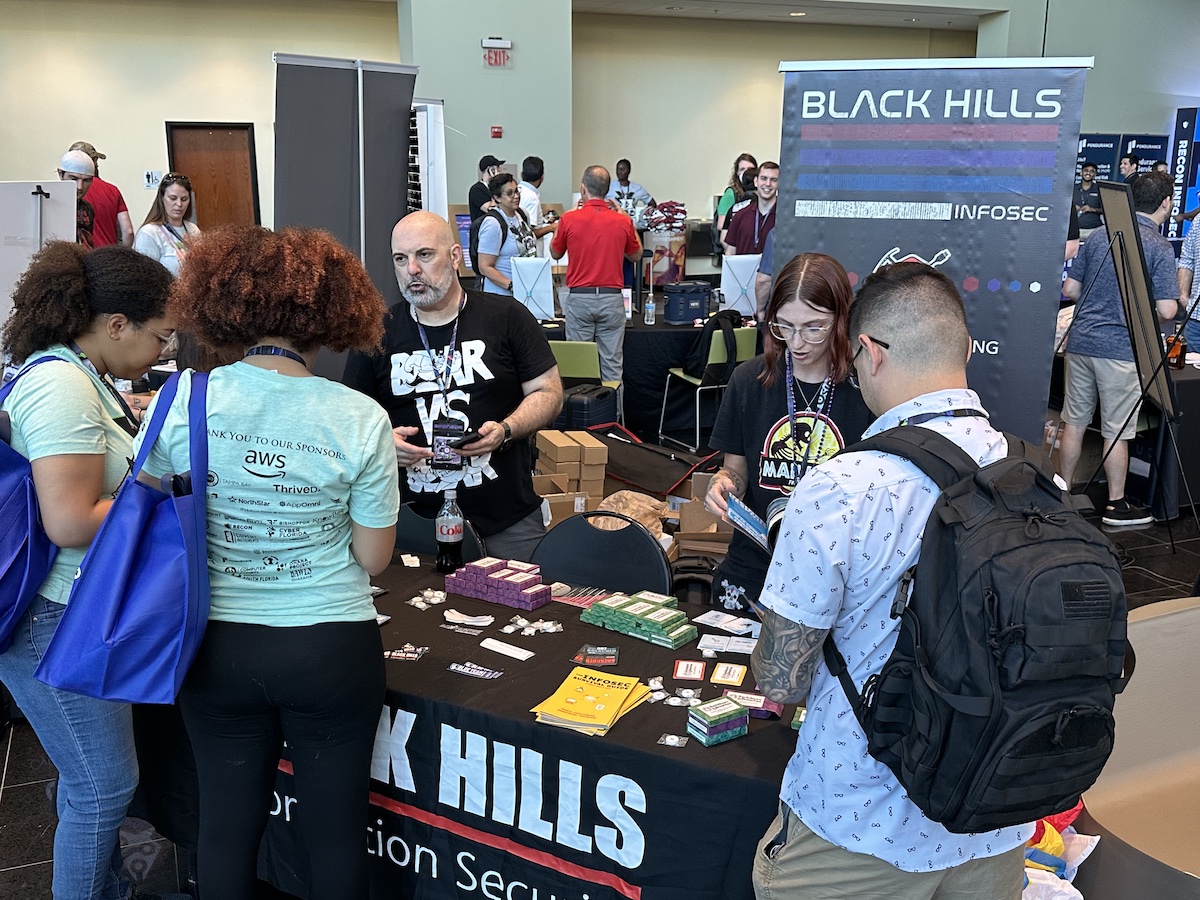
Black Hills Information Security:
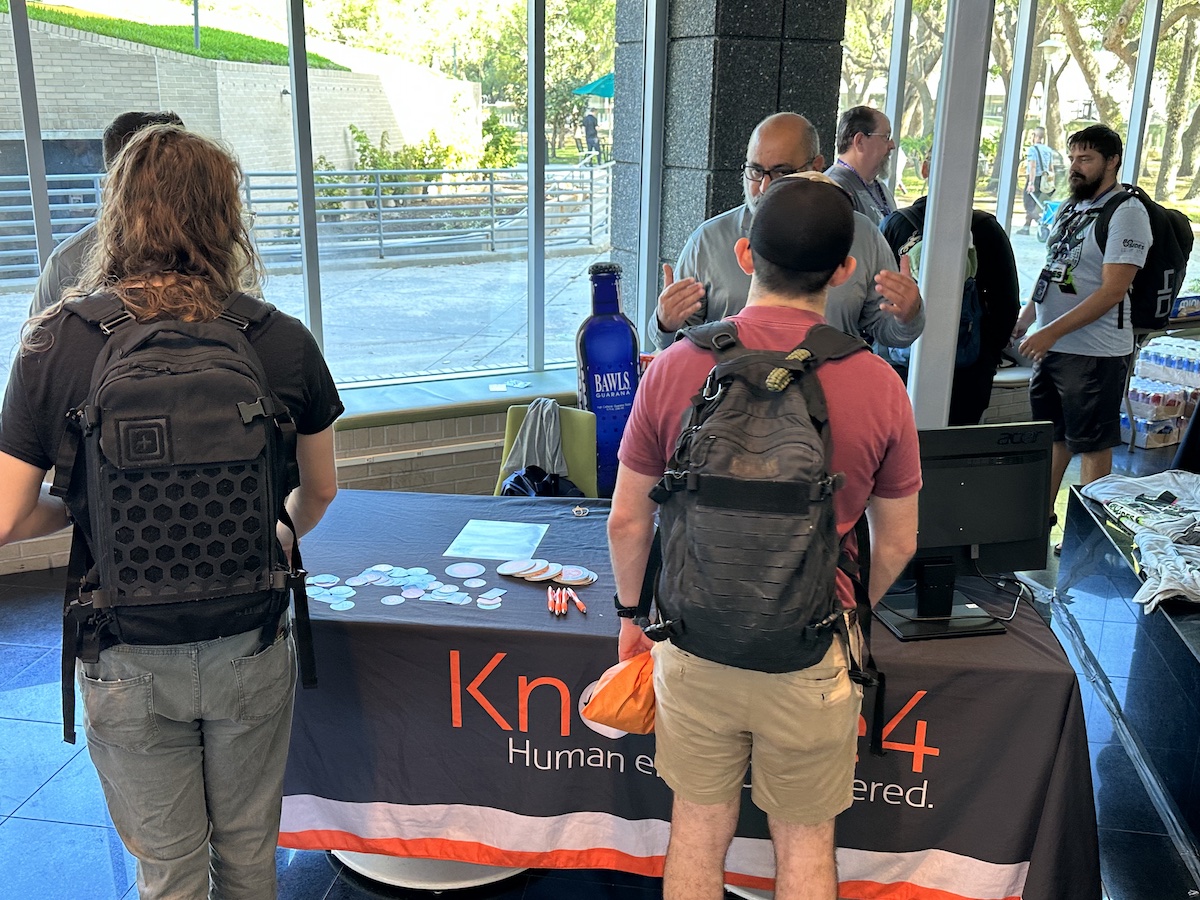
KnowBe4:
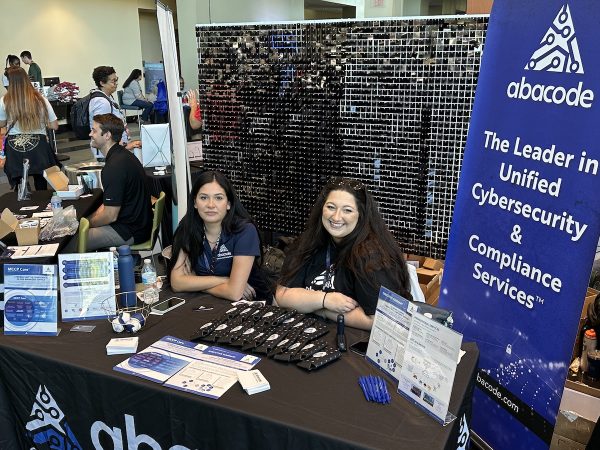
Abacode:
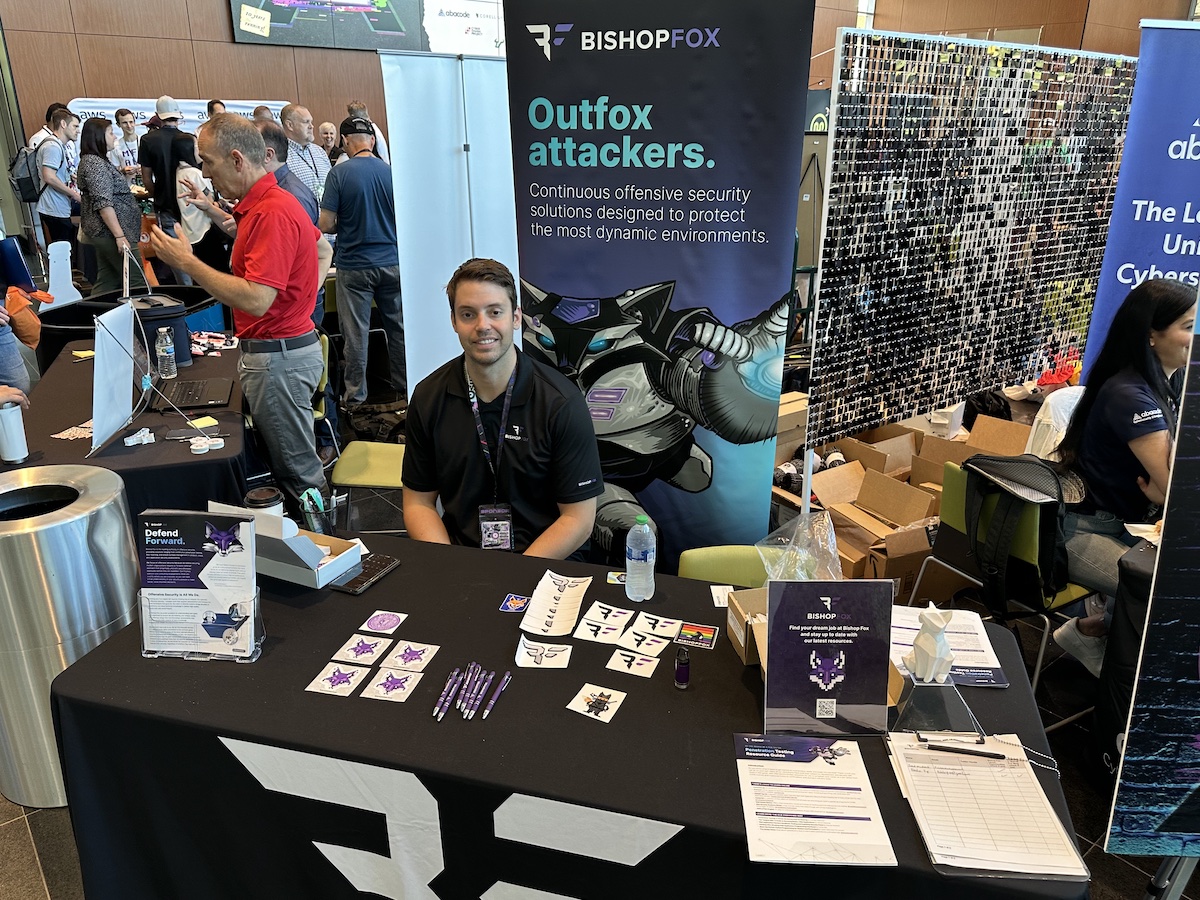
BishopFox:
NorthStar:
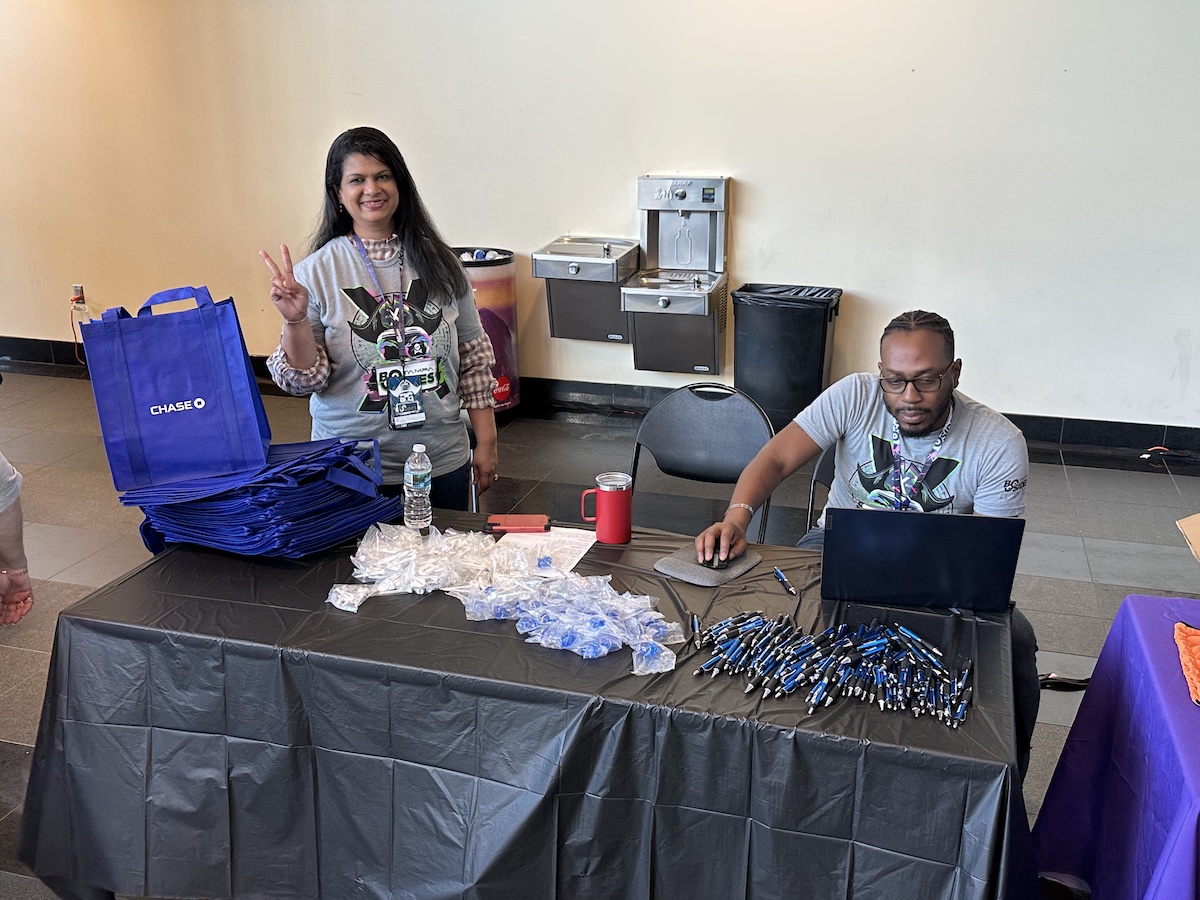
Chase Bank:
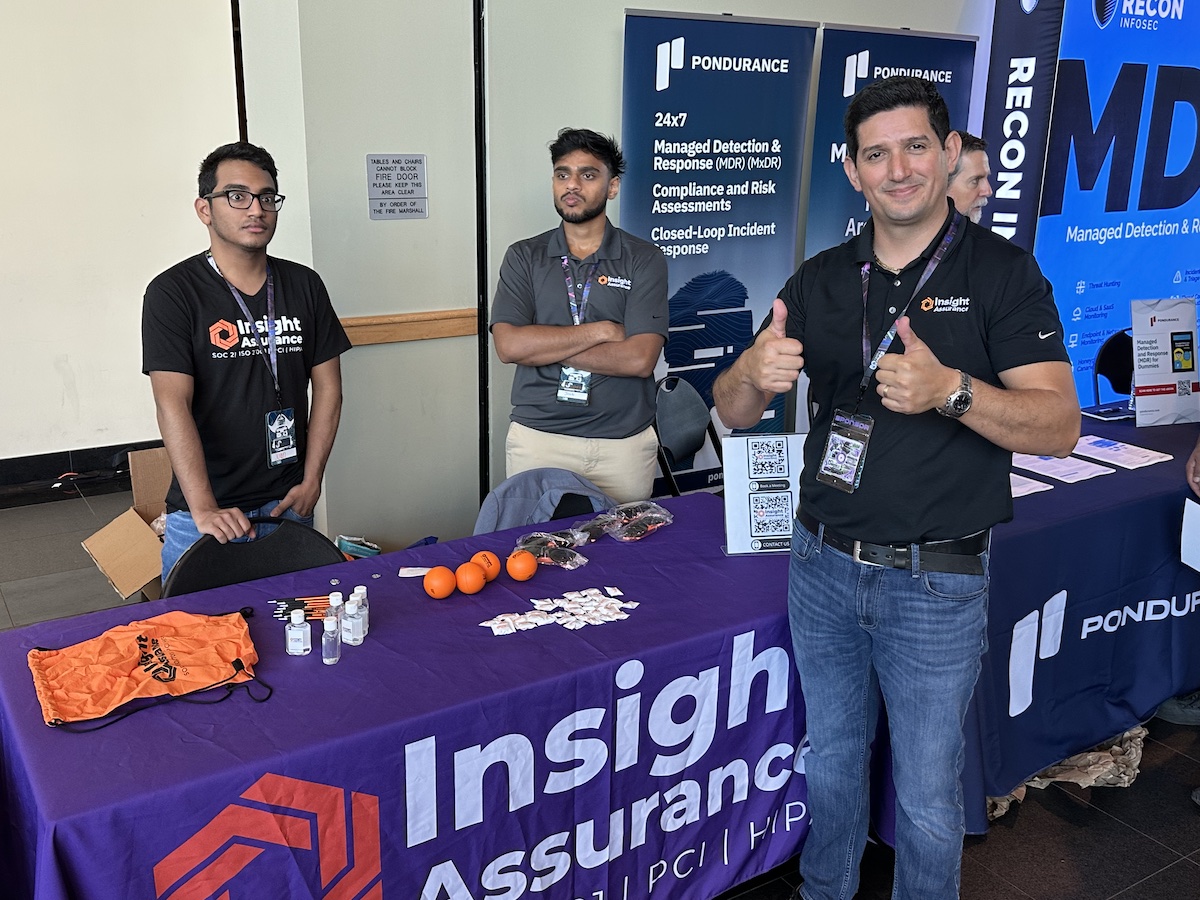
Insight Assurance:
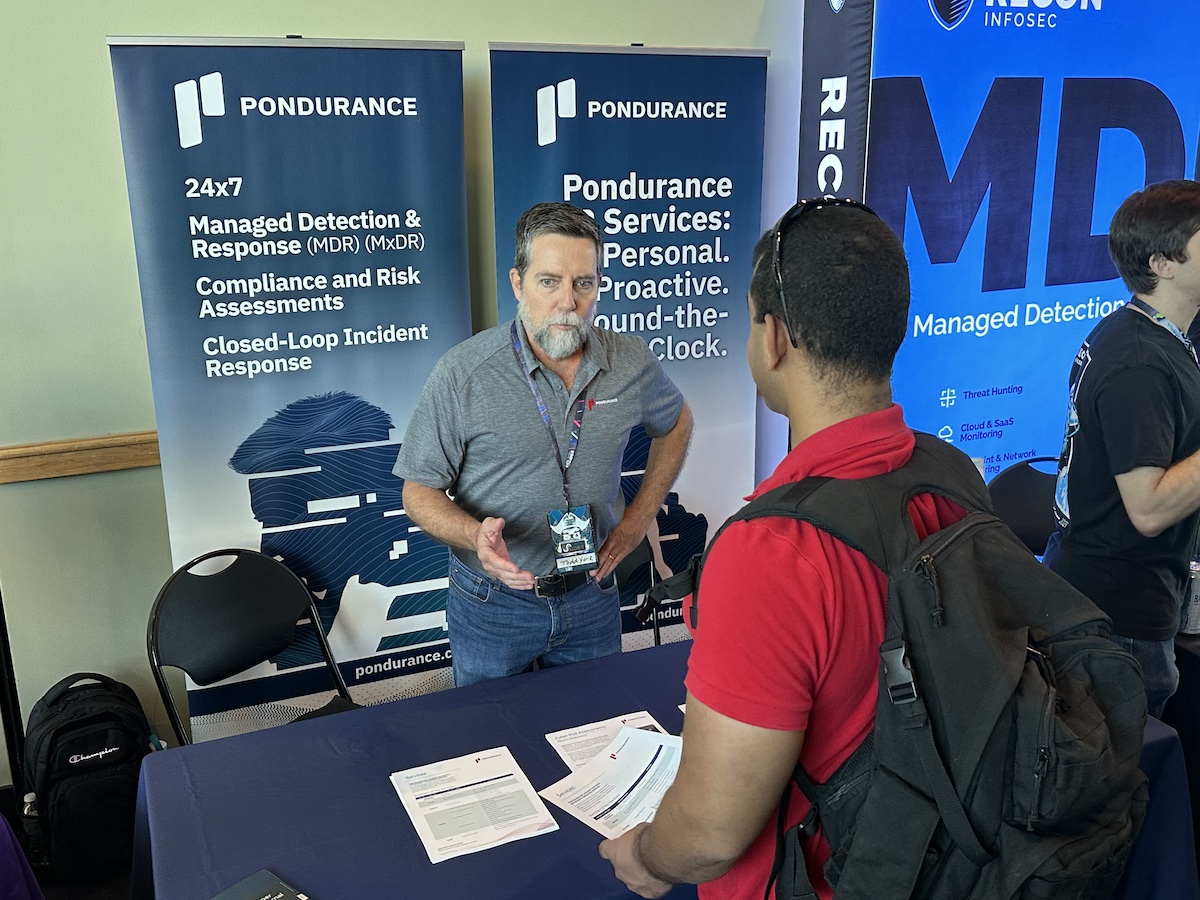
Pondurance:
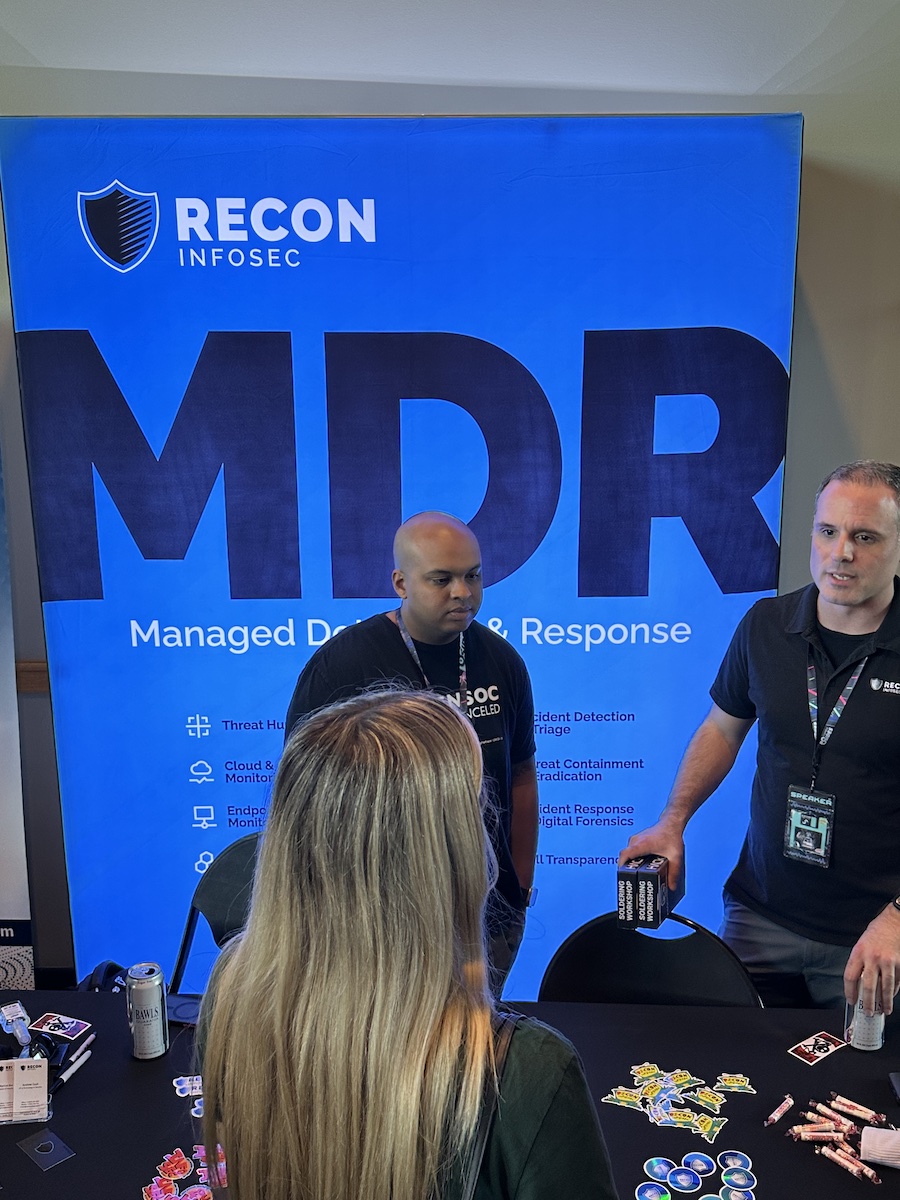
Recon Infosec:
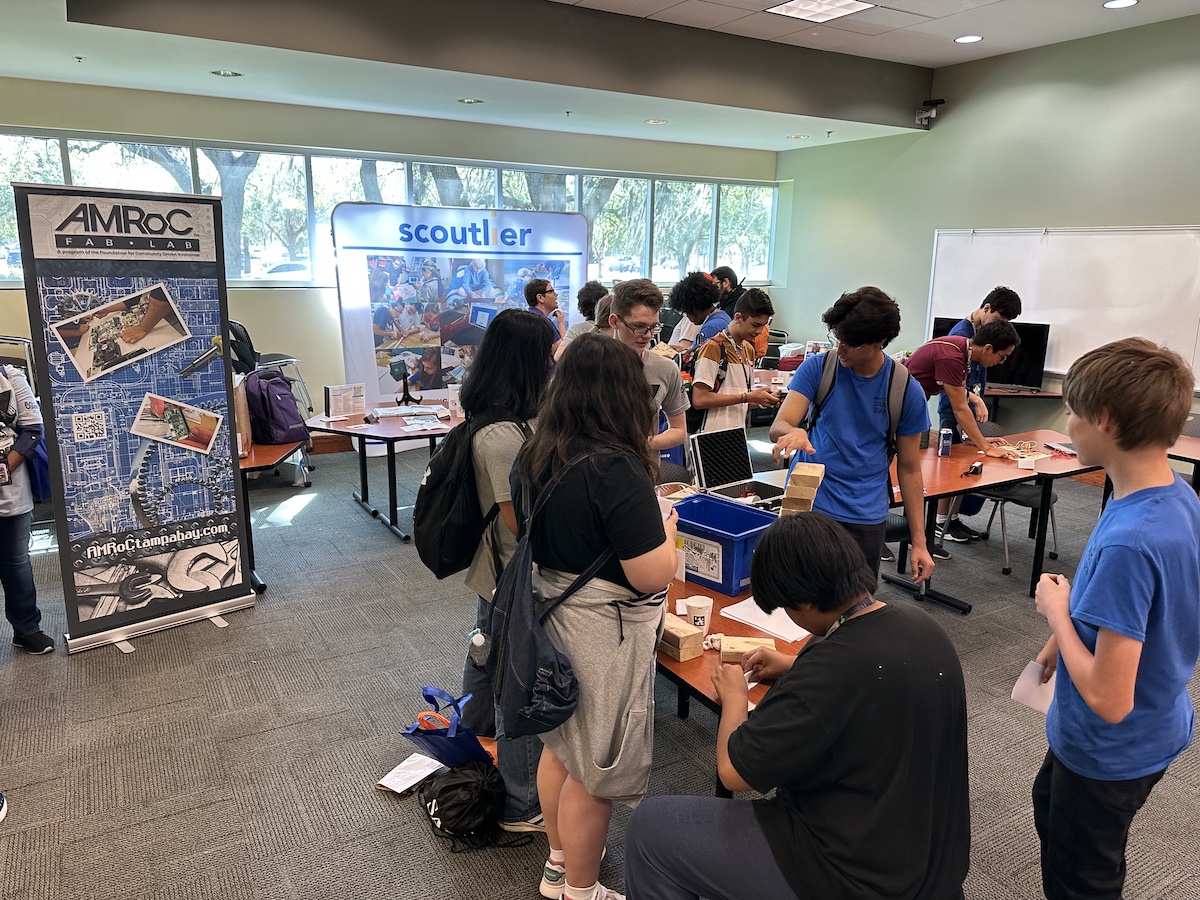
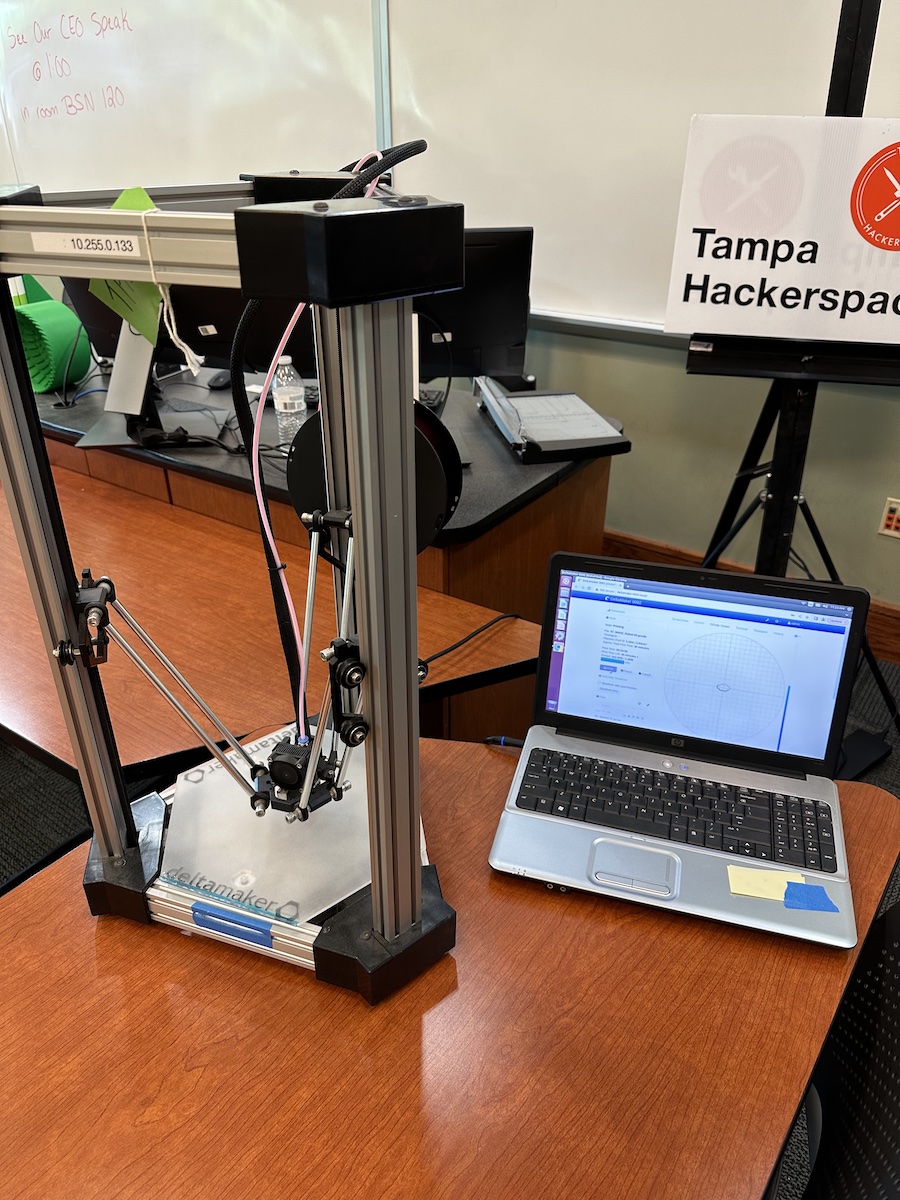
The STEM room
I then helped out in the STEM room, where Tampa Hackerspace, Scoutlier, and AMRoC Fab Lab had set up shop and were showing young people what they could do if they got into the world of science, technology, engineering, and math. I was great seeing the young’uns get excited about this stuff.
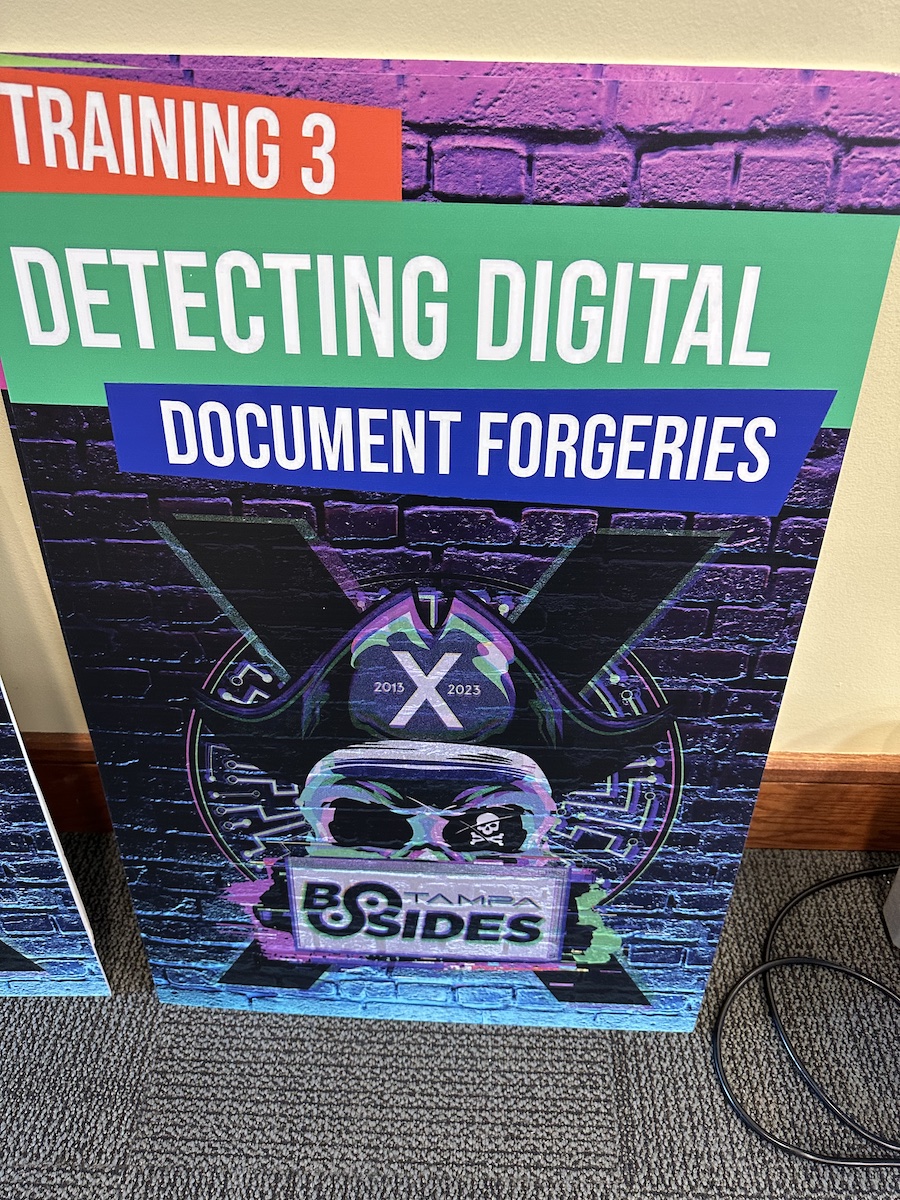
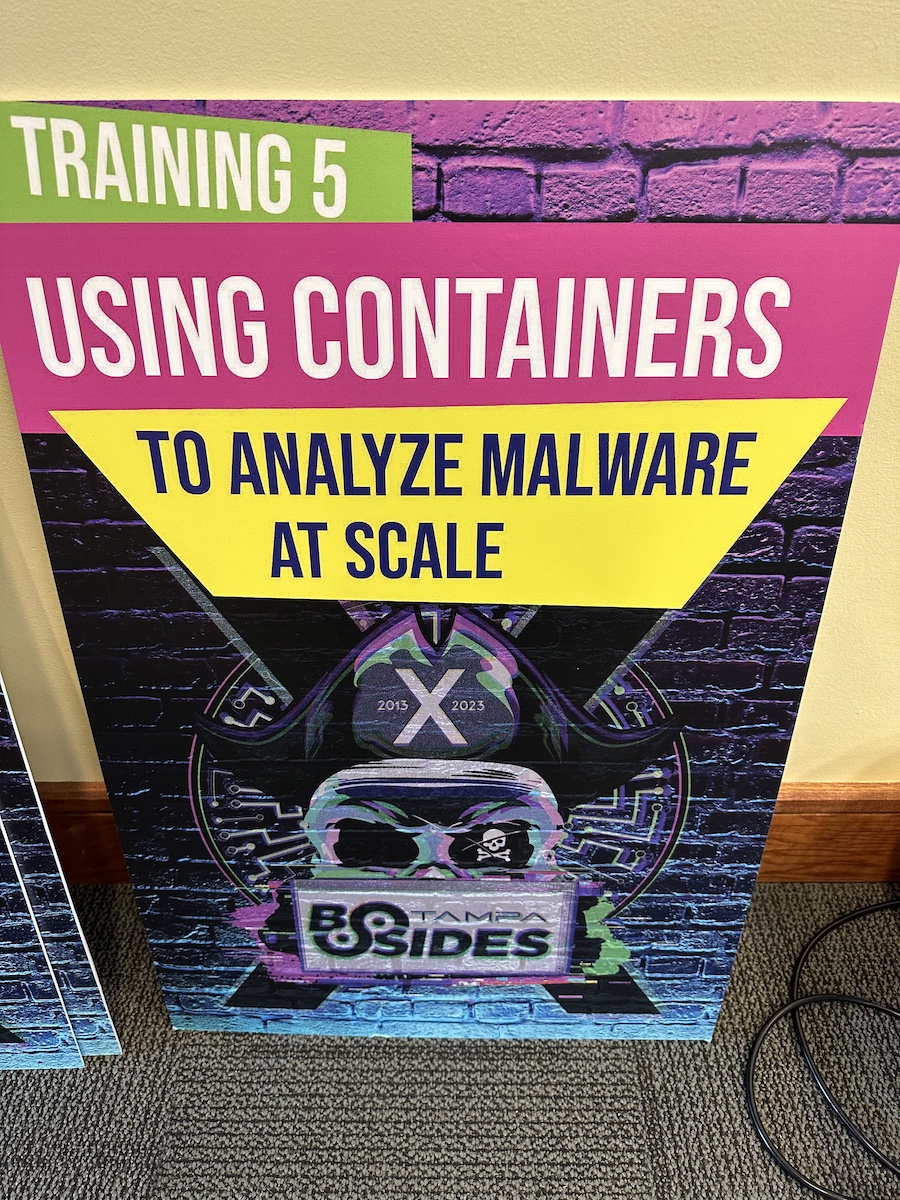
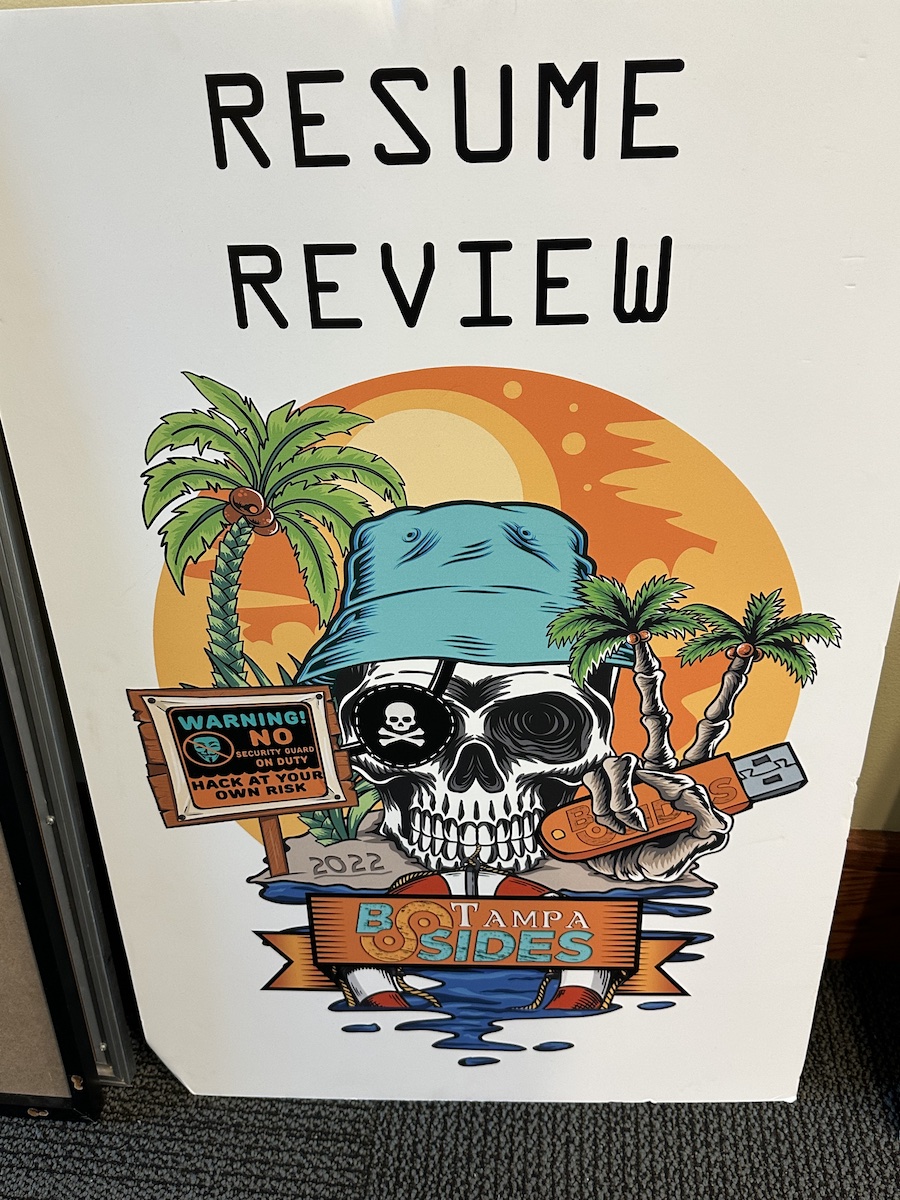
Signs
While in the STEM room, I had the chance to take pictures of some spare signs, all of which bore Chris Machowski’s excellent design for the BSides Tampa logo:
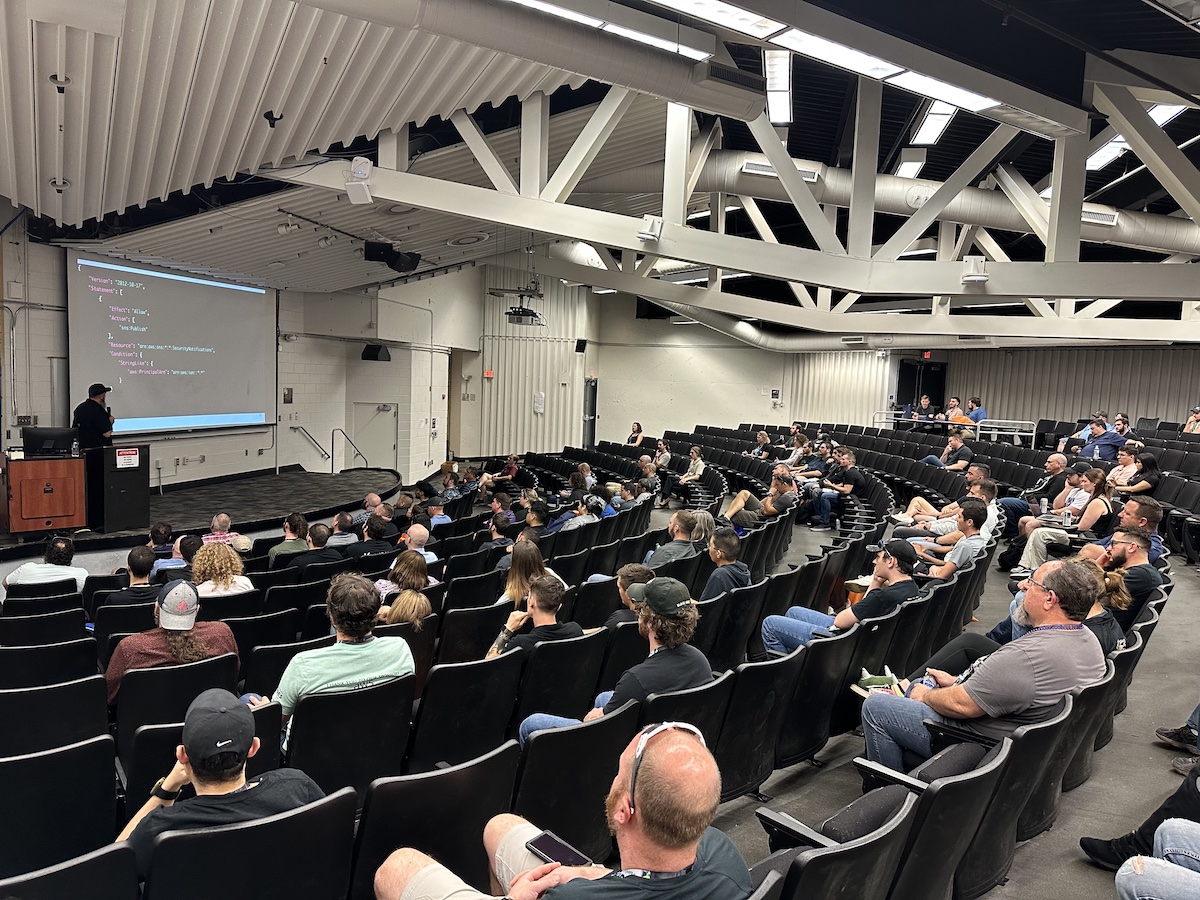
Hacking AWS: Welcome to the Jungle
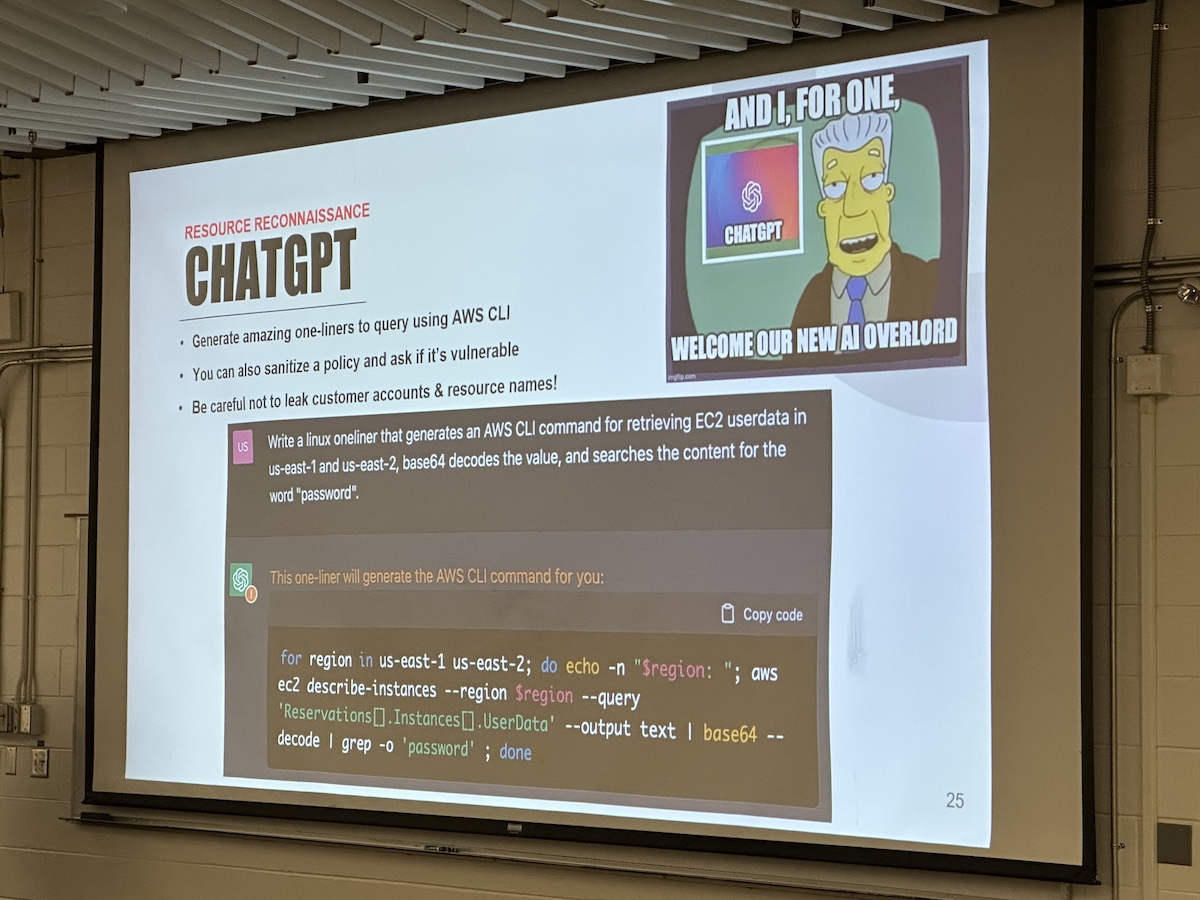
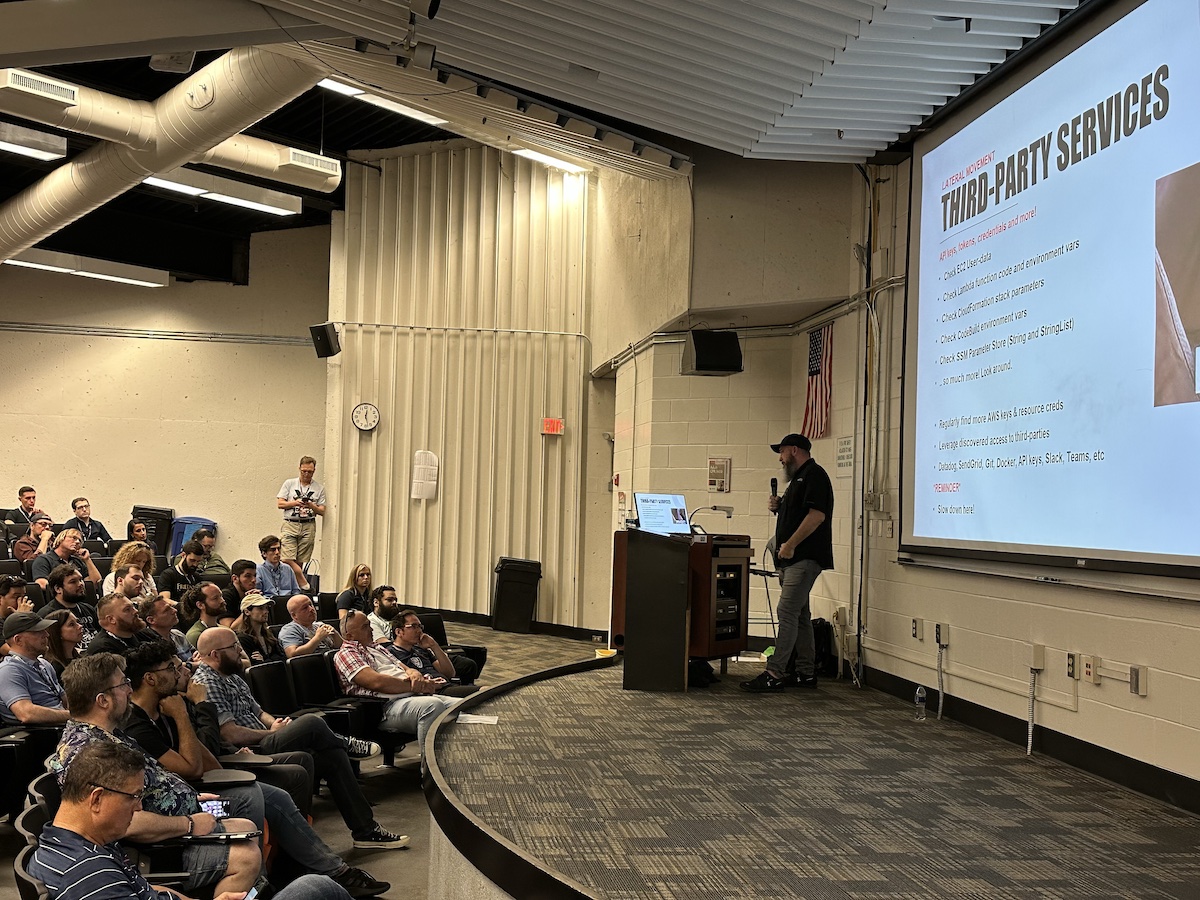
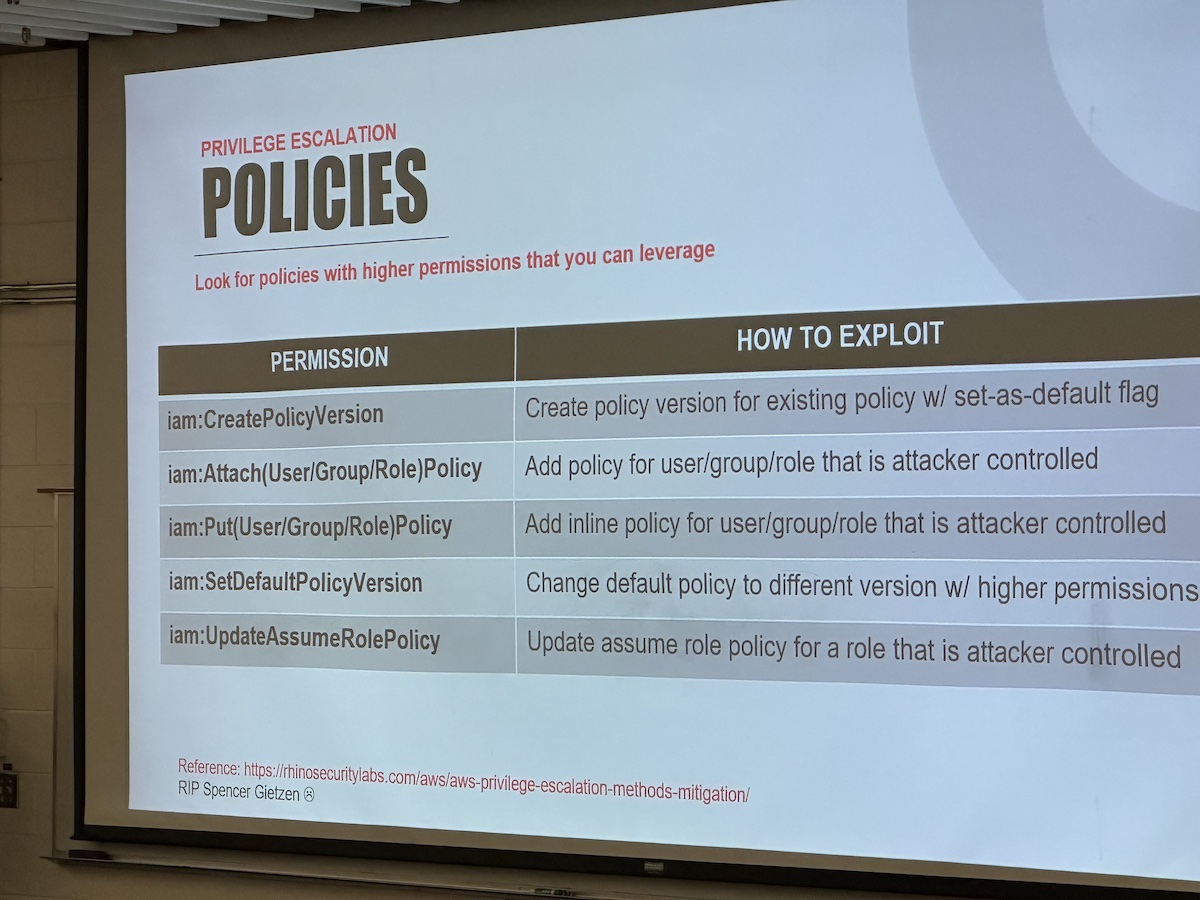
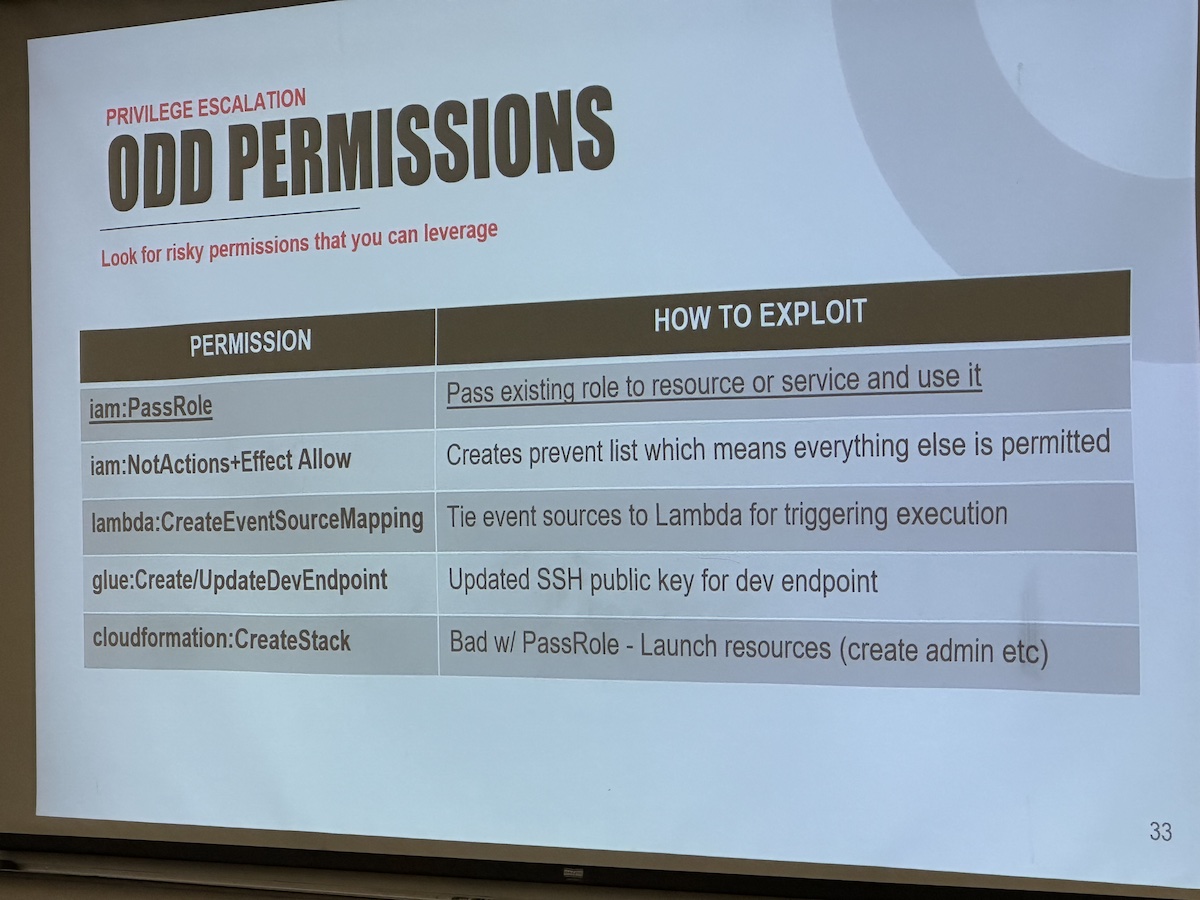
I got assigned to keep watch over a couple of sessions, including Mike Felch’s presentation, Hacking AWS: Welcome to the Jungle. It covered a number of intriguing techniques for gaining access to AWS instances.
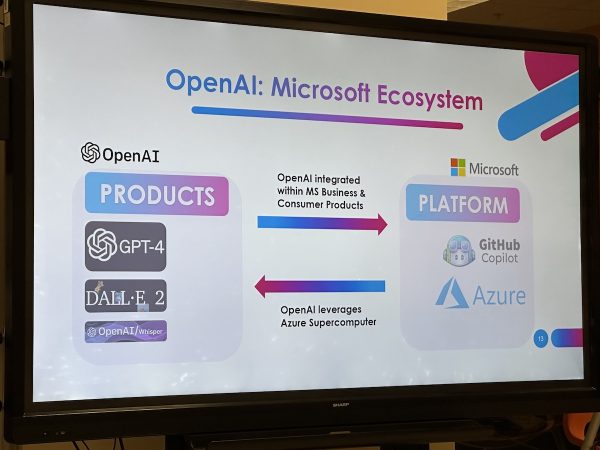
Interestingly enough, ChatGPT turns out to be an excellent tool for doing AWS recon…
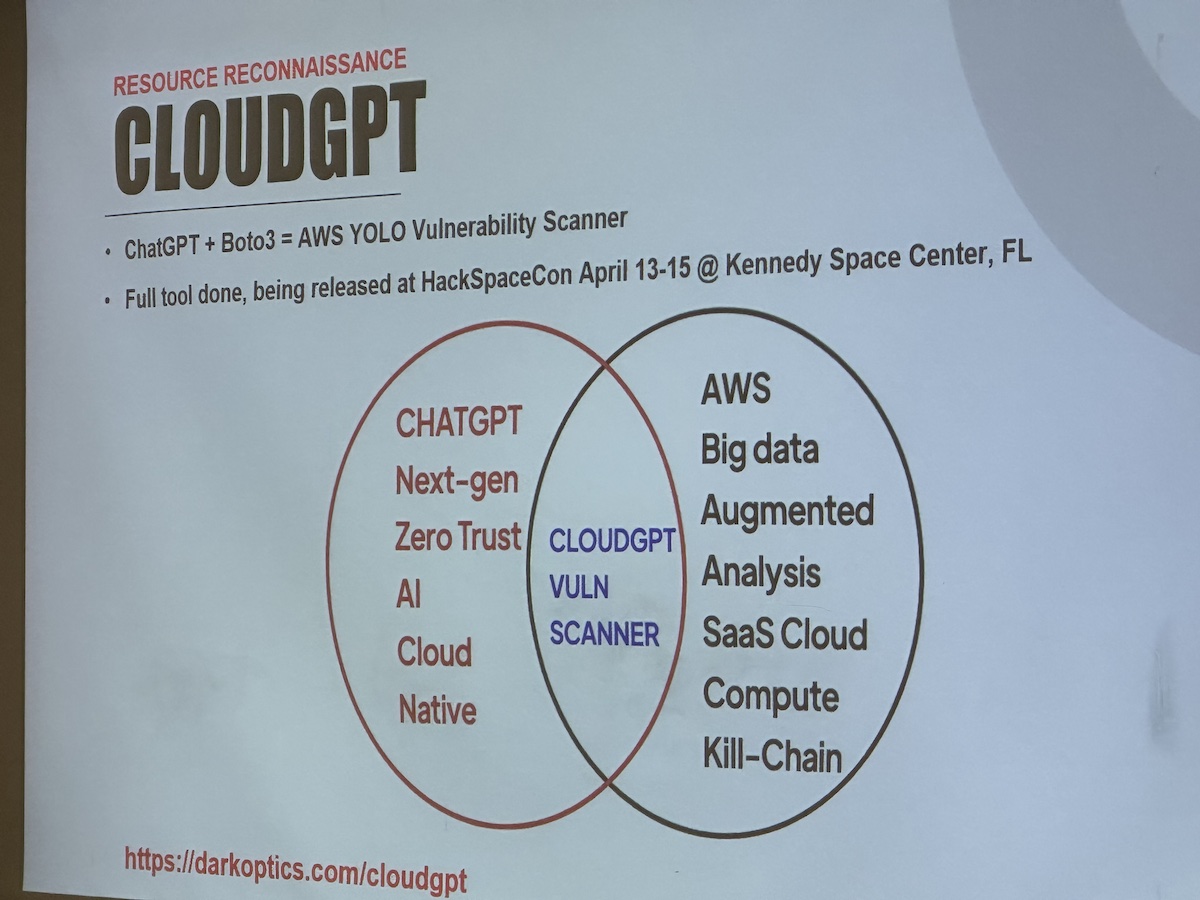
…and Mike has an interesting project, CloudGPT, which harnesses ChatGPT to analyze AWS policies for vulnerabilities. We’re getting closer and closer to the world of William Gibson’s “Sprawl” novels, with AI-assisted “ICEbreakers…”
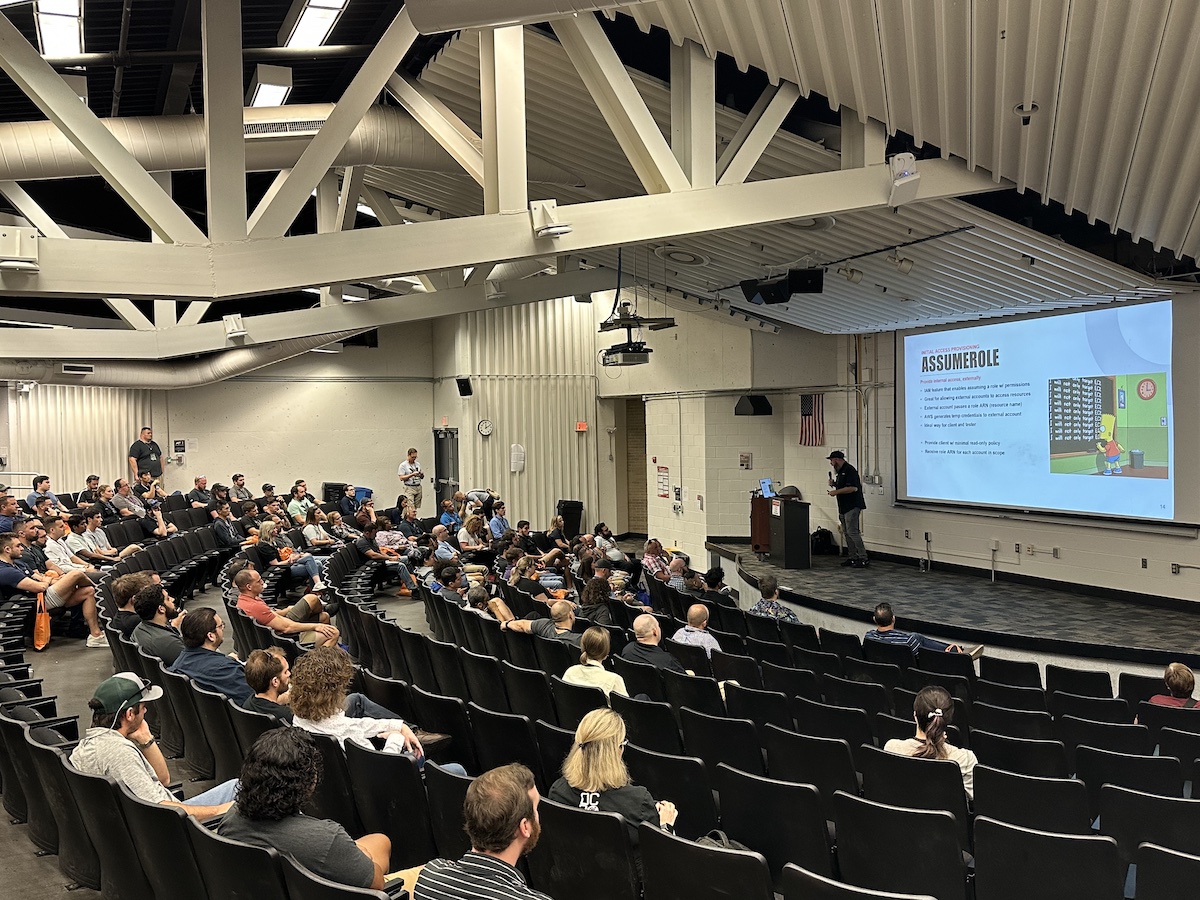
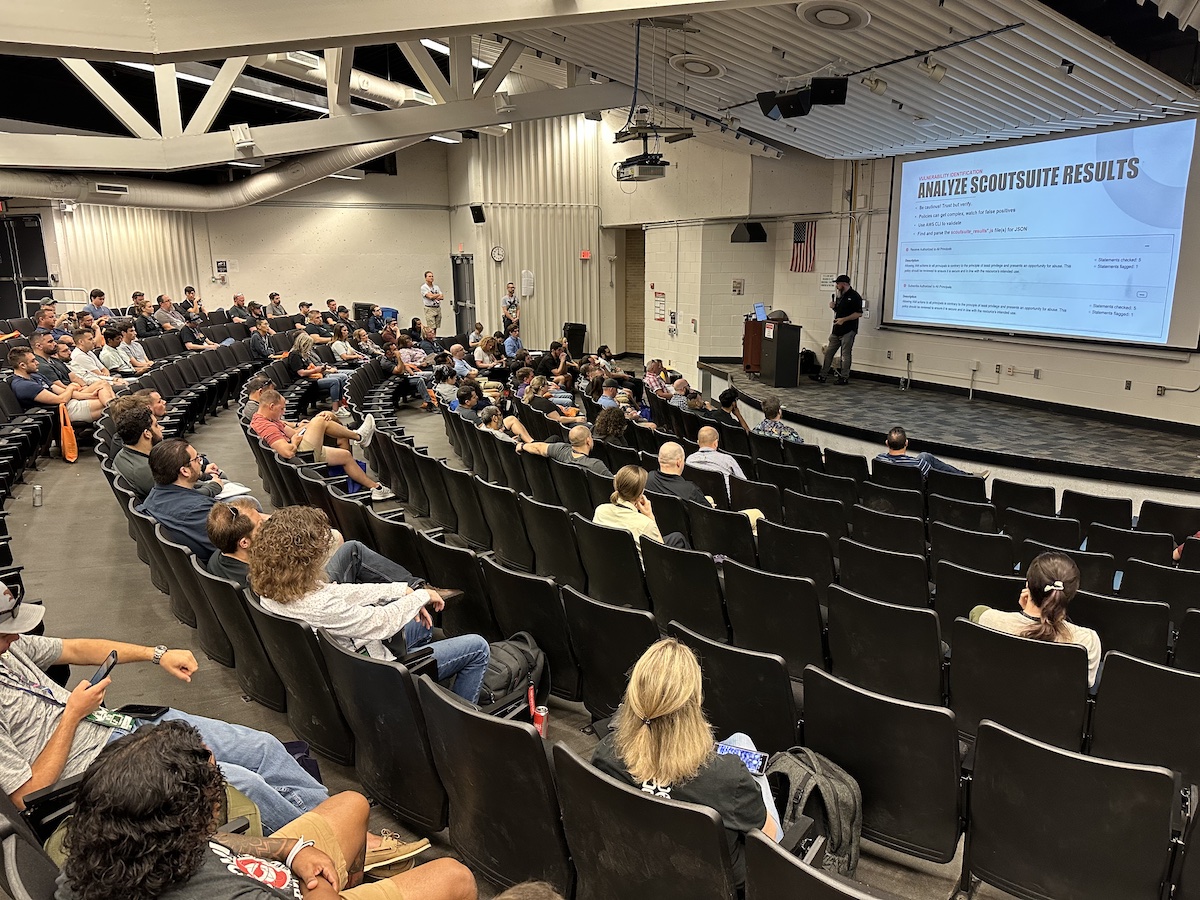
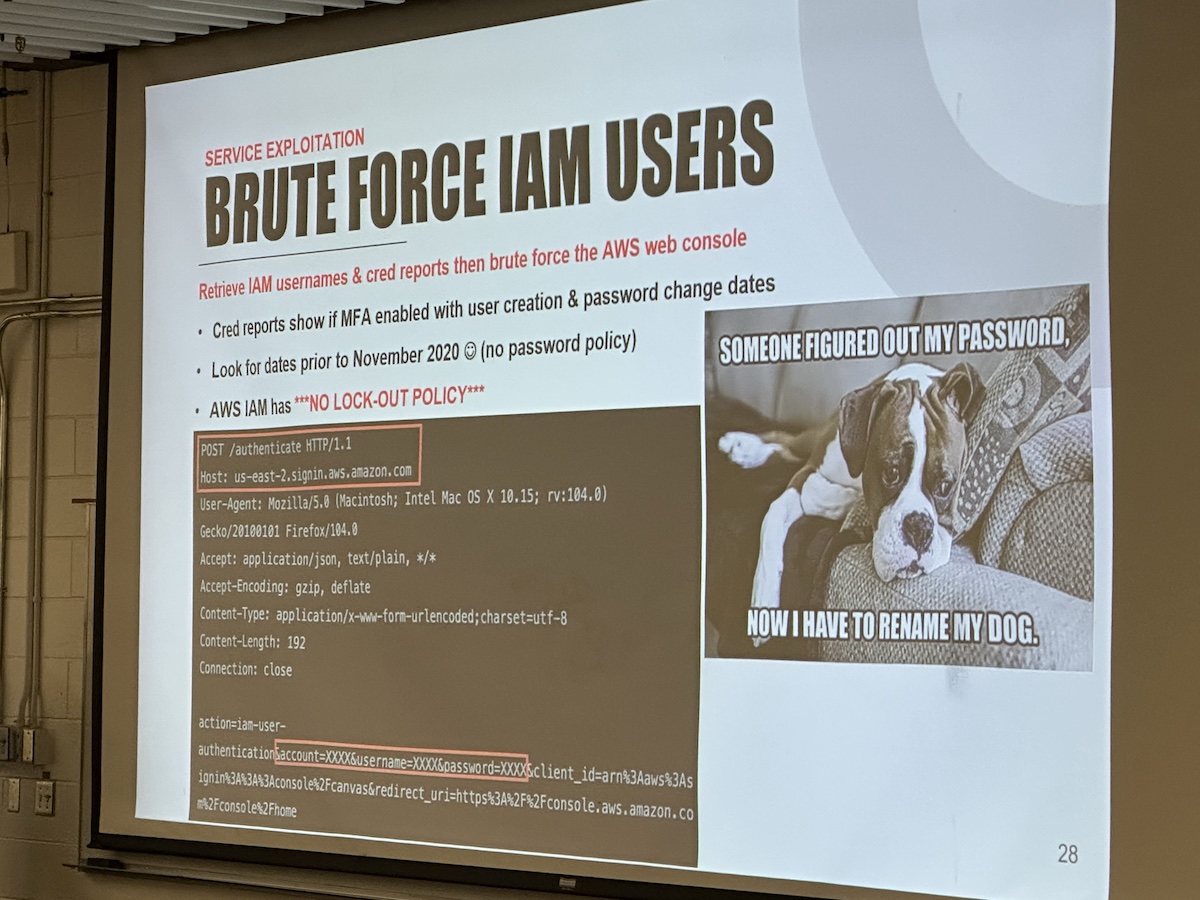
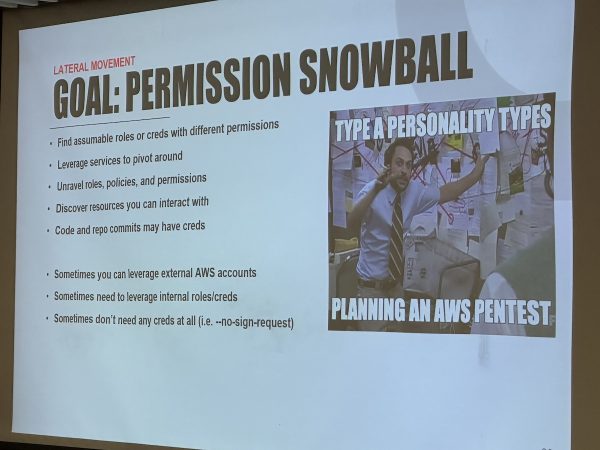
Mike has a lot in his bag of AWS tricks:
Mike has posted his slides for Welcome to the Jungle on SlideShare.
Quick break
I took a couple more photos during a quick break for lunch between sessions.
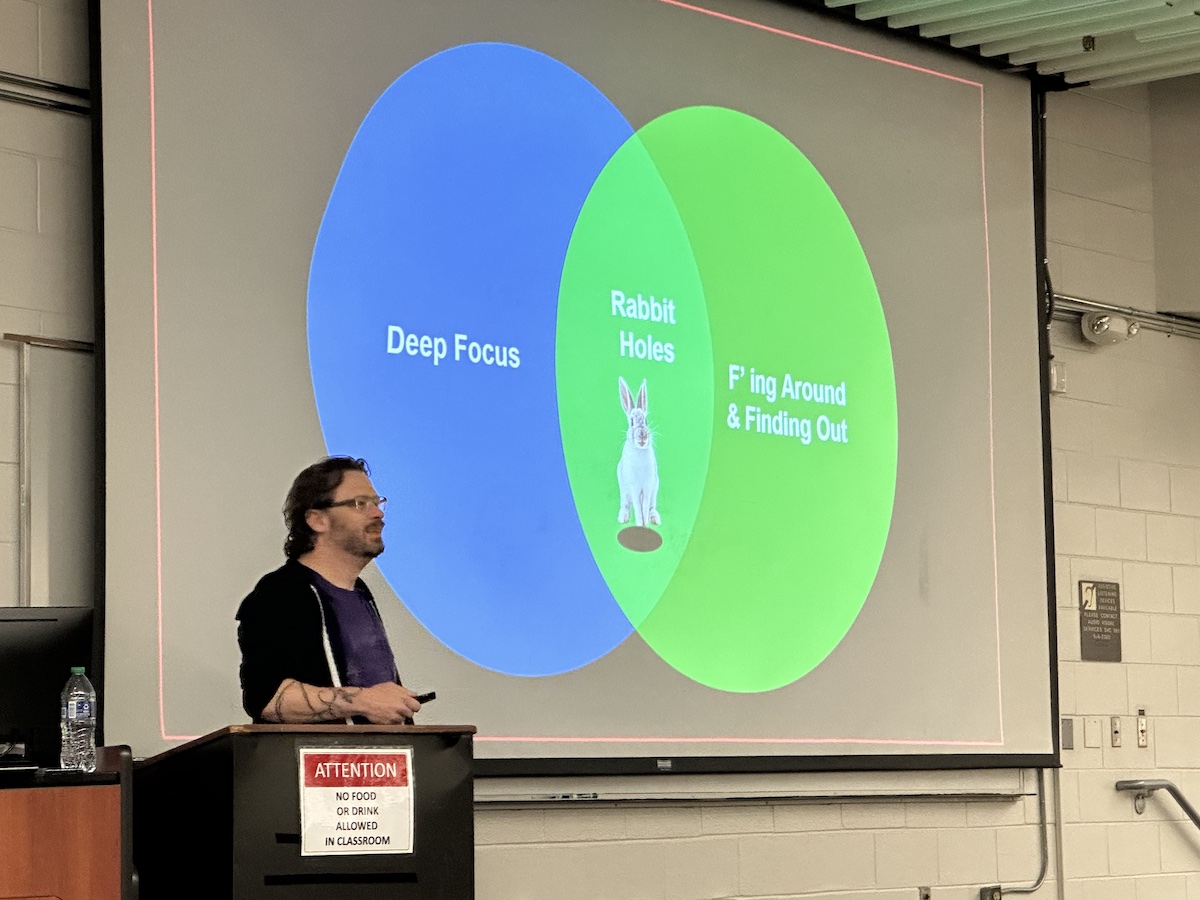
Down the Rabbit Hole
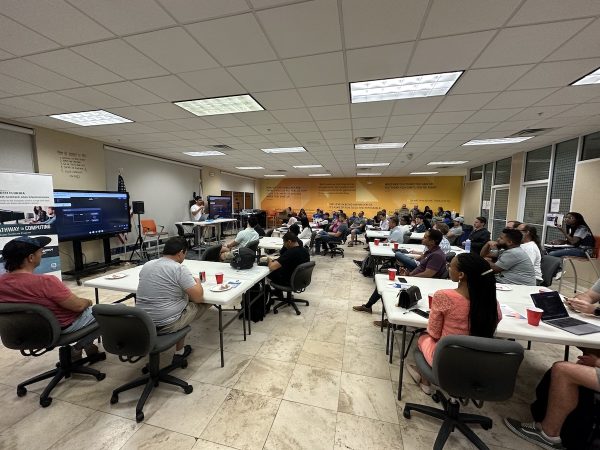
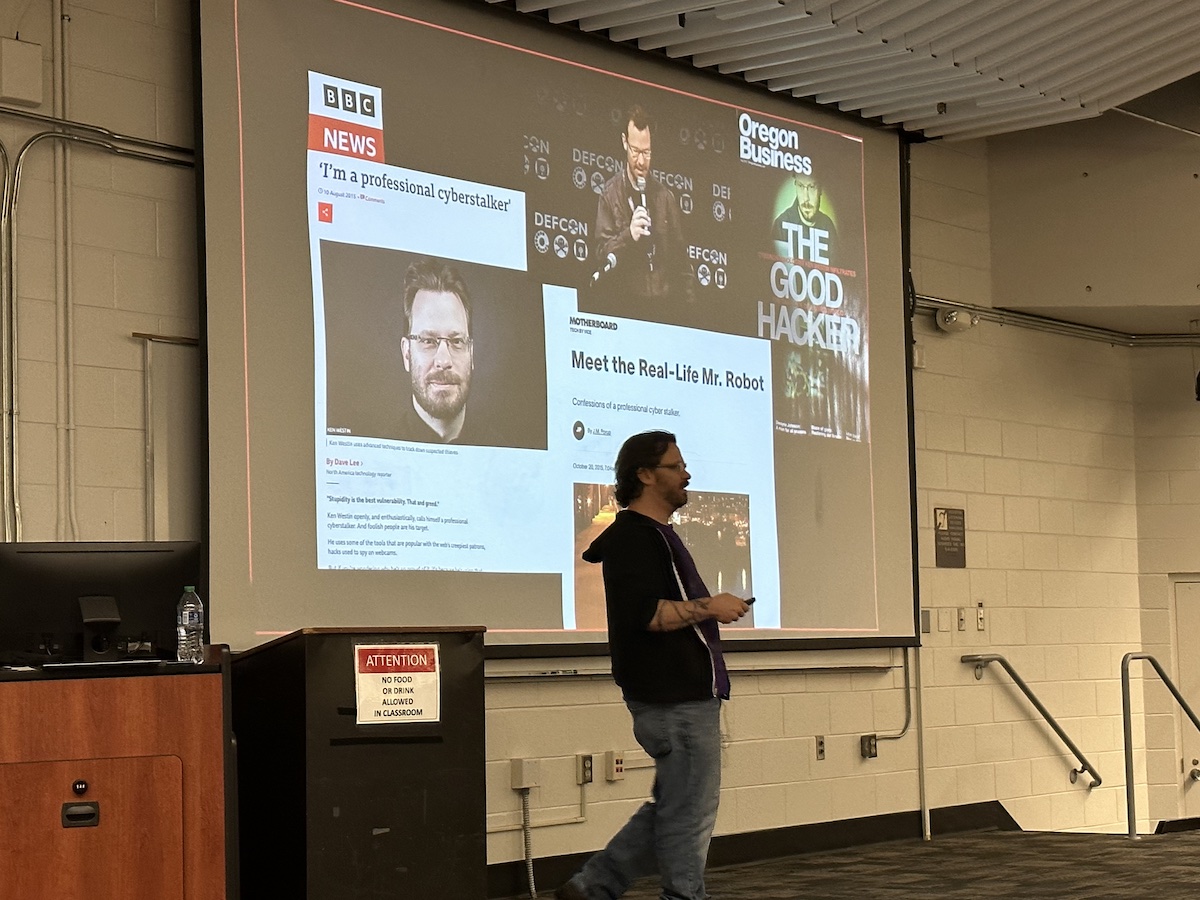
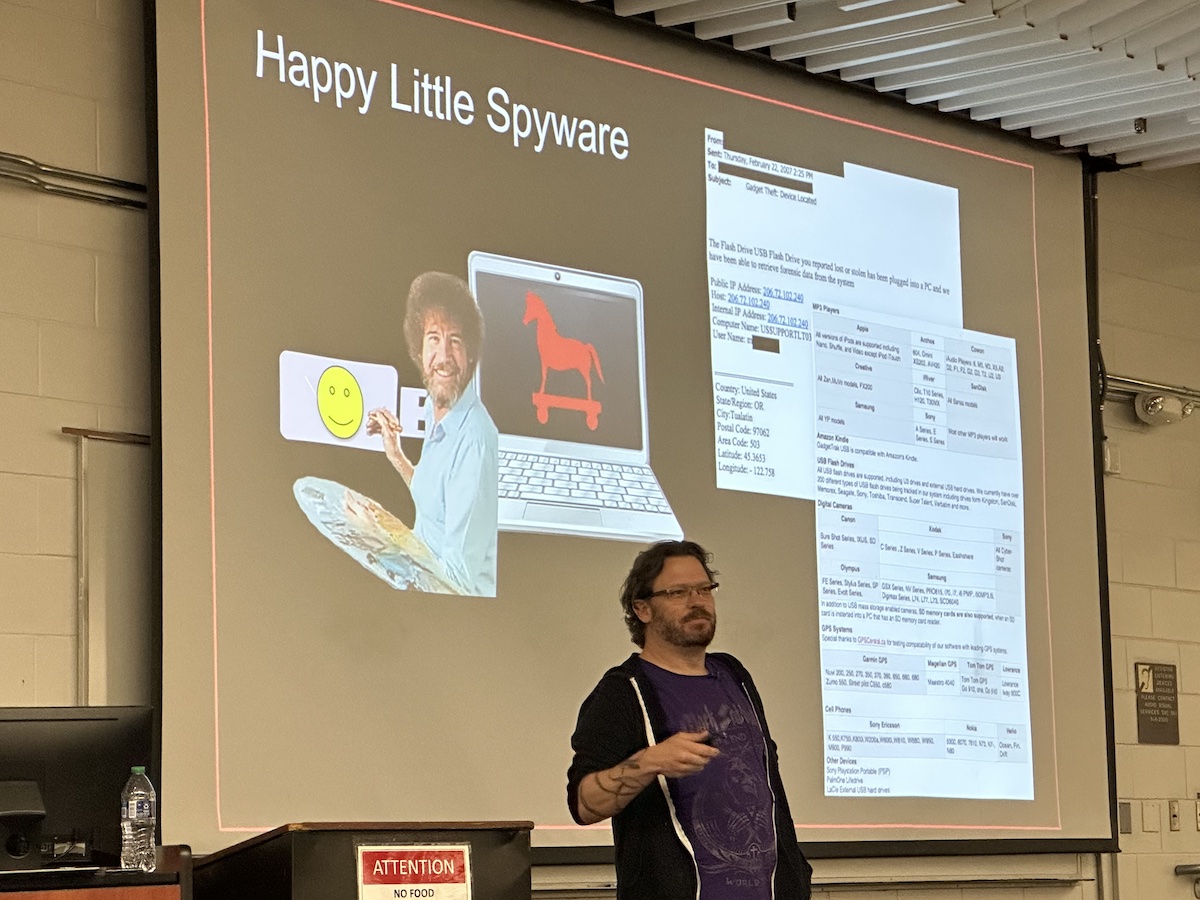
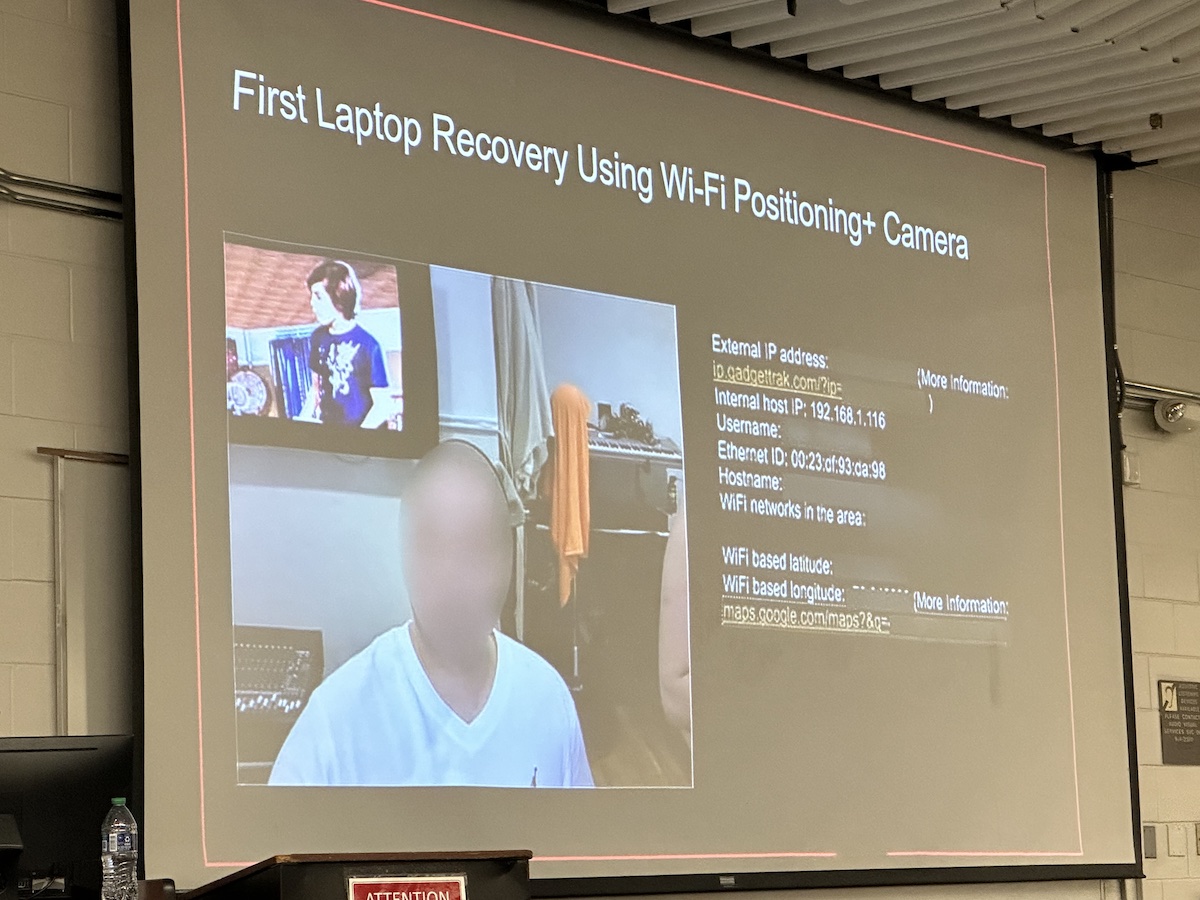
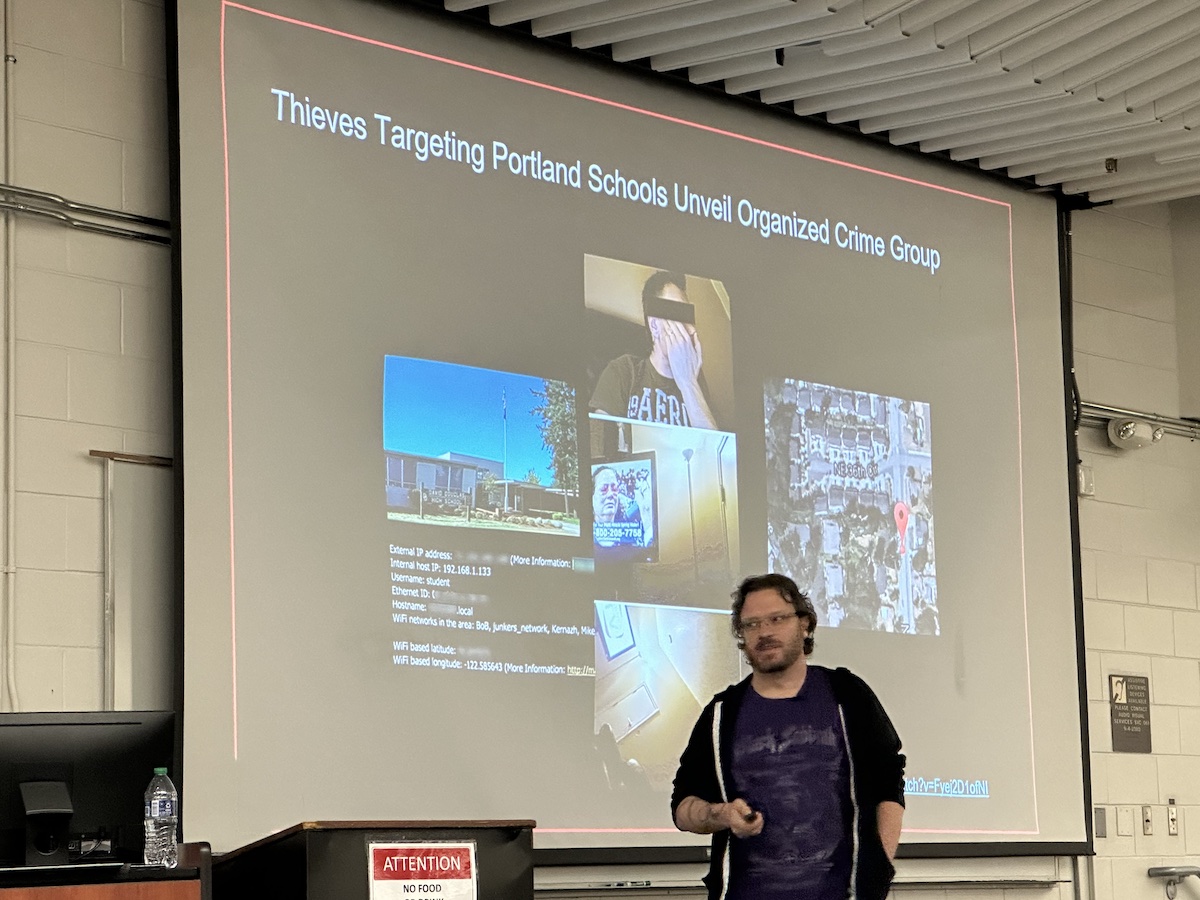
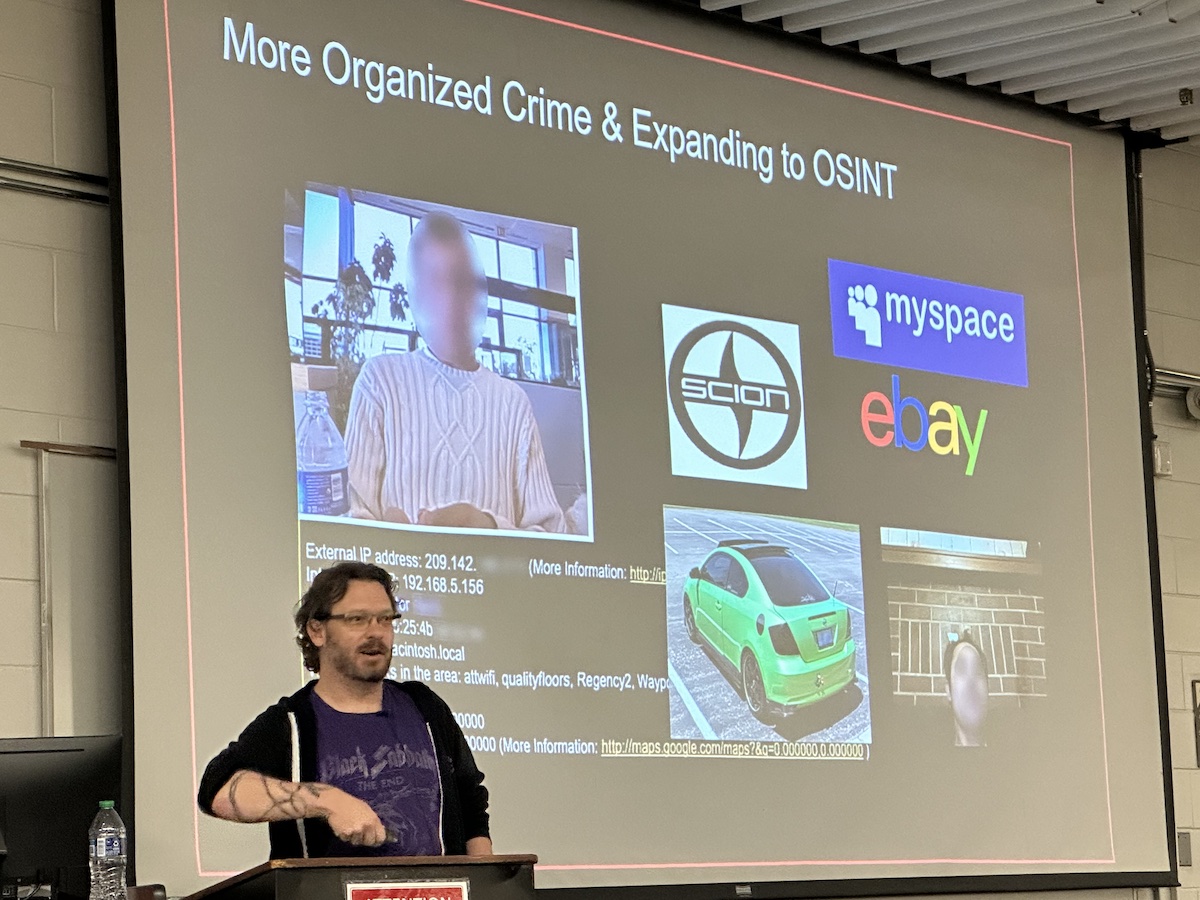
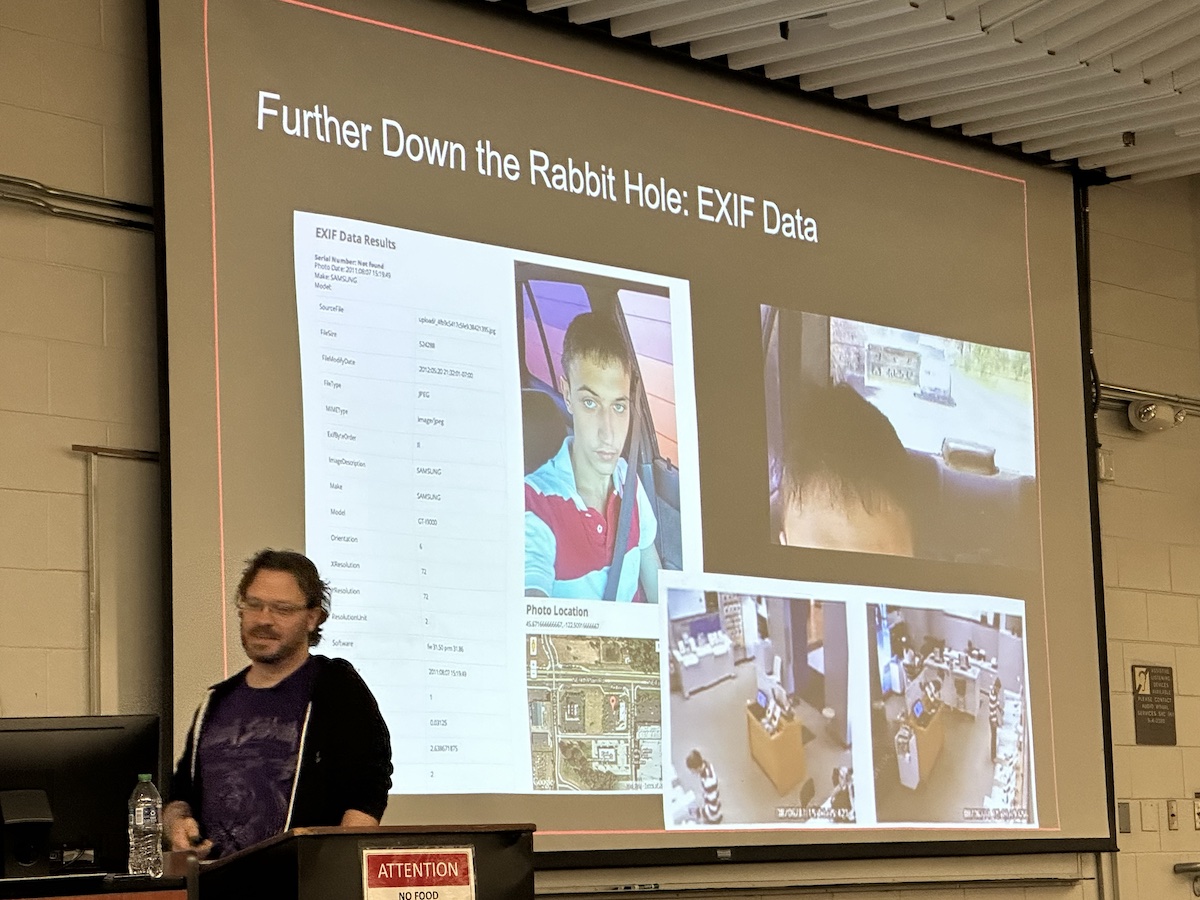
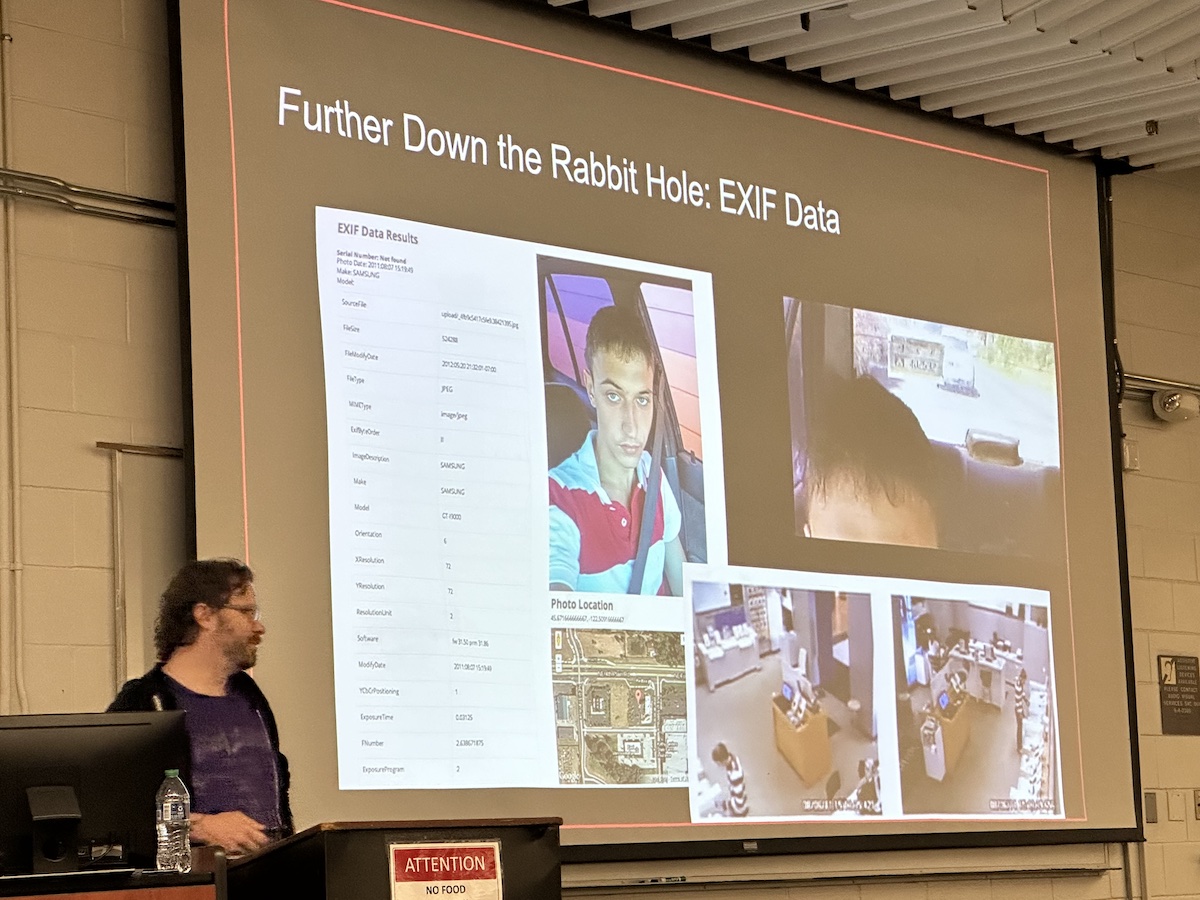
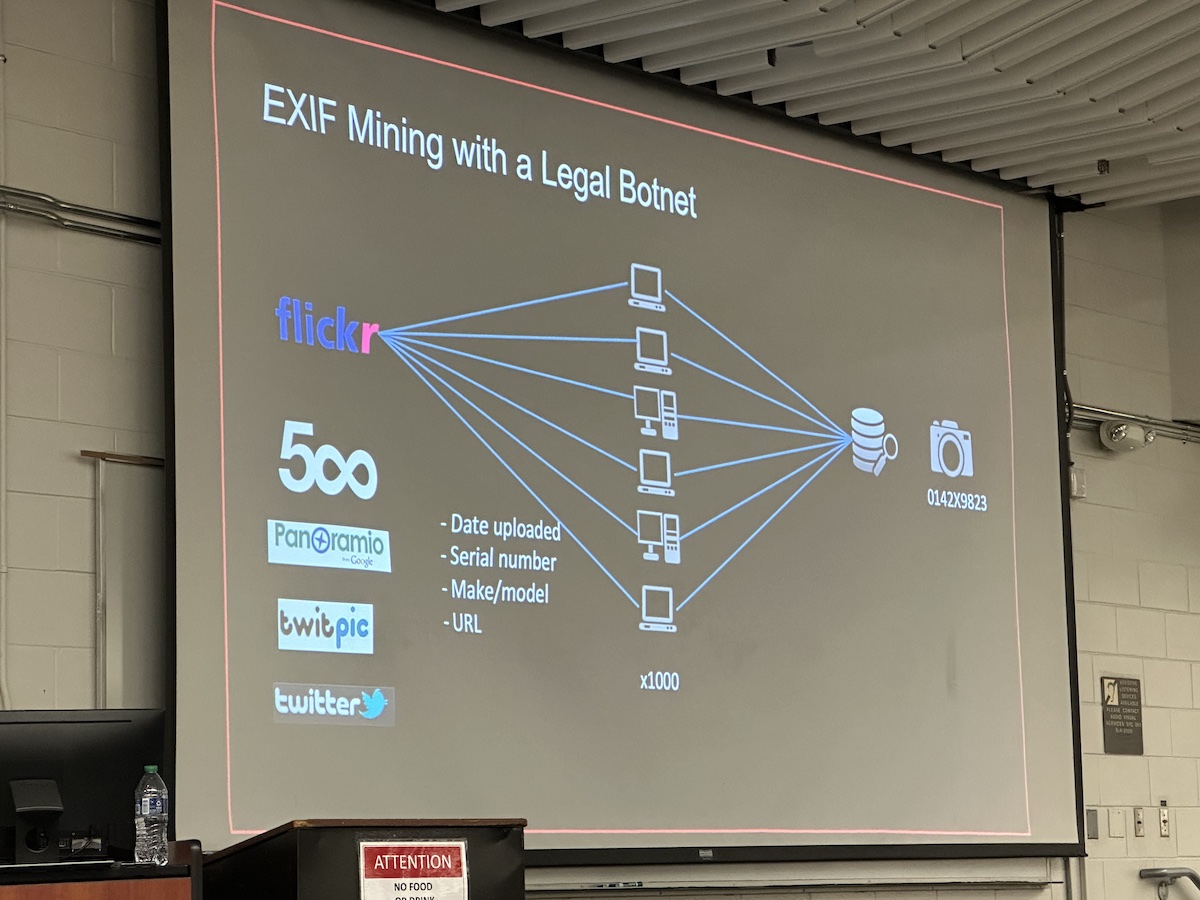
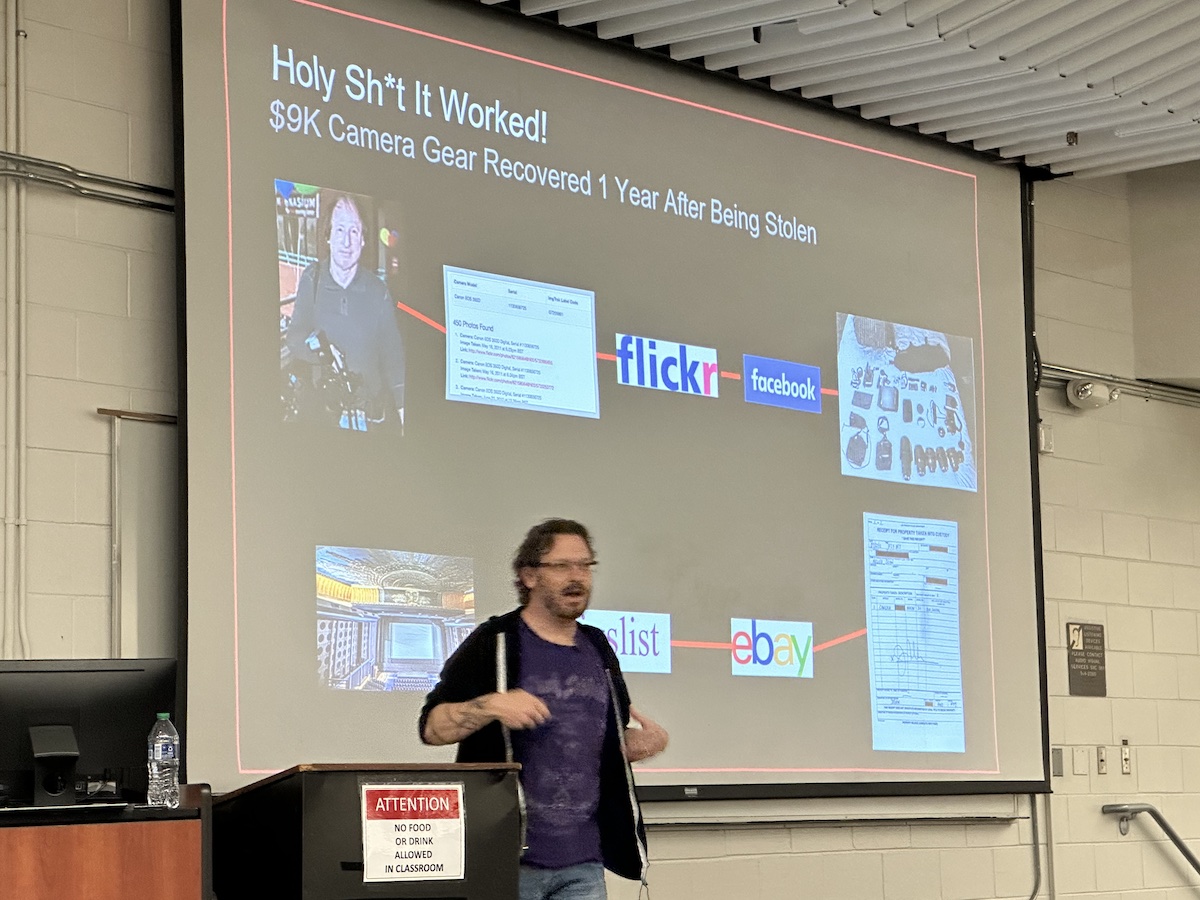
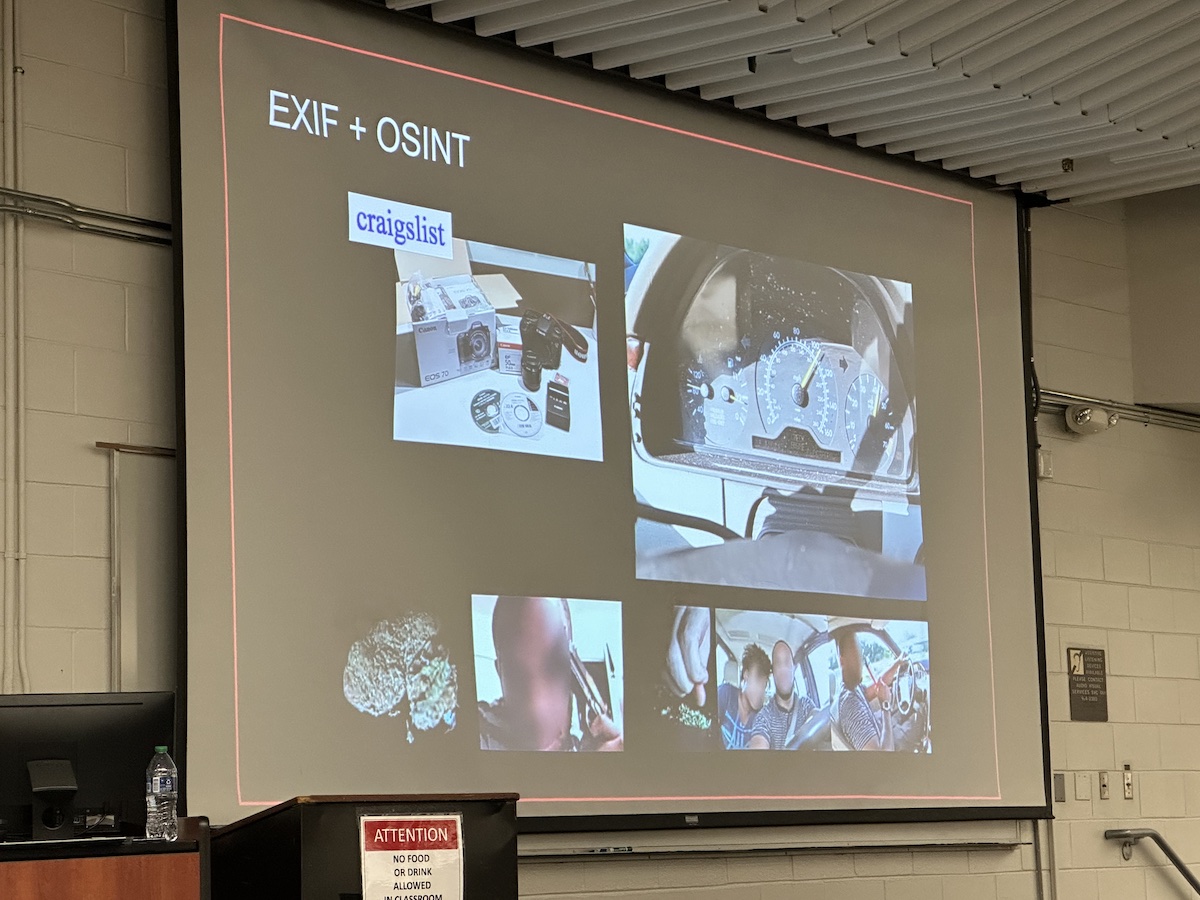
Once again, I was assigned to keep an eye on the “big room,” where Ken Westin gave his presentation, Down the Rabbit Hole, where he talked about helping law enforcement with technology and OSINT techniques.
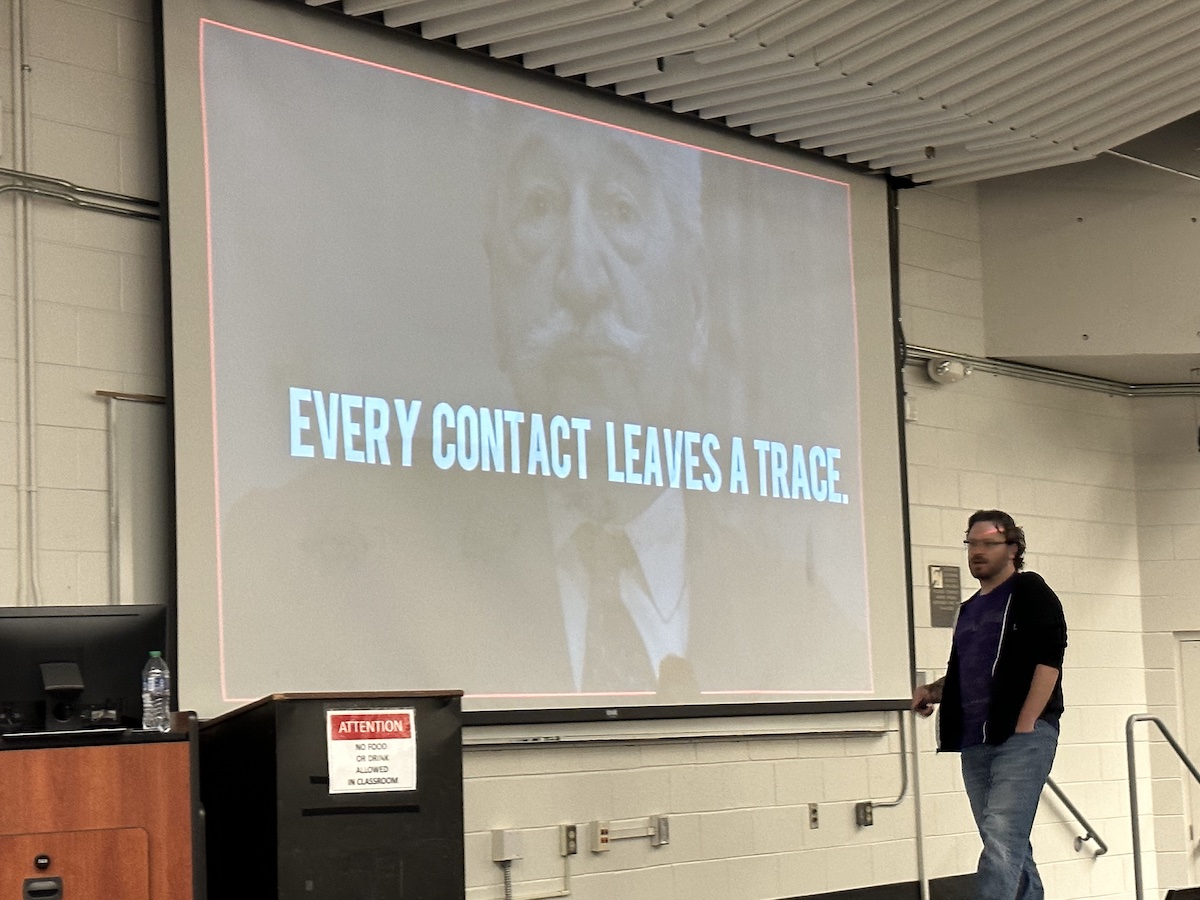
He emphasized an important fact: Every contact leaves a trace. This is a principle formulated by Edmond Locard (1877 – 1966), who is considered the pioneer of forensic science. It says that the perpetrator of a crime generally does two things:
- They bring something to the crime scene, and
- They also leave with something from the crime scene.
While this principle was made for the physical world, it’s applicable in the digital world.
Even with over a decade of cameras in GPS-equipped phones, many people forget that smartphone photos have EXIF data embedded in them, which has been many a crinimal’s undoing.
(By the way, if you’re curious about reading and erasing EXIF data from photos, I’ve written a couple of articles on the topic. There’s a Python version and a JavaScript version.)
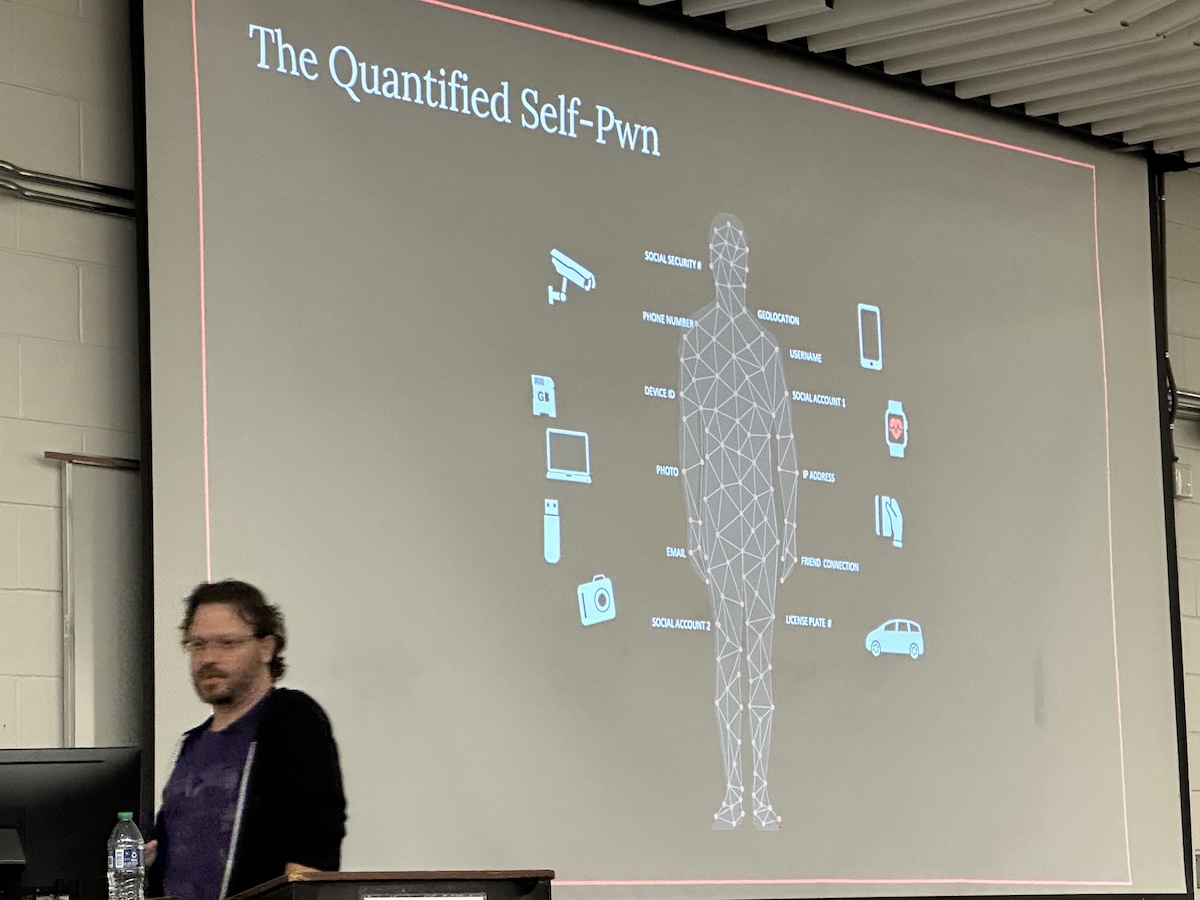
I rather like this pun on “the quantifed self:” The quanitifed self-pwn. In all the self-measurement involved in the activities that are part of the quanitifed self, there’s the possibility of unintentionally providing the collected data to unwanted parties:
Another slide I liked: The Hierarchy of Data Bleed, a play on Maslow’s Hierarchy of Needs:
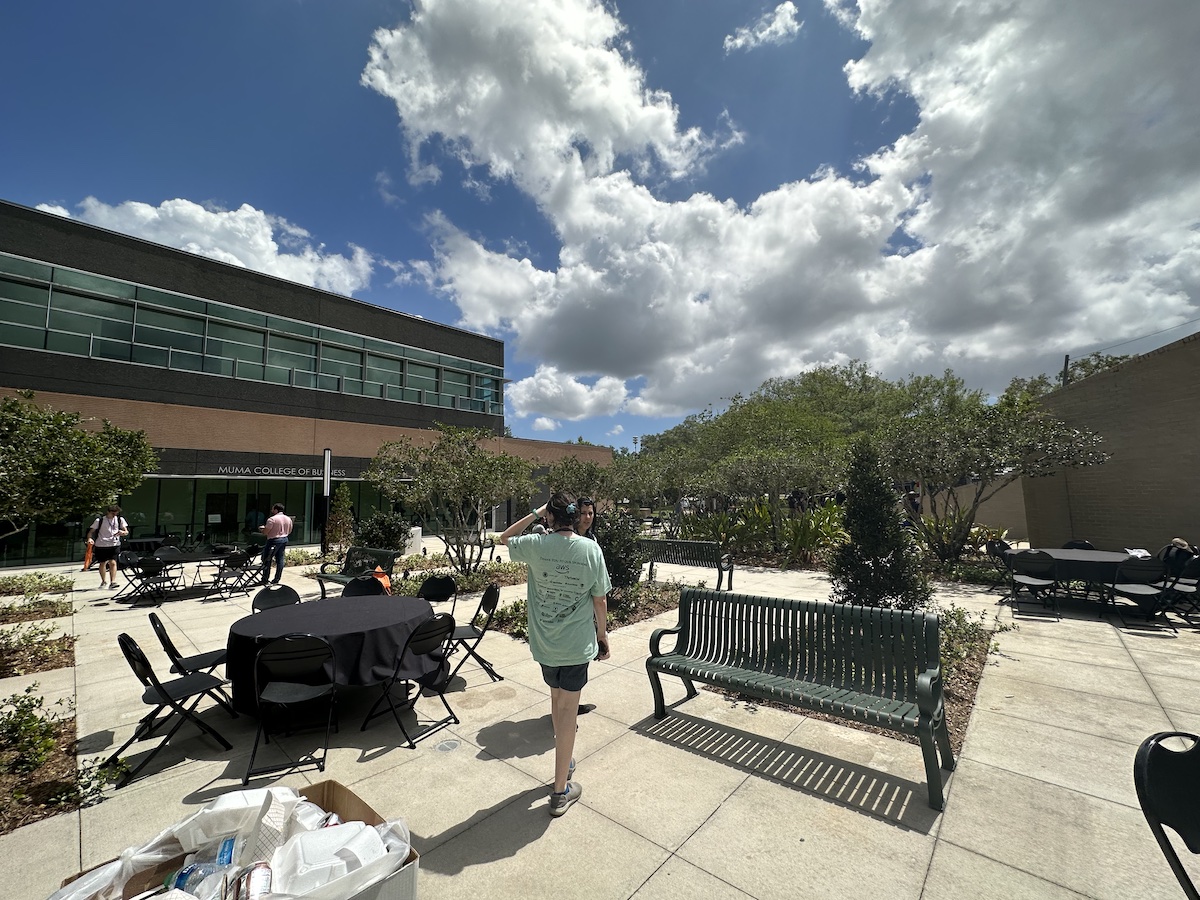
Another quick break
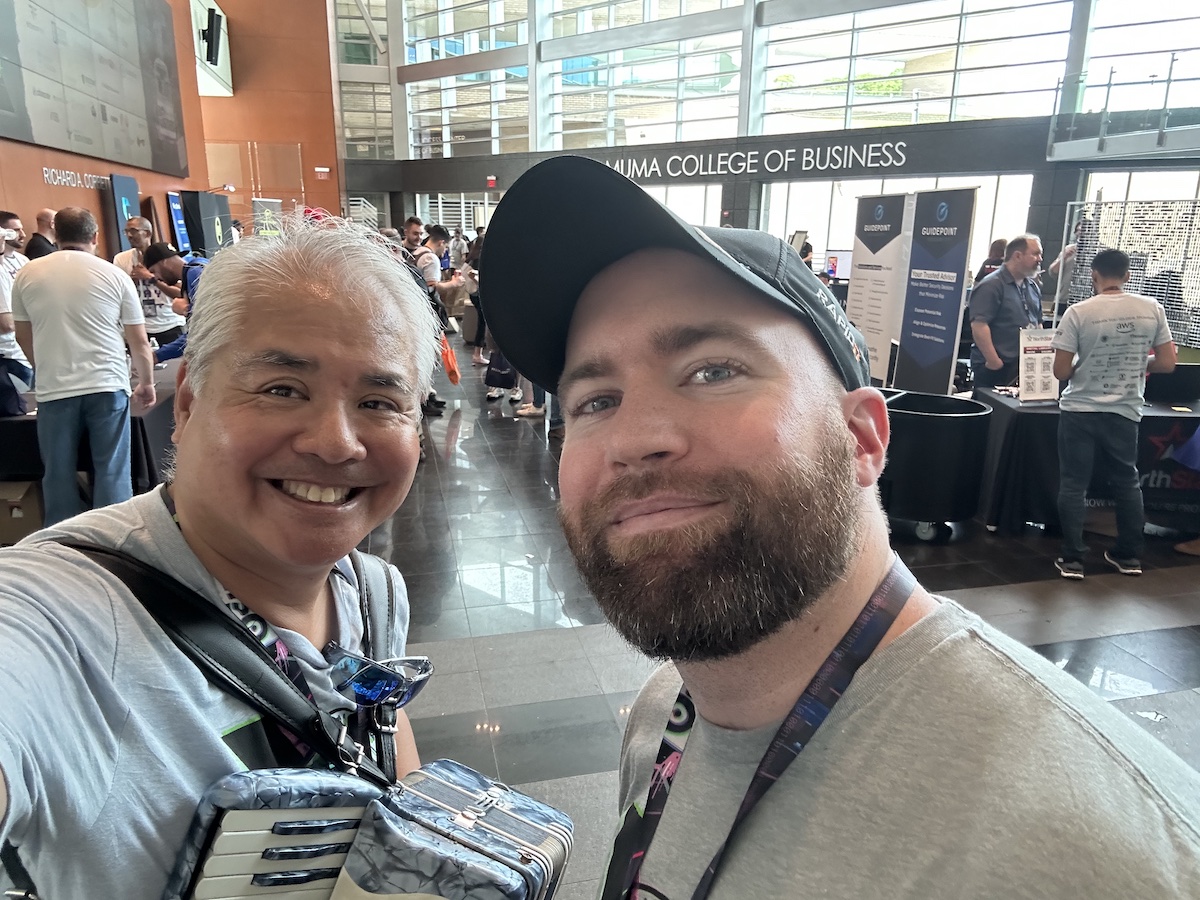
And then, another quick break. I decided to enjoy some “outside time,” where I got to take in some fresh air, play the accordion (video to come), and catch up with friends:
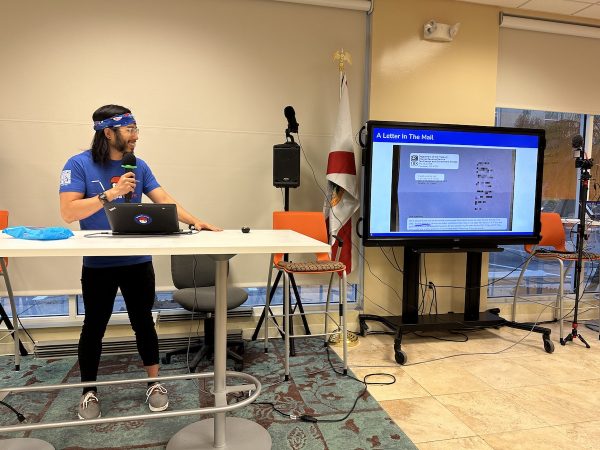
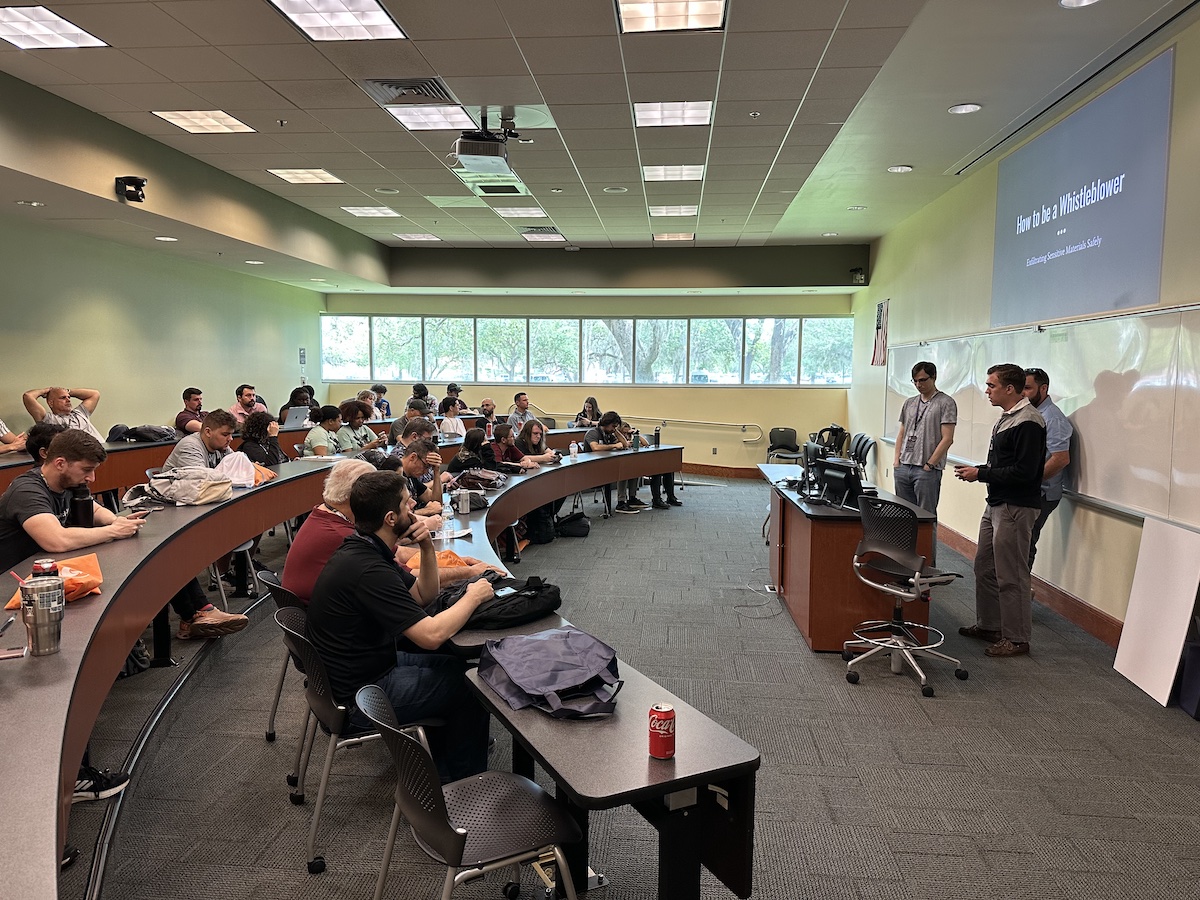
How to be a Whistleblower: Exfiltrating Sensitive Materials Safely
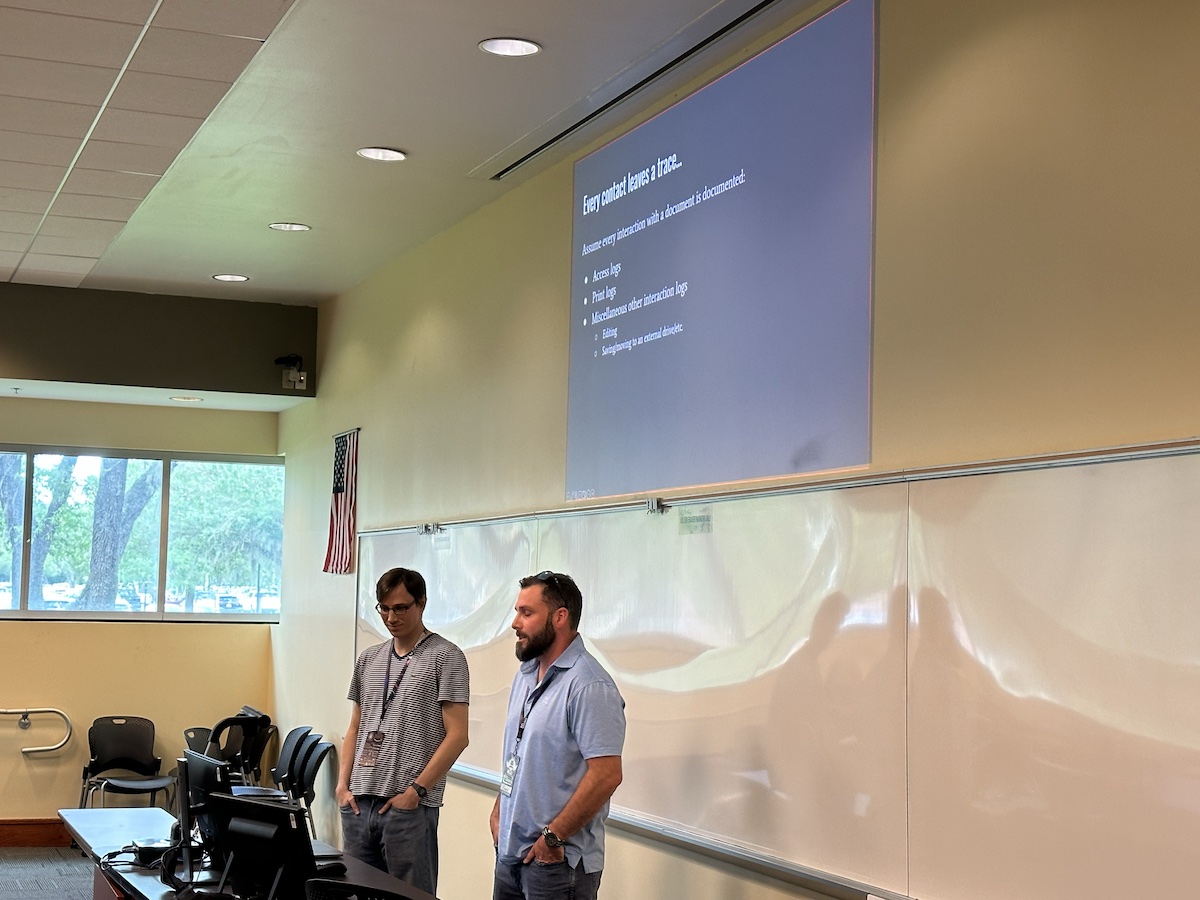
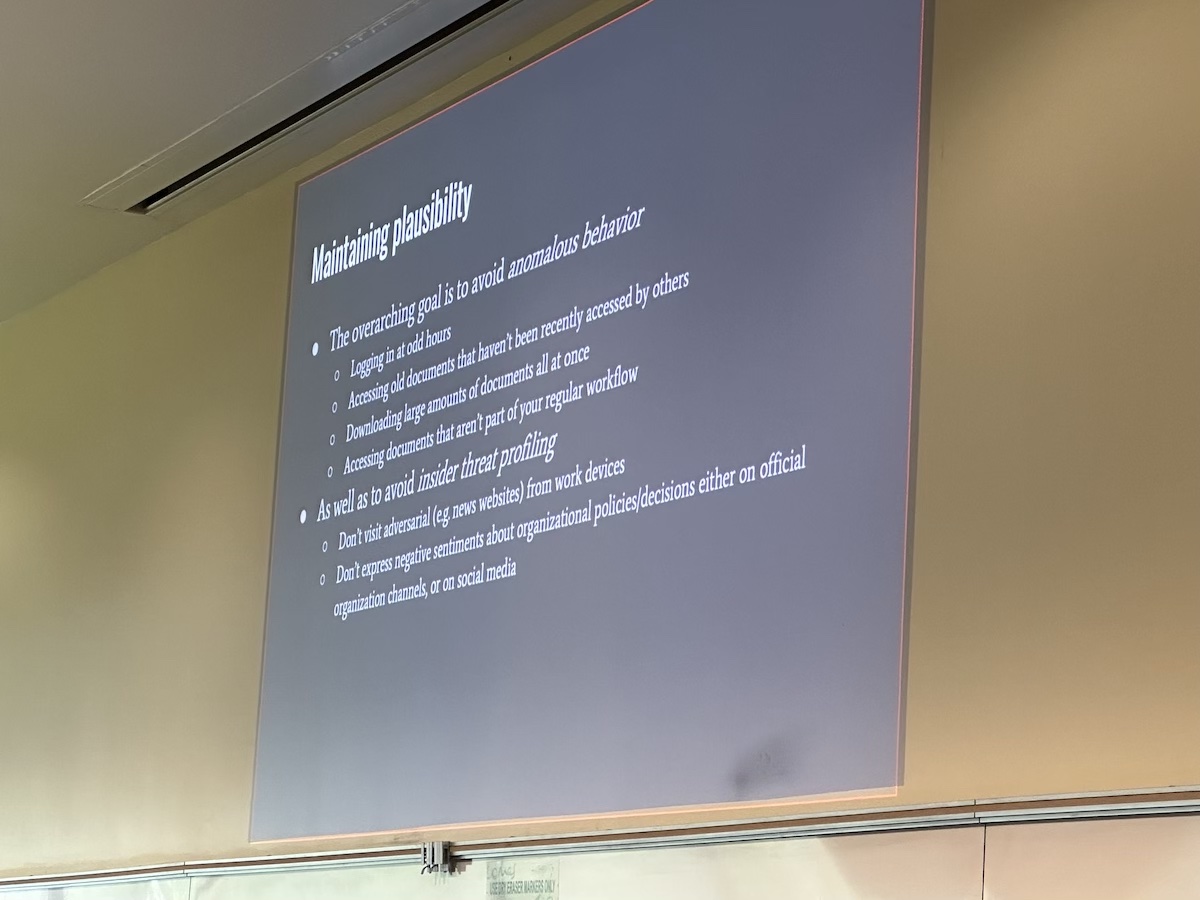
The next session over which I kept watch was How to be a Whistleblower: Exfiltrating Sensitive Materials Safely, an intriguing topic.
Once again, Locard’s principle reared its head: Every contact leaves a trace:
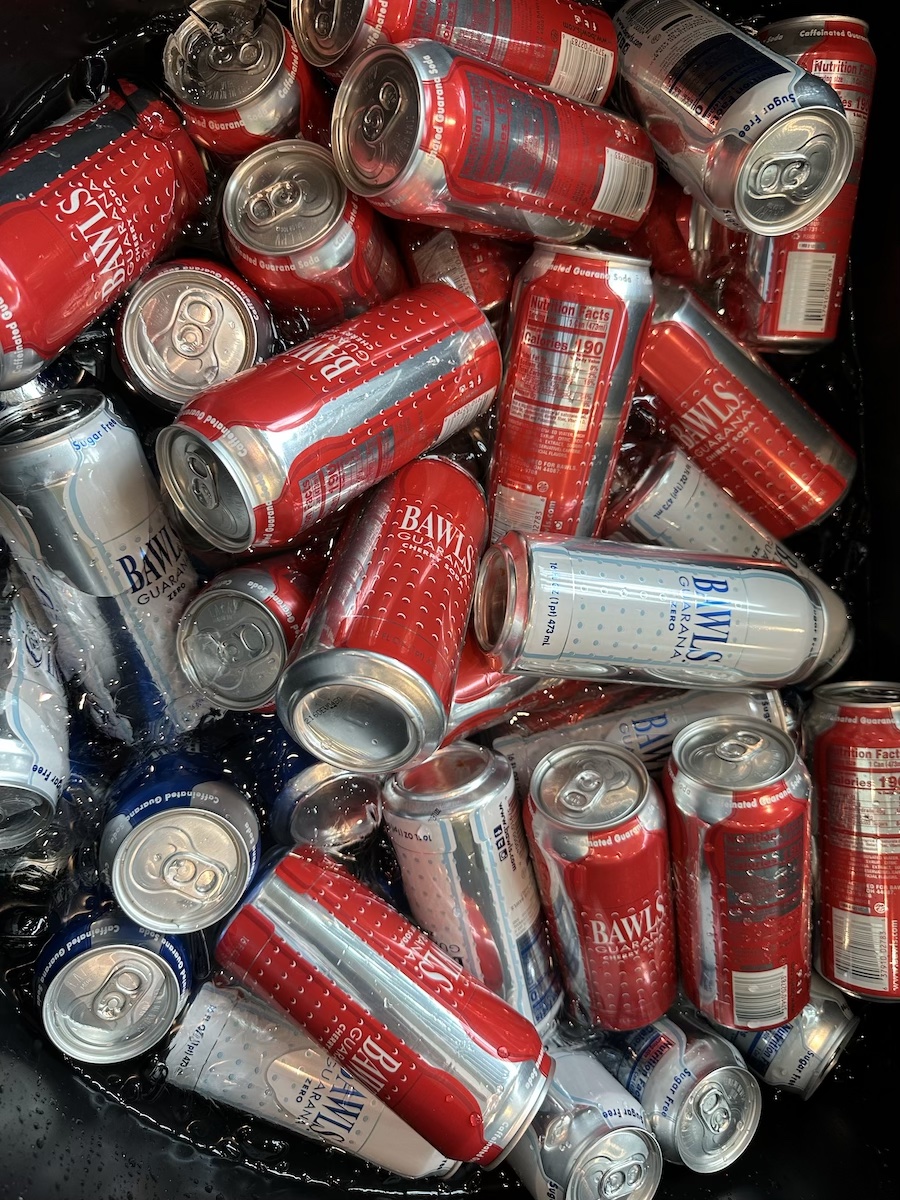
Bawls break
Bawls were one of the sponsors of BSides. I didn’t even know that this energy drink was still around!
A good portion of my job as runner was to move boxes of the stuff from storage into the ice chests scattered about the site. “Gotta move more warm Bawls,” I quipped.
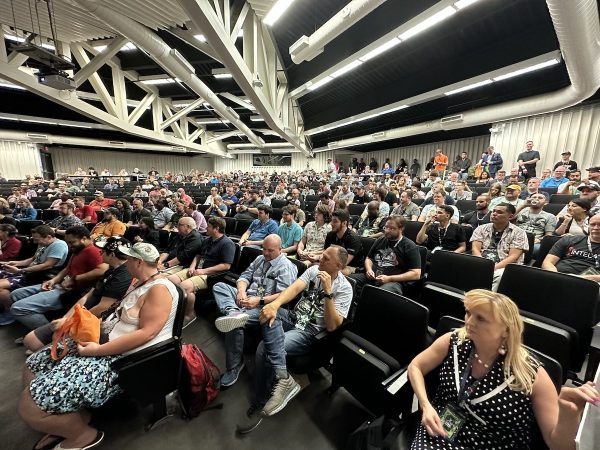
Closing
There was a raffle at the closing session, and while some people had already gone home, the remainder still managed to pack the big room. That’s when it was announced that BSides has 1,100 attendees out of 1,400 registrants. Nicely done!
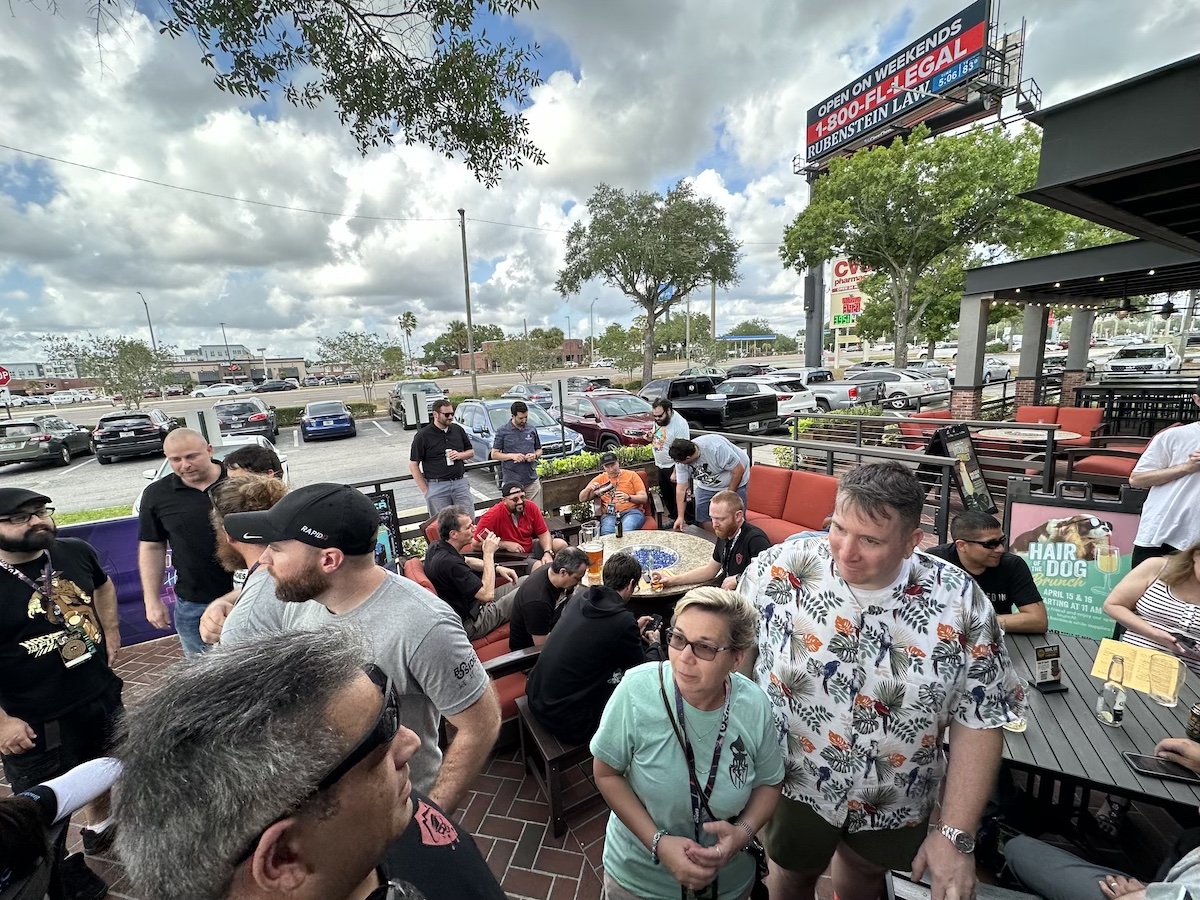
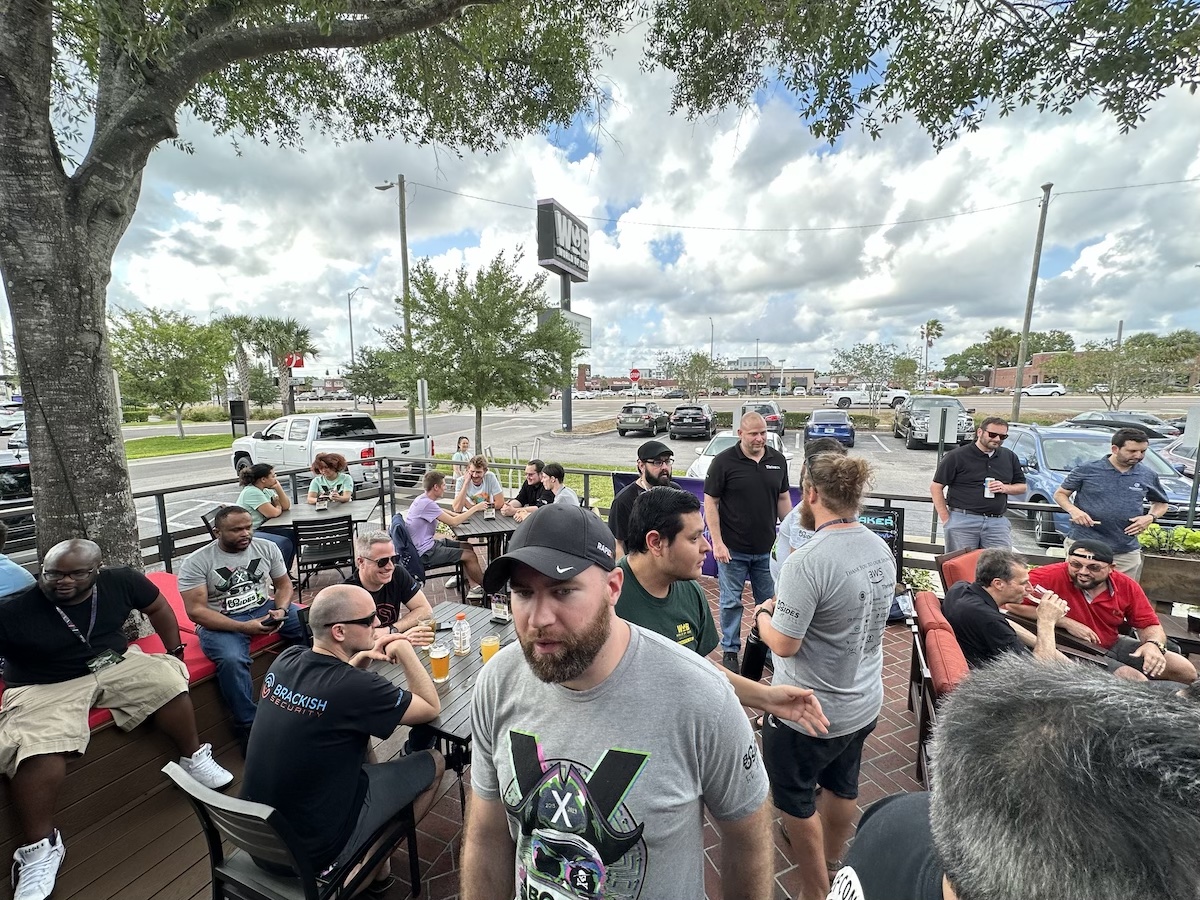
Afterparty
It’s not a true tech event without an afterparty, and BSides did not disappoint. AWS sponsored the shindig, which took place at the nearby World of Beer, and it gave me a chance to catch up with more people.
BSides Tampa was an amazing event, and I hope to up my involvement in next year’s edition. Maybe I should talk to Okta about sponsoring it…
Thank you, BSides Tampa Krewe!
Thanks to the BSides volunteer Krewe and their leader, Elvira Reyes, for letting me join in the fun! I hope to see you — and be among your number — next year!