A couple of months back, I wrote that one of my proposed talks was accepted for this year’s edition of KCDC — Kansas City Developer Conference, which takes place from August 13th through 15th (Wednesday, August 13 is the workshop day, while the conference days are Thursday and Friday, August 14 and 15).
![]()
KCDC draws 2000+ attendees each year and features tracks for the following topics:
- Architecture
- AI and Data Science
- Cloud
- Data
- DevOps
- Human Skills
- Java
- JavaScript
- Methodologies and Process Management
- .NET
- Other Technologies
- Security
- Testing and QA
- UI/UX and Design
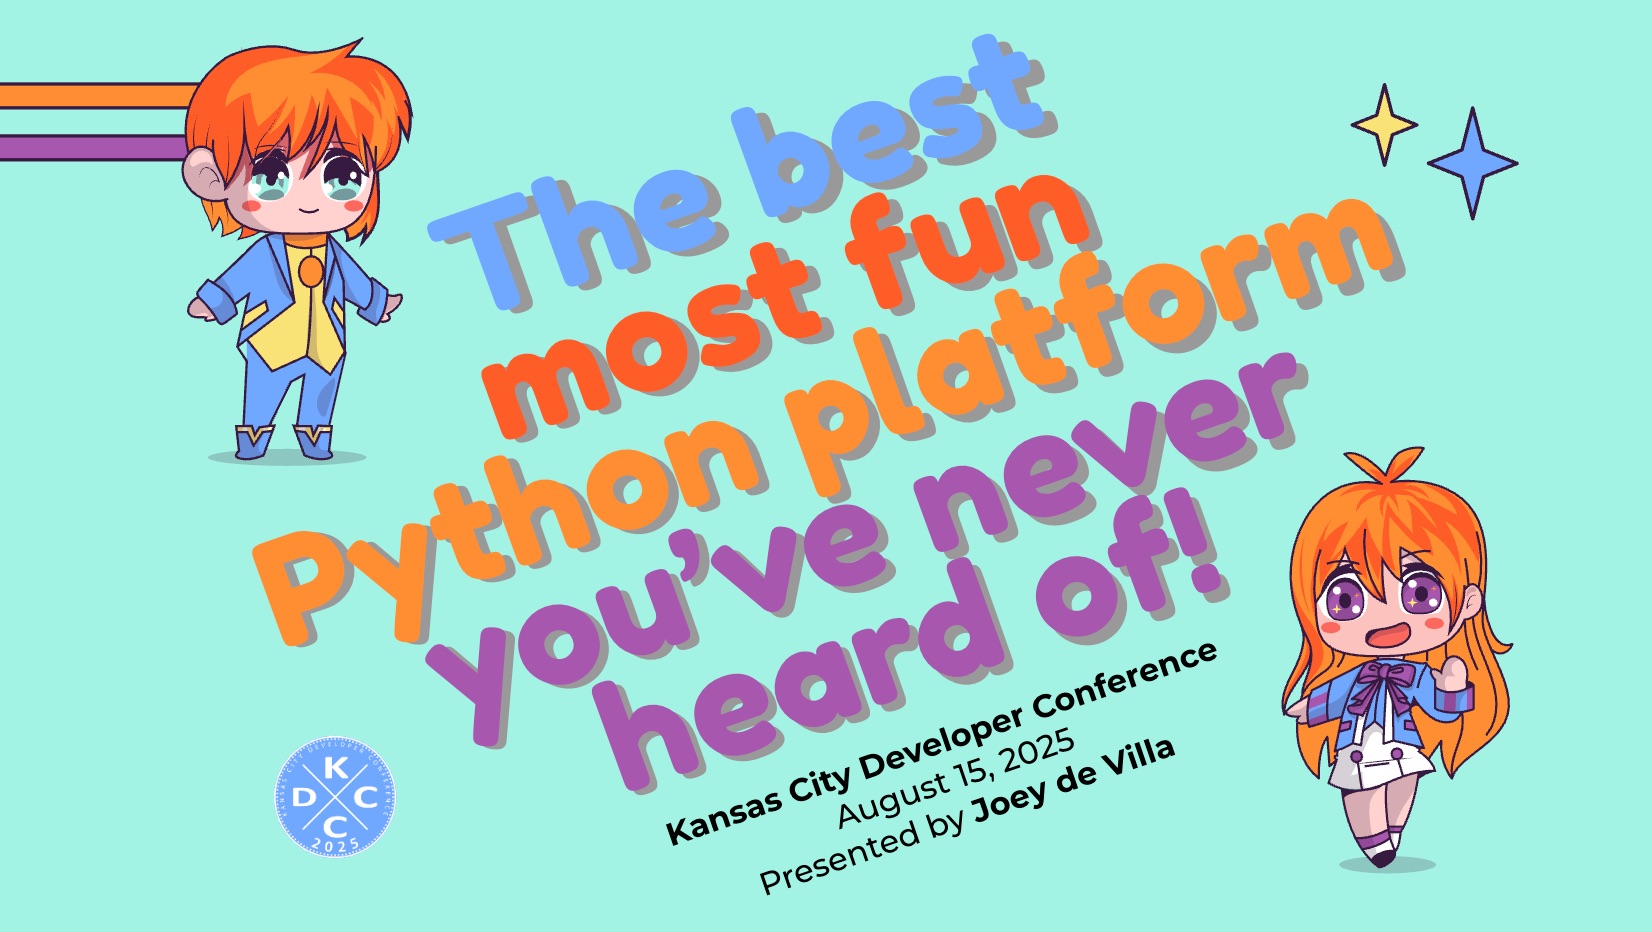
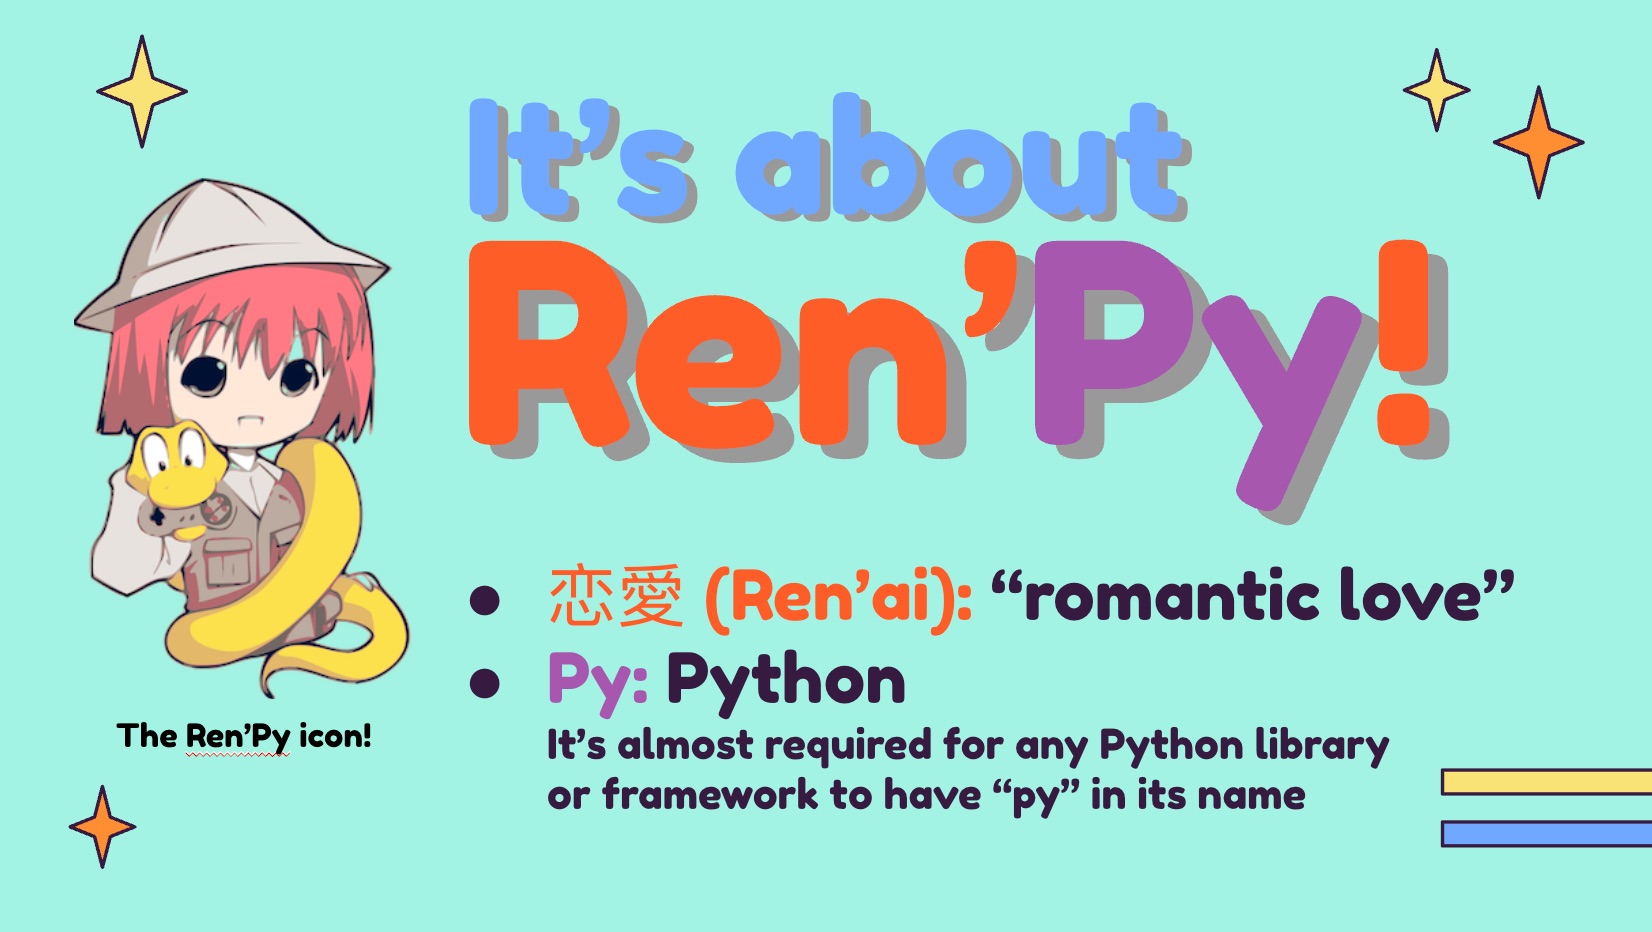
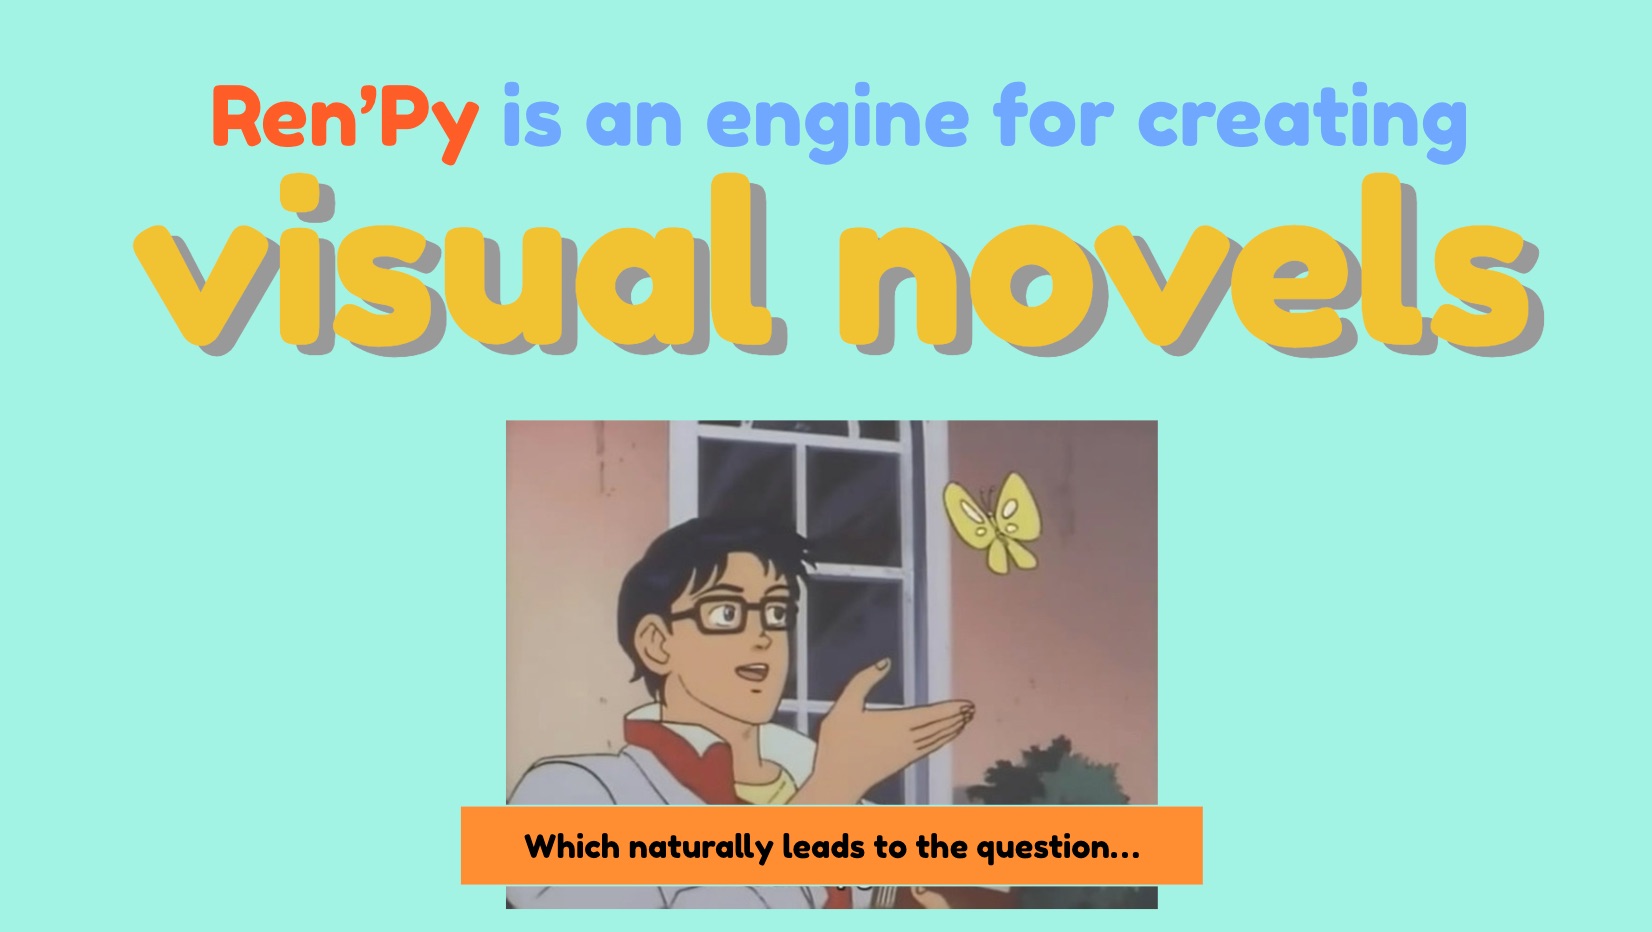
My talk’s title is The Best, Most Fun Python Platform You’ve Never Heard Of. It’s a programmer’s introduction to the powerful, fun, and all-too-often-ignored Ren’Py. While Ren’Py is called a “visual novel engine,” I prefer to think of it as the fastest, most fun way to create Python applications.
I’ve been working on my talk for the past little while, and I thought I’d share the first couple of slides from my presentation. I may update them between now and mid-August, but if you’re curious, it should give you a sense of what my presentation will be like.
Here’s the description for my talk:
Python’s occupied the number one spot on the TIOBE Programming Community Index for the past couple of years, and it’s the preferred programming language in for AI and data science. Perhaps you’ve been thinking about learning it, but the thought of having to do another set of “Hello World” style exercises is filling you with dread. Is there a more fun way to get up to speed with Python?
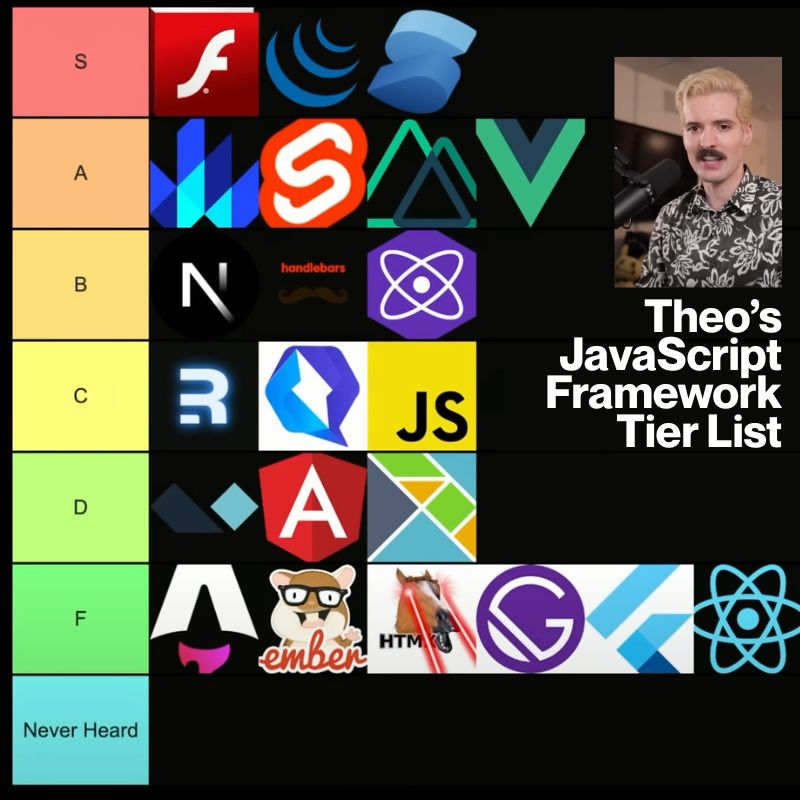
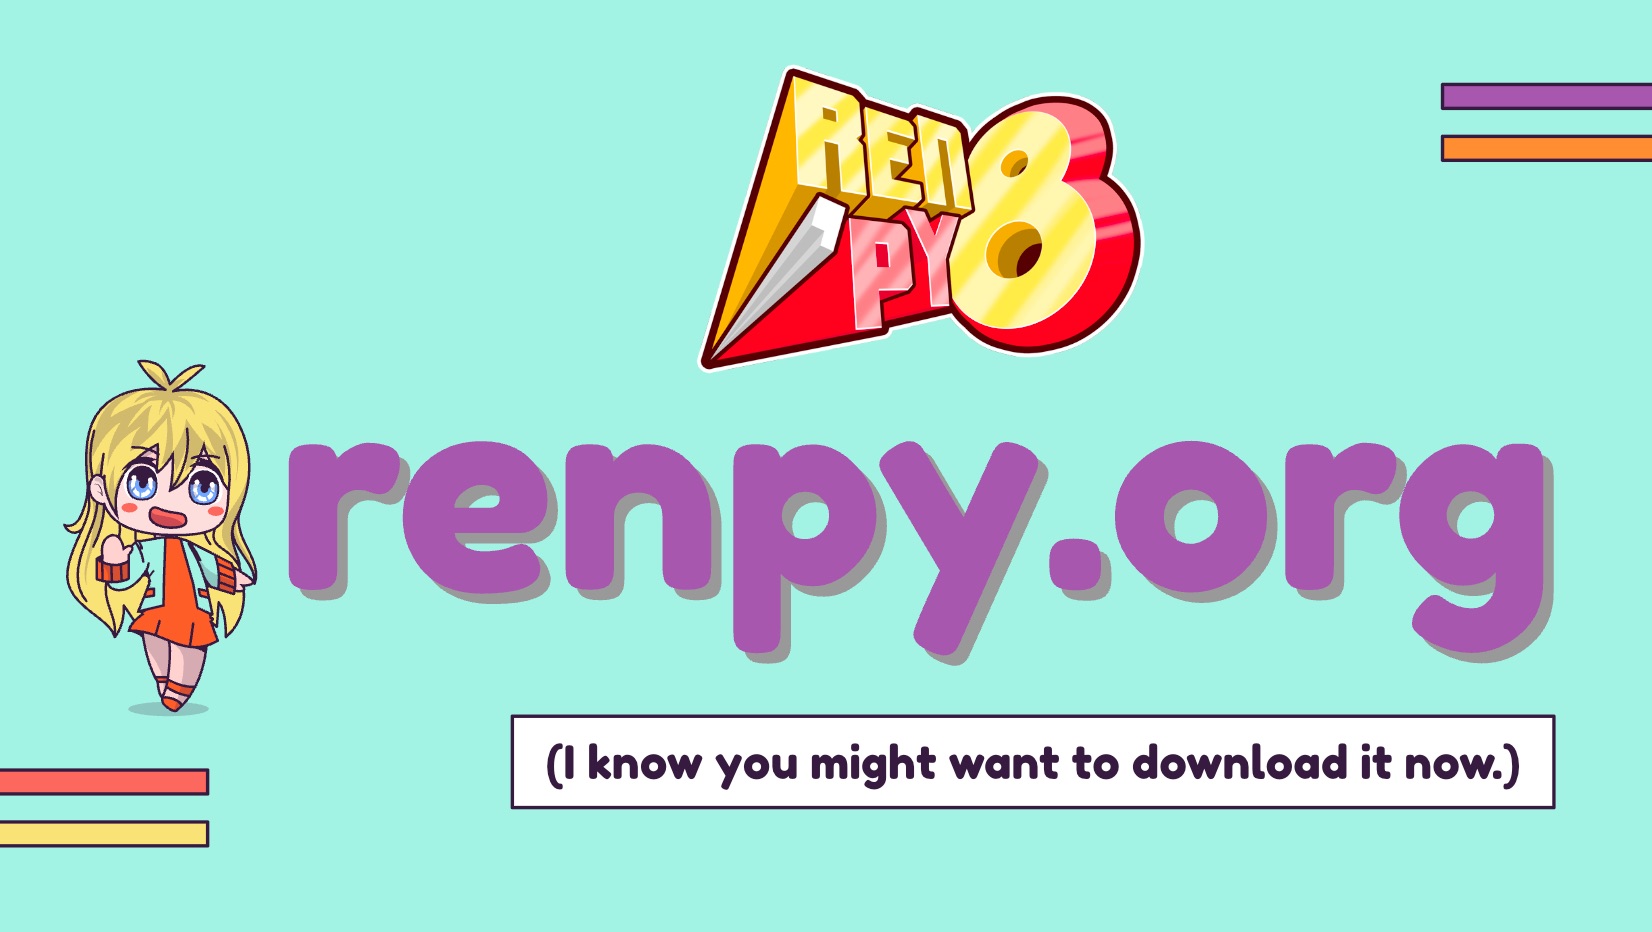
Yes, there is, and it’s called Ren’Py. It’s billed as a visual novel engine and often used for writing dating simulation games, but it’s so much more than that. It’s a platform that lets you code in Python (and more) and deploy to desktop, web, and even mobile platforms, and with a fraction of the effort required by React, Vue, or Angular. It’s a fun framework that’s been used to produce games you can find on Steam, but it’s got applications well beyond amusement.
In this session, we’ll look not just at the basics of Ren’Py development, but the building of a dating game based on KFC’s official game, “I Love You Colonel Sanders,” a simple turn-based combat game starring Florida Man, and building mobile apps in a way that’s less frustrating than usual.
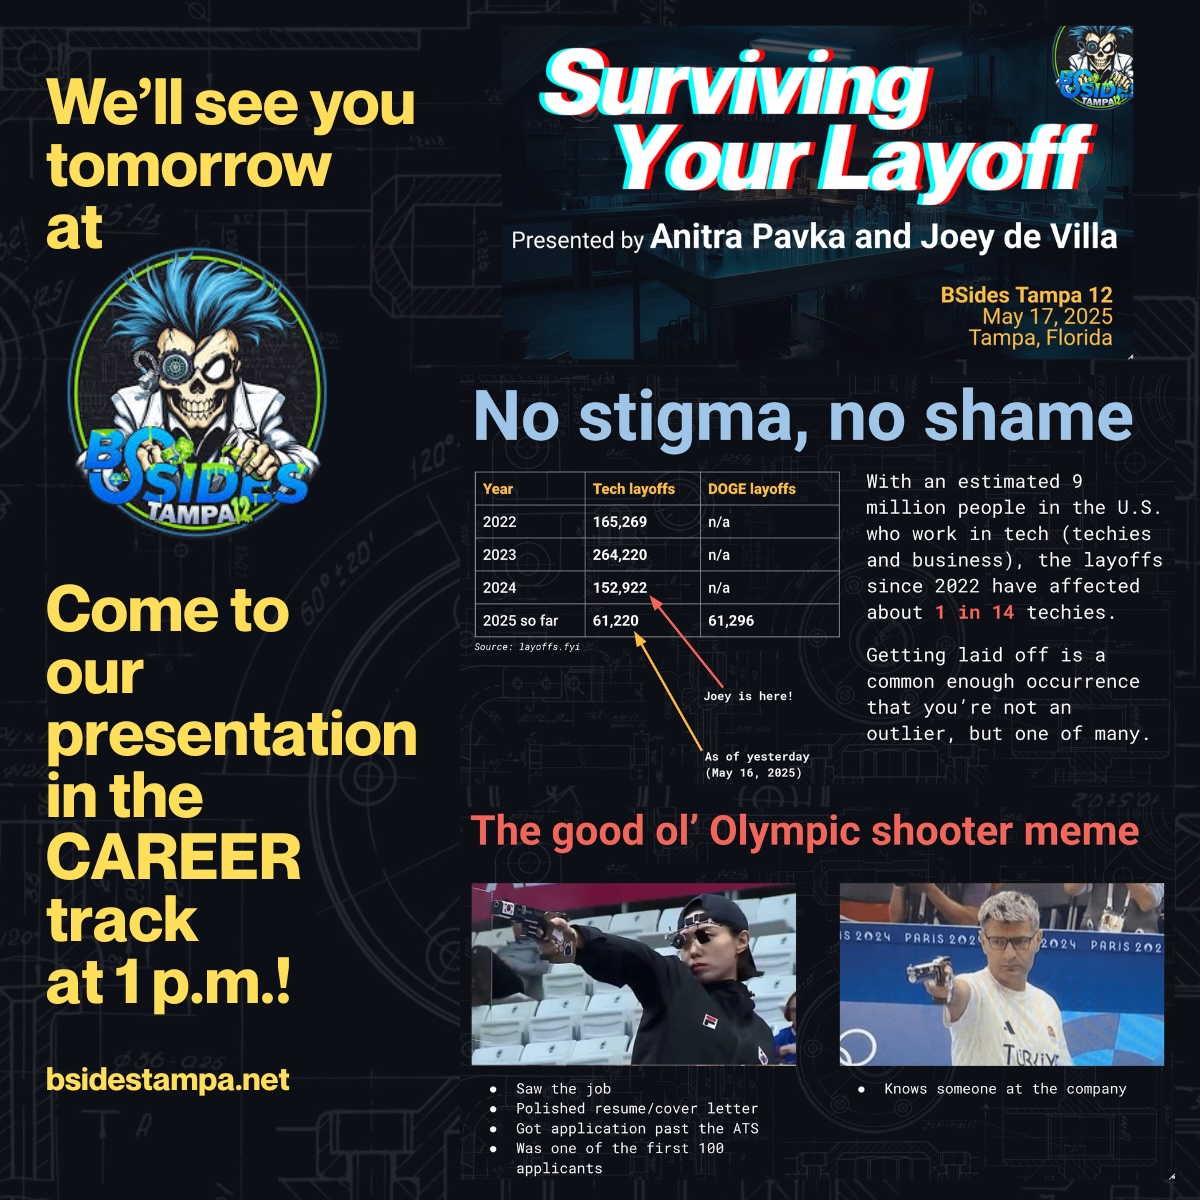
 I’m thinking about doing a dry run of my presentation here in Tampa — and for free! — at a Tampa Bay Python meetup in early August. Watch this space (or my LinkedIn account) for the announcement.
Would you like to get the anime template that I used for my slides? You can get it from SlidesGo for free — it’s called Lovely Chibis Anime Characters for Marketing!