
“Being the Foursquare mayor of a JPEG isn’t a real job, Billy.”
“Being the Foursquare mayor of a JPEG isn’t a real job, Billy.”
…well, at least as far as work goes, it’s all captured in this screenshot as I figure out what I have to do this week:
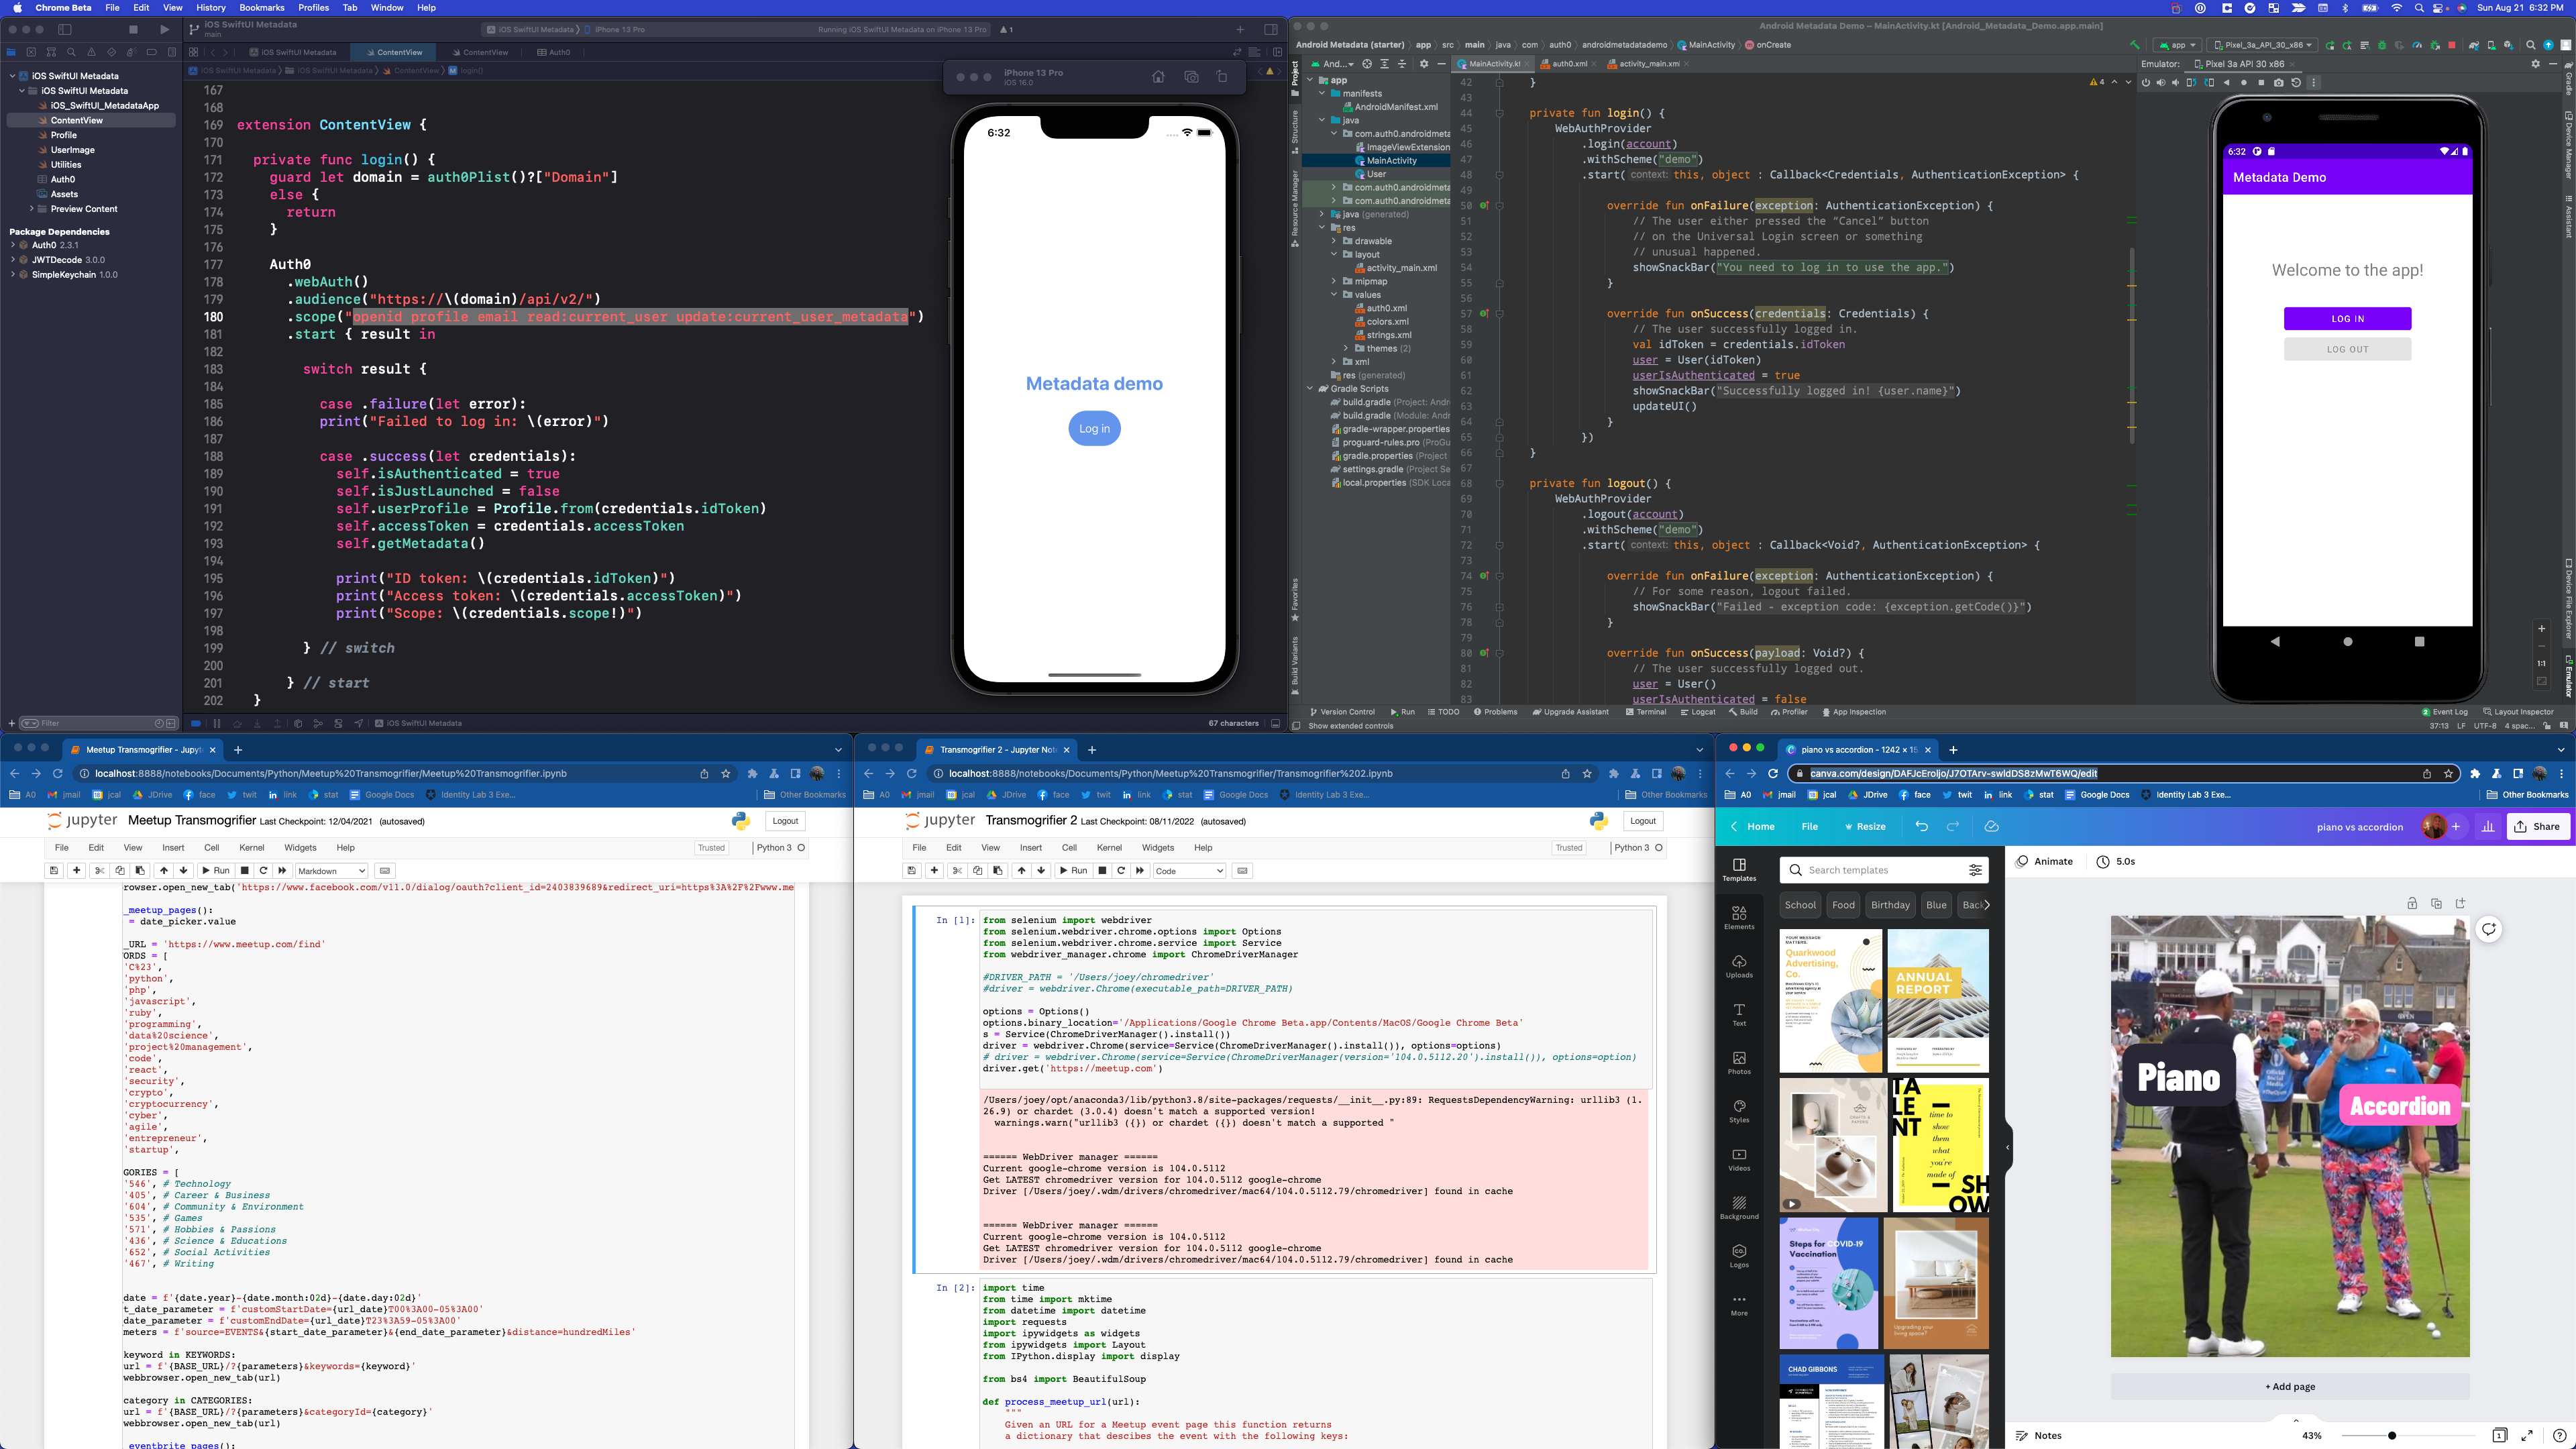
The top row contains windows for Xcode and Android Studio, on which I’m putting together the demo apps for a couple of mobile app authentication tutorials that I’m writing for the Auth0 Developer Blog.
The bottom row has two windows for the Jupyter Notebooks that I use to generate the weekly Tampa Bay Tech Events list, and one Canva window.
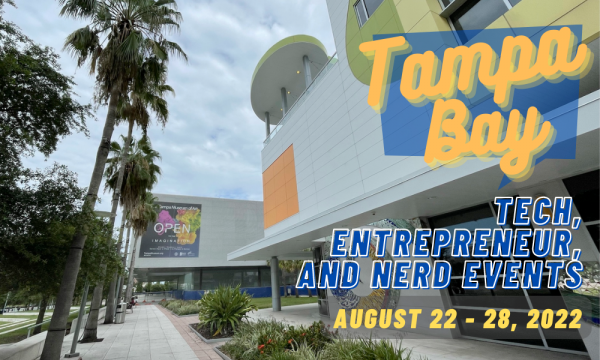
Here’s the list of tech, entrepreneur, and nerd events for Tampa Bay and surrounding areas for the week of Monday, August 22 through Sunday, August 28, 2022. Yup, this is the last full week of August!
Every week, with the assistance of a couple of Jupyter Notebooks that I put together, I compile this list for the Tampa Bay tech community.
As far as event types go, this list casts a rather wide net. It includes events that would be of interest to techies, nerds, and entrepreneurs. It includes (but isn’t limited to) events that fall under the category of:
By “Tampa Bay and surrounding areas”, this list covers events that originate or are aimed at the area within 100 miles of the Port of Tampa. At the very least, that includes the cities of Tampa, St. Petersburg, and Clearwater, but as far north as Ocala, as far south as Fort Myers, and includes Orlando and its surrounding cities.
I update this list during the week as new events get announced or as people tell me about them. Want to stay up-to-date? Keep checking this post for updates!
| Group | Event Name | Time |
|---|---|---|
| Young Professionals Networking JOIN in and Connect! | In person at Fords Garage St Pete | 11:00 AM |
| Entrepreneurs & Business Owners of Sarasota & Bradenton | Virtual Networking Lunch Monday | 11:30 AM |
| Professional Business Networking with RGAnetwork.net | Virtual Networking Lunch | 11:30 AM |
| Christian Professionals Network Tampa Bay | Live Online Connection Meeting- Monday | 11:30 AM |
| Thinkful Tampa | Thinkful Webinar || What Tech Career Is Right For Me? | 12:00 PM – 1:30 PM EDT |
| Tampa St Pete Stocks and Options Trading Group | Success in Stagflation: Learn to Protect Your Wealth | 4:00 PM |
| SCIPS, a 50+ Tampa Bay Singles Club | EUCHRE, Rummy Q and other Board Games for ENTHUSIASTIC GAME PLAYERS | 4:00 PM |
| Beginning Web Development | Weekly Learning Session | 6:00 PM |
| Tampa Bay Tabletoppers | Monday Feast & Game Night | 6:00 PM |
| Critical Hit Games | MTG: Commander Night | 6:00 PM |
| Brews N Board Games | Board Game Night at Persimmon Hollow Flamingo Crossings | 6:00 PM |
| New Wealth CoLab | Real Estate Investing Workspace | Entrepreneurs: Learn How to Build, Scale, and SELL your Business | 6:00 PM |
| Board Game Meetup: Board Game Boxcar | Monday Weekly Board Game Night! (Lazy Moon Colonial Location) | 6:00 PM |
| Tampa Bay Gaming: RPG’s, Board Games & more! | Casual Pokemon League at Nerdy Needs | 6:00 PM |
| BerLagmark – Sarasota Amtgard | Monday Night Fighter Practice! | 6:00 PM |
| Tampa Bay Coalition of Reason | Monthly N. Pinellas TBCor Humanist Social Dinner | 6:00 PM |
| Thinkful Tampa | Thinkful Webinar || Intro to HTML & CSS: Build Your Own Website | 6:00 PM – 7:30 PM EDT |
| Toastmasters District 48 | Speakeasy Toastmasters #4698 | 6:15 PM |
| Toastmasters District 48 | North Port Toastmasters Meets Online!! | 6:30 PM |
| Drunk’n Meeples the Social Tabletop (Board) Gamers | Throwback Monday Game Night @deBine Brewery | 6:30 PM |
| Tampa – Sarasota – Venice Trivia & Quiz Meetup | Trivia Night – Motorworks Brewing Smartphone Trivia Game Show | 7:00 PM |
| Light Study PRO – A Photography Workshop for Emerging Pros | Members as far back as 2008 can access their photos | 7:00 PM |
| Orlando Stoics | ONLINE: “What does a Stoic practice??” (Part 2) | 7:00 PM |
| Learn-To-Trade Forex – Online (As Seen on Orlando Sentinel) | Learn-To-Trade Q&A (ONLINE) | 7:00 PM |
| Learn-To-Trade Crypto – Online (As Seen on Orlando Sentinel) | Learn-To-Trade Q&A (0NLINE) | 7:00 PM |
| Central Florida AD&D (1st ed.) Grognards Guild | World of Greyhawk: 1E One-Shots | 7:30 PM |
| The Nomadic Entrepreneur Group Sarasota | LinkedIn Workshop: How to Create a Ridiculously Easy Second Income on LinkedIn | 8:00 PM |
| Work From Home -Online Business Opportunities and Networking | Learn How You Can Create A Crazy Side Income Through LinkedIn | 8:00 PM |
| Thinkful Tampa | Thinkful Webinar || What is UX/UI Design? | 9:00 PM – 10:30 PM EDT |
| Tampa / St Pete Business Connections | Monday Virtual Business Introductions | 11:30 PM |
| Group | Event Name | Time |
|---|---|---|
| Doris Muller for NPI Westchase Chapter | Business Networking Event for Local Professionals | See event page |
| Juan Colon jr with United Wealth Educators | Business networking event | See event page |
| Pasco County Young Entrepreneurs/Business Owners All Welcome | Happy Hangar Early Bird Professionals Networking | 7:30 AM |
| Pasco County Young Entrepreneurs/Business Owners All Welcome | Happy Hangar Early Bird Professionals Networking | 7:30 AM |
| Professional Business Networking with RGAnetwork.net | Wesley Chapel/Lutz networking breakfast | 7:30 AM |
| Young Professionals Networking JOIN in and Connect! | Tampa Young Professionals Virtual Networking Thursday Morning All WElCOME | 7:30 AM |
| Professional Business Networking with RGAnetwork.net | Virtual Networking Breakfast Thursday’s | 7:30 AM |
| Business Networking Weekly Meeting for Local Professionals | Business Networking for Local Professionals | 8:00 AM |
| TampaBayNetworkers | Suncoast Networkers | 8:30 AM |
| Orlando Melrose Makers | In-Person: Makerspace Open Lab | 10:30 AM |
| Tampa / St Pete Business Connections | Clearwater/Central Pinellas Networking Lunch | 11:00 AM |
| Block Co-op – Bitcoin Crypto Blockchain Orlando | Crypto Set-up Class -Limited to 5 Seats Only | 11:00 AM |
| Tampa Bay Business Networking Happy Hour/Meetings/Meet Up | Pinellas County’s Largest Networking Lunch and your invited! | 11:00 AM |
| Business Game Changers Group | Clearwater Professional Networking Lunch | 11:00 AM |
| EmpireToday Networking Brunch | EmpireToday Commercial Partners Brunch | 11:00 AM |
| Young Professionals Networking JOIN in and Connect! | The Founders Meeting where it all Began! JOIN us! Bring a guest and get a gift | 11:00 AM |
| Florida Startup: Idea to IPO | How to Cut Product Development Costs by up to 50%! | 11:00 AM |
| Wesley Chapel, Trinity, New Tampa, Business Professionals | Wesley Chapel Grill Smith Professional Networking Lunch | 11:30 AM |
| Network Professionals Inc. of South Pinellas (NPI) | NPI Power Lunch – Exchange Qualified Business Referrals | 11:30 AM |
| Tampa Bay Business Networking Meetings & Mixers | Brandon Networking Professionals Networking Lunch | 11:30 AM |
| Pasco County Young Entrepreneurs/Business Owners All Welcome | Wesley Chapel Professional Networking Lunch at Chuck Lager America’s Tavern | 11:30 AM |
| Thinkful Tampa | Thinkful Webinar || Data Science vs. Data Analytics | 12:00 PM – 1:30 PM EDT |
| “Learn and Earn” Millionaire Mind Secrets & Networking | Online Zoom! Millionaire Mind Lunch; Book Club and Networking! | 12:00 PM |
| Network After Work Tampa – Networking Events | Generate REAL Revenue with the Right LinkedIn Strategy | 2:00 PM |
| StartUp Xchange | Startup Strategy Office Hours | 2:30 PM |
| Free Video Production Classes – TV/Internet | YouTube Basics (ONLINE CLASS) – FREE for Hillsborough County Residents | 3:00 PM |
| Bradenton Photo Group | Lightroom Sessions – Edits and Catalogs | 5:00 PM |
| Tampa – Sarasota – Venice Trivia & Quiz Meetup | Trivia Night – Bunkers Bar of Sun City Center Smartphone Trivia Game Show | 5:00 PM |
| The Networking Beast | Networking Event & Business Card Exchange by The Networking Beast (TAMPA) | 5:30 PM – 7:30 PM EDT |
| Black Orlando Tech (BOT) | Tales from The Crypt: Crypto Currency 101 and Why it’s Not Dead | 6:00 PM |
| Toastmasters District 48 | Clearwater Community Toastmasters | 6:00 PM |
| Tampa Hackerspace | Phoenix Board Game Night | 6:00 PM |
| Tampa Bay Data Engineering Group | TBDEG – Monthly Data Chat | 6:00 PM |
| Remote Collective ST. PETE | Social Club For Remote Workers | Drinks @ 3 Daughters Brewing | 6:00 PM |
| Saint Petersburg Introverts Socializing (Ages 25-40) | Foodies Club – Wings Edition | 6:00 PM |
| Orlando Board Gaming Weekly Meetup | Central Florida Board Gaming at The Collective | 6:00 PM |
| Thinkful Tampa | Thinkful Webinar || Intro To Data Analytics: Tableau Basics | 6:00 PM – 7:30 PM EDT |
| Tampa Bay Gaming: RPG’s, Board Games & more! | D&D Adventurers League at Critical Hit Games | 6:00 PM |
| Sarasota Strategy Board Game League | Root – Thursday the 25th | 6:00 PM |
| TopStack Staffing Group | Tampa Bay Black Tech – Social Kickback | 6:00 PM – 8:30 PM EDT |
| Tampa Bay Latin Chamber | Networking Mixer | 6:00 PM – 9:00 PM EDT |
| Brandon and Seffner area AD&D and Rifts (Palladium) Group | 1st ed AD&D Campaign. | 6:00 PM |
| Critical Hit Games | Warhammer Night | 6:00 PM |
| Network After Work Tampa – Networking Events | Tampa at Paddy Wagon Irish Pub | 6:00 PM |
| Tampa Bay Metaverse | How to create an NFT and link your own NFT to a metaverse gallery? | 6:00 PM |
| Tampa Bay Agile | Influence without Authority, with Cherie Silas, MCC | 6:30 PM |
| UCF Air Quality | UCF STAIR Data Release | 6:30 PM – 8:00 PM EDT |
| Tampa Writers Alliance | Tampa Writers Alliance Poetry Group | 6:30 PM |
| Tampa Ybor Free Writing Group | Writing Meetup | 6:30 PM |
| Tampa SharePoint Online User Group | A First SPFx app using MS Graph | 6:30 PM |
| Meet Me In The Metaverse | Meet Me In The Metaverse – Florida’s First Web3 Metaverse Meetup | 7:00 PM |
| Orlando Developers Meetup | ODevs Ignite in August at Stardust | 7:00 PM |
| Live streaming production and talent | Live streaming production and talent | 7:00 PM |
| Tampa Bay Technology Center | WordPress | 7:00 PM |
| Sunshine Social Deduction Gaming | Blood on the Clocktower at Hourglass Brewery @ the Hourglass district | 7:00 PM |
| Tampa Bay Bitcoin | Bitcoin Social | 7:30 PM |
| Group | Event Name | Time |
|---|---|---|
| Kat Usop, MSHI | MINDSHOP™| AI FOR ALL | See event page |
| Florida Center for Creative Photography | Advanced Composition — Part 3 of 4 | 9:00 AM |
| Toastmasters District 48 | Clearwater Sunday Speakers Toastmasters Club | 9:30 AM |
| Thinkful Tampa | Thinkful Webinar || What is UX/UI Design? | 12:00 PM – 1:30 PM EDT |
| Board Games and Card Games in Sarasota & Bradenton | Games at Descent Into Gaming | 12:00 PM |
| Geekocracy! | Game Night at Southern Brewing | 1:00 PM |
| Tampa Bay Gaming: RPG’s, Board Games & more! | D&D Adventurers League at Critical Hit Games | 2:00 PM |
| Critical Hit Games | D&D Adventurers League | 2:00 PM |
| Drunk’n Meeples West Pasco (Boardgames) | Weekend Game Day | 2:00 PM |
| Discussions On the Interconnection Of Personality Types | Intro/First Meet Organized by a ENFP | 3:00 PM |
| Brandon and Seffner area AD&D and Rifts (Palladium) Group | Rifts | 5:00 PM |
| The Pinellas County Young “Professionals” | Let’s kill a case of wine on a Sunday – drinks on me and my mortgage lender | 5:30 PM |
| Lithia Dungeons & Dragons And Gaming Guild | 5E (ish) AD&D – Humble Beginnings Campaign (Trouble in Elm). | 6:00 PM |
| Tampa Hackerspace | Let’s Learn to Turn Pens! | 6:00 PM |
| Orlando Adventurer’s Guild | August New Player Nights – Various DMs (Tier 1: Level 1-4) | 6:00 PM |
| Thinkful Tampa | Thinkful Webinar || Bootcamp Alumni Success Secrets | 6:00 PM – 7:30 PM EDT |
| Nerdbrew Events | Hidden Gems Night, Presented by A Duck! | 7:00 PM |
| Solana – Tampa | Office Hours | 8:00 PM |
| Nerd Night Out | NerdBrew Karaoke @ MacDinton’s! | 8:00 PM |
| Thinkful Tampa | Thinkful Webinar || UX/UI Design: Wireframes and Prototypes | 9:00 PM – 10:30 PM EDT |
Let me know at joey@joeydevilla.com!
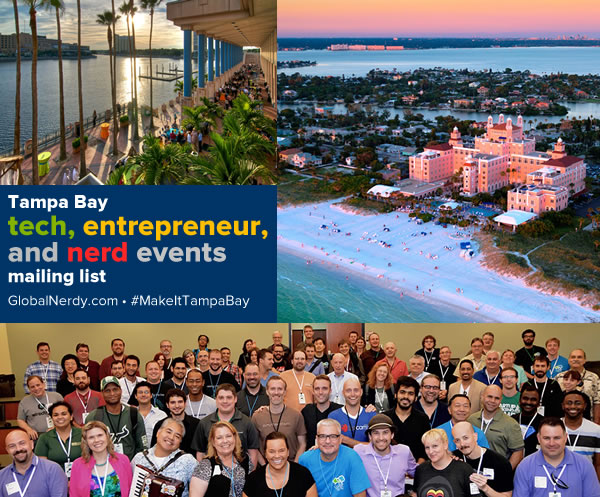
If you’d like to get this list in your email inbox every week, enter your email address below. You’ll only be emailed once a week, and the email will contain this list, plus links to any interesting news, upcoming events, and tech articles. Join the Tampa Bay Tech Events list and always be informed of what’s coming up in Tampa Bay!
Airbnb is deploying “anti-party technology” to prevent a growing (and expensive!) customer problem: people using them to book houses to hold large parties in. This Fast Company article provides a short — and probably not complete — list of methods Airbnb is using to prevent people who are avoiding trashing their own place by trashing someone else’s place.
None of these methods is perfect, and there’s still a chance that someone who plans to throw a party gets past their filters. They’ll need some technological solutions that can kill a party in its early stages, and I have a Python-powered solution.
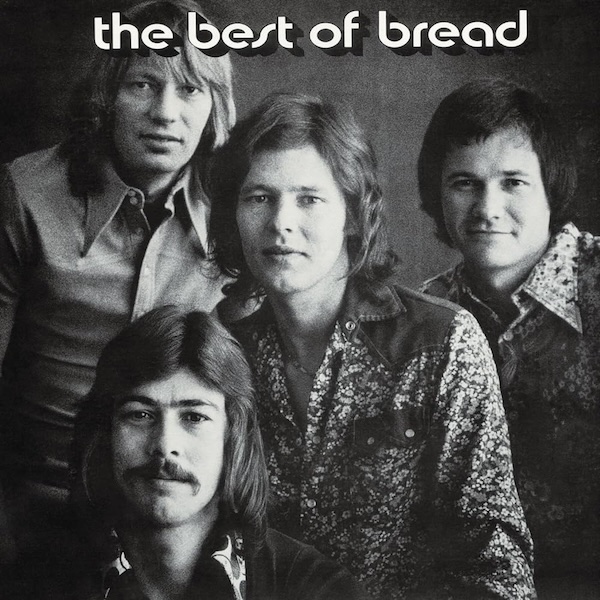
With a Raspberry Pi connected to the internet and tucked safely away in the the attic or locked closet and hooked to in-wall or in-ceiling speakers, you can remotely run this simple Python script that will stop any party dead in its tracks:
# party_killer.py

import webbrowser

# Open YouTube and play Bread’s greatest hits
webbrowser.open_new_tab("https://www.youtube.com/watch?v=3A-5qocjnoY&t=0")
Don’t believe me? Just give this a listen:
If you’re not Airbnb but a beginning Python programmer, you just learned how to use Python to open a new browser tab to a specific web page.
It took a trip down memory lane, but I found it: the skit where I got the idea that Bread’s greatest hits will kill a party. It’s the “Party Stoppers” ad from the old Seattle-based comedy show, Almost Live:
The gag about Bread starts at 1:30.

If you watch only one YouTube video today, make it Elon Musk: Visionary FutureMan, a fantastic take on the “Broligarch” done only the way The Daily Show can, and made even better by narrator William Shatner:


LT3 Labs — where “LT3” is short for “Learning Tomorrow’s Technology Today” — is a brand-new space in the Rithm @ Uptown zone at Tampa’s University Mall with a program where young people not only learn the skills, but the confidence required to choose technology as a career.
The 8-week program, called PATH, is geared toward high schoolers who typically wouldn’t pursue careers in coding. CEO Chris Morancie says that the goals are to help students discover a love for tech beyond merely using it, address the skilled worker shortage, and ameliorate income inequality. They’re graduating their first PATH program cohort next week.
Want to find out more? Here’s a local news piece on LT3: