For me, regular expressions are like the rules for boardgames that I don’t play that often: As the game progresses, I understand the rules and think I have a firm grasp on them, and when the game gets put away and I don’t play it for a while, I forget almost everything.
These days, I keep a couple of “interactive notebooks” with working code featuring useful regexes, paired with notes written in Markdown:
For Swift, Xcode Playgrounds does this well.
For other languages — Python, JavaScript, Kotlin, and C# — I used Jupyter Notebook.
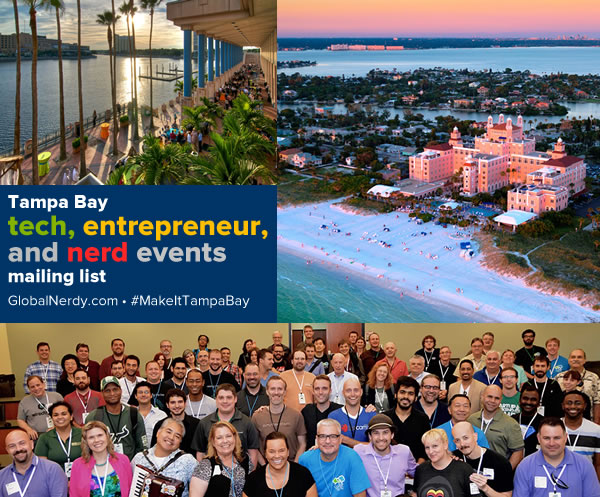
Here’s the list of tech, entrepreneur, and nerd events for Tampa Bay and surrounding areas for the final full week of January 2021 — Monday, January 24 through Sunday, January 30, 2022.
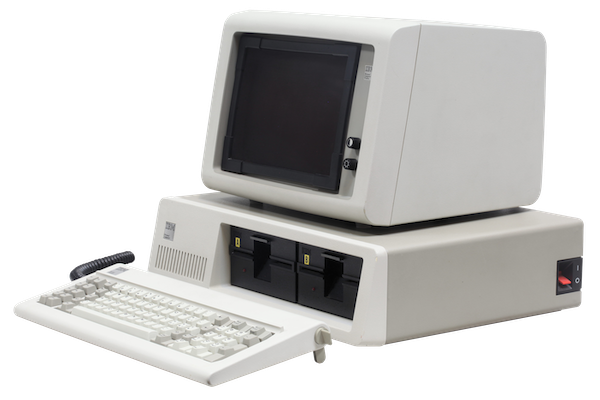
This coming week includes National Florida Day, January 25th, which falls on a Tuesday this year. It celebrates Florida’s arrival as the U.S.’ 27th state in 1845. I plan on celebrating by using my Wintel gaming laptop as my primary computer that day (the IBM PC was born in Florida, on IBM’s Boca Raton campus) and possibly making questionable choices in the spirit of Florida Man.
This list is a weekly service from Tampa Bay’s tech blog, Global Nerdy! For almost five years, I’ve been compiling a list of tech, entrepreneur, and nerd events happening in Tampa Bay and surrounding areas. There’s a lot going on in our scene here in “The Other Bay Area, on the Other West Coast”!
As far as event types go, this list casts a rather wide net. It includes events that would be of interest to techies, nerds, and entrepreneurs. It includes (but isn’t limited to) events that fall under the category of:
Programming, DevOps, systems administration, and testing
Tech project management / agile processes
Video, board, and role-playing games
Book, philosophy, and discussion clubs
Tech, business, and entrepreneur networking events
Toastmasters (because nerds really need to up their presentation game)
Sci-fi, fantasy, and other genre fandoms
Anything I deem geeky
By “Tampa Bay and surrounding areas”, this list covers events that originate or are aimed at the area within 100 miles of the Port of Tampa. At the very least, that includes the cities of Tampa, St. Petersburg, and Clearwater, but as far north as Ocala, as far south as Fort Myers, and includes Orlando and its surrounding cities.
The mandatory omicron variant announcement
Prior to the omicron variant, there was still a pretty good chance that you didn’t personally know someone who’d caught COVID. Today, thanks to its contagiousness, omicron has made it so much more likely that someone you personally know has caught it — and probably has it now.
Omicron’s out there, and it’s not as “mild” as some people have described it. Be smart and responsible — get your booster, mask up in crowds, favor outdoor and online events, and we can get back to what passes for normal sooner!
This week’s events
I try to keep this list up-to-date. I add new events as soon as I hear about them, so be sure to check this page often!
If you’d like to get this list in your email inbox every week, enter your email address below. You’ll only be emailed once a week, and the email will contain this list, plus links to any interesting news, upcoming events, and tech articles. Join the Tampa Bay Tech Events list and always be informed of what’s coming up in Tampa Bay!
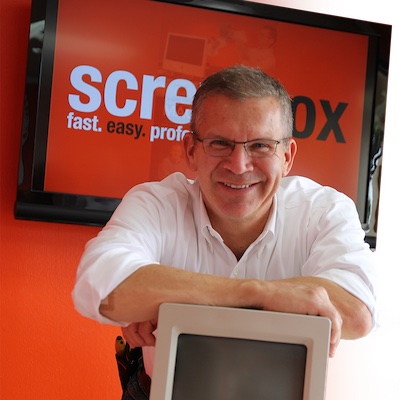
The quick summary: If you’re in the Tampa Bay area and need your Mac repaired, Steve Bush of Screwbox will come to where you are, pick it up, repair it, and bring it back to you. I needed repairs done on my 2014-era MacBook Pros, and Steve did a fantastic job fixing them — and I didn’t even have to leave my house!
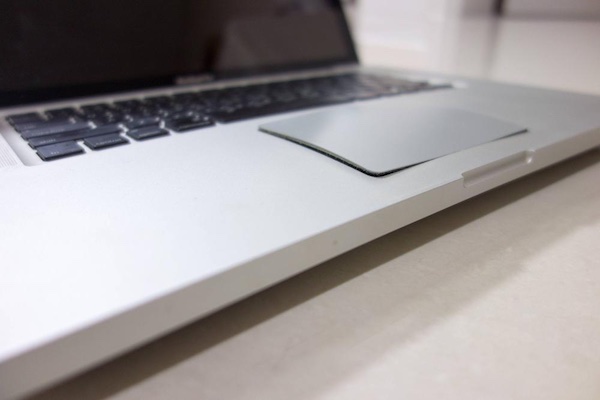
My old MacBook Pros are still solid development machines
The last time my MacBook Pro was in an office: March 2020, adding features to the Lilypad app.
Even though the new M1 Max-powered MacBooks are singing their siren songs to me, I’m still doing my independent work on my personal MacBook Pros:
A refurbished mid-2014 15″ MacBook Pro that I bought in early 2015 for a nice discount, back when I was working for a company that expected you to provide your own laptop, and
A mid-2014 13″ MacBook Pro that a client gave to me in 2016 for building an iPad app in lieu of cash. Ah, the joys of freelancing when the company you work for cuts its workforce…
They’ve served me well…
I used them to write every app that I’ve ever put into the App Store, as either the sole author or as part of my job.
It’s what I used to teach the online Python and JavaScript/React courses I taught on behalf of Computer Coach when my job disappeared in 2020 due to COVID.
I’m currently using it to make a new series of YouTube videos on all sorts of aspects of software development. I’m also using it for music production for these videos.
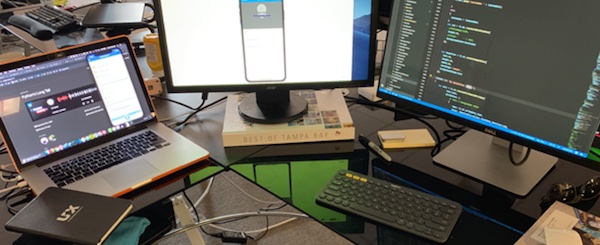
I’m still doing all my “side hustle” work on these machines, doing iOS, Android, and Python development, along with video and music production. They do the job just fine, which includes composing this post and the images that go with it.
That being said, we’re at the point where the current version of macOS — version 12, a.k.a. “Monterey” — won’t run on them (version 11, a.k.a. “Big Sur”, is the latest version that runs on my MacBooks). Between that and Apple’s move from Intel processors to their own amazingly fast silicon, I expect to buy an M1 MacBook as a birthday present to myself in November and put my old MacBooks to work as home servers.
I needed repairs
My 15″ MacBook Pro was still processing just fine, but its trackpad was no longer responding to touch or presses, and in fact, it was becoming quite difficult to “click”.
The 13″ had a different problem: sound, especially once the volume was past the 50% mark, was distorting, which meant the speakers were damaged.
There were free workarounds for both issues, but I decided that I wanted repairs done, if available for a reasonable price. I asked around, and got a couple of enthusiastic recommendations for Screwbox.
My experience: Great!
I filled out the contact form at the bottom of Screwbox’s home page, and Steve Bush got in touch with me via text shortly afterward. The description of my MacBooks’ issues was enough for him to diagnose their problems:
With the 15″, the trackpad didn’t work because the battery was bulging, and the battery is located beneath the trackpad. His recommendation: Replace the battery. After watching this video to see what the procedure was, I opted to have Steve do it.
The solution for the 13″ was obvious: replace the speakers. I thought that I might want to try this myself, so I watched this video. The process is less complex than battery replacement, but in the end, enlightened laziness (one of the great programming virtues) won out, and let Steve do it.
As promised on the site, Steve gave me a flat rate quote for the work: $199 plus tax for each repair, for a grand total of $431.83, payable in advance via Zelle. He would order the parts, pick up the MacBooks from my place when the parts arrived, perform the repair at his shop, and drop them off at my place once repaired. Once you factor in the cost of labor, parts, and travel, it’s quite clear that he’s offering a deal.
I Zelled him the money, and he picked up my MacBooks a couple days later when the parts arrived. He returned my fully-functioning MacBooks a day later, and I didn’t even have to leave the house!
Steve’s service was helpful and fast, and I wouldn’t hesitate to contact him again for Mac repair. If you’re in the Tampa Bay area and need a Mac fixed, you’ll want to reach out to Screwbox and Steve Bush.
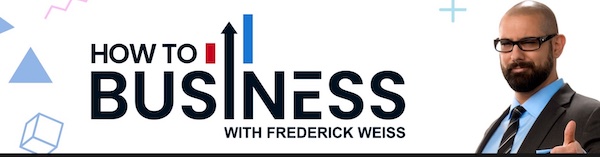
How to Business is a new YouTube channel created by Tampa Bay-area techie Frederick Weiss of Thunder Nerds fame that features quick video interviews (typically around 10 minutes in length) that show techies how to tackle business tasks that they may need to take on.
While there’s no shortage of resources that teach you how to use a particular technology, there is a need for how-tos aimed at techies who need to know how to do things related to money, business processes, sales, and other topics outside our main areas of expertise. That’s what How to Business is for!
Here’s How to Business’ promo video:
Here’s the first interview, How to Make Websites Accessible. It features Todd Libby, accessibility engineer at WebstaurantStore and host of the Front End Nerdery podcast.
The most recent interview, How to Implement Authentication and Authorization with Auth0, features Yours Truly, where I’m operating in my capacity as a Senior Developer Advocate at Auth0, and I talk about not rolling your own authentication and authorization but going with an experienced provider instead:
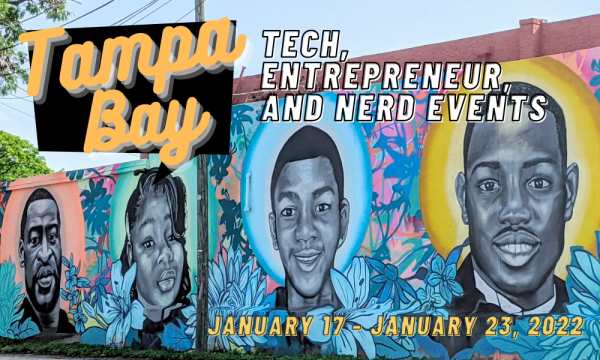
Here’s the third weekly list of tech, entrepreneur, and nerd events for Tampa Bay and surrounding areas for 2021! This one’s for the week of Monday, January 17 through Sunday, January 23, 2022, a week that includes the celebration of Dr. Martin Luther King, Jr.. His actual birthday falls on the 15th — it’s just that MLK Day is observed on the third Monday of January.
This list is a weekly service from Tampa Bay’s tech blog, Global Nerdy! For almost five years, I’ve been compiling a list of tech, entrepreneur, and nerd events happening in Tampa Bay and surrounding areas. There’s a lot going on in our scene here in “The Other Bay Area, on the Other West Coast”!
As far as event types go, this list casts a rather wide net. It includes events that would be of interest to techies, nerds, and entrepreneurs. It includes (but isn’t limited to) events that fall under the category of:
Programming, DevOps, systems administration, and testing
Tech project management / agile processes
Video, board, and role-playing games
Book, philosophy, and discussion clubs
Tech, business, and entrepreneur networking events
Toastmasters (because nerds really need to up their presentation game)
Sci-fi, fantasy, and other genre fandoms
Anything I deem geeky
By “Tampa Bay and surrounding areas”, this list covers events that originate or are aimed at the area within 100 miles of the Port of Tampa. At the very least, that includes the cities of Tampa, St. Petersburg, and Clearwater, but as far north as Ocala, as far south as Fort Myers, and includes Orlando and its surrounding cities.
The mandatory omicron variant announcement
Prior to the omicron variant, there was still a pretty good chance that you didn’t personally know someone who’d caught COVID. Today, thanks to its contagiousness, omicron has made it so much more likely that someone you personally know has caught it — and probably has it now.
Omicron’s out there, and it’s not as “mild” as some people have described it. Be smart and responsible — get your booster, mask up in crowds, favor outdoor and online events, and we can get back to what passes for normal sooner!
This week’s events
I try to keep this list up-to-date. I add new events as soon as I hear about them, so be sure to check this page often!
Monday, January 17 (MLK Day)
Creative Commons photo by Minnesota Historical Society. Click to see the source.
If you’d like to get this list in your email inbox every week, enter your email address below. You’ll only be emailed once a week, and the email will contain this list, plus links to any interesting news, upcoming events, and tech articles. Join the Tampa Bay Tech Events list and always be informed of what’s coming up in Tampa Bay!