Hello, and welcome to another installment of the weekly What’s happening in the Tampa Bay tech/entrepreneur/nerd scene list! I’ve been putting together this list since 2017, and my goal was to give the Tampa Bay technology community a useful, convenient resource for finding tech, entrepreneur, and nerd events. Just as regular get-togethers of techies helped grow the scenes in my former homes of Toronto and Silicon Valley, I believe that bringing together the bright lights of Tampa Bay will help bring about the “Silicon Suncoast”.
Here are the coming week’s events…
Monday, March 2
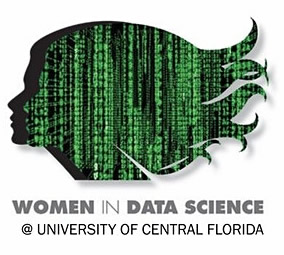 If you’ve got Monday free and can make the drive to Orlando, you might want to check out Women in Data Science — a UCF gathering whose goals are to inspire and educate data scientists worldwide, regardless of gender, and support women in the field. It’s an annual one-day technical conference covering the latest data science-related research and applications. There’s no risk of a “manel” here — all the speakers are female. All genders are invited to participate in the conference.
- Women in Data Science @ UCF 2020 @ L3Harris Engineering Center, Room 101 (UCF Main Campus), 9:00 AM to 3:00 PM
- Monday Referral Partners! @ Wrights Gourmet House & Deli, 11:30 AM to 1:00 PM
- Tampa Bay Women in Agile — Florida Suncoast WIA – 2020 Vision and Lightning Talks @ Kobie Marketing, 6:00 PM to 8:00 PM
- Cool ‘n Confident Toastmasters @ SPC – St. Petersburg/Gibbs Campus, 6:30 PM to 8:00 PM
- America’s TriviAddiction — ROOKIES SPORTS BAR – SPRING HILL – LIVE TEAM TRIVIA !!! @ 6:00 PM to 8:00 PM
- America’s TriviAddiction — 3 DAUGHTERS BREWING – LIVE TEAM TRIVIA – ST. PETERSBURG @ 7:00 PM to 9:00 PM
- South Tampa Toastmasters Invites You to Awesome, Learn-by-Doing Meetings! @ Unity of Tampa, 7:00 PM to 8:15 PM
Tuesday, March 3
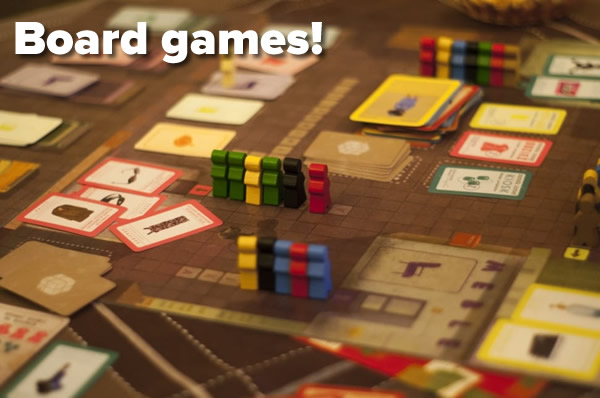
If you hear the phrase “board game” and think of tripe like Monopoly or Sorry, you’ve been away from them too long. We now live in the golden age of board games, a era where they’ve gone well beyond the old “be the first person to make it to the finish line” paradigm and reached levels of sophistication normally reserved for computer games. If you’re looking for something different to do on Tuesday night, you might want to check out the board game nights in Brandon and St. Pete.
- Business Game Changers Group — Leads and Coffee @ Belleair Coffee Company, 8:00 AM to 9:00 AM
- DMT Symposium @ 1905 Intermodal Cir, Suite 217, Tuesday 8:30 AM to Thursday 4:00 PM
- Elevated for Success Women’s Networking Group — Connect and Chat – Roundtable Mastermind @ Daddy’s Grill, 9:00 AM to 11:00 AM
- Carrollwood Networking Lunch McAllisters Deli @ McAlister’s Deli, 11:30 AM to 1:00 PM
- New Tampa Business Networking Lunch @ Glory Days Grill, 11:30 AM to 1:00 PM
- Westshore Toastmasters @ FIVE Labs, 12:00 PM to 1:00 PM
- Learn Cybersecurity Tampa — WEBINAR: Cybersecurity 101: Analytics v. Engineering @ 1:00 PM to 2:00 PM
- Brandon Boardgamers — Tuesday Night Gaming @ Cool Stuff Games, 5:00 PM to 8:00 PM
- BOOKAHOLICS! — MARCH BOOK CLUB (The Giver of Stars by JoJo Moyes) @ Town Westshore Luxury Apartments, 6:00 PM to 7:30 PM
- WordPress St. Petersburg — Ask Us Anything: WordPress Support Crowdsourcing Meetup @ Suncoast Developers Guild, 6:30 PM to 8:30 PM
- America’s TriviAddiction — WESTSHORE PIZZA – BELLEAIR BLUFFS – LIVE TEAM TRIVIA !!! @ 6:30 PM to 8:30 PM
- America’s TriviAddiction — DAIQUIRI SHAK RAW BAR & GRILL – MADEIRA BEACH – LIVE TEAM TRIVIA @ 8:00 PM to 10:00 PM
- Nerdbrew Events — Pints & Pixels @ Yard of Ale, 7:00 PM to 11:00 PM
- THS Member Meeting @ Tampa Hackerspace, 7:00 PM to 8:00 PM
- St. Pete Beers ‘n Board Games Meetup for Young Adults @ Flying Boat Brewing Company, 7:00 PM to 10:00 PM
- Tampa Bay Young Professionals Group — Opera Tampa ‘Open Rehearsal’ – Pirates of Penzance {get tickets quickly} @ 7:00 PM to 9:00 PM
- Tampa Bay Young Professionals Group — Salsa & Bachata beginners class @ 8:00 PM to 10:00 PM
Wednesday, March 4
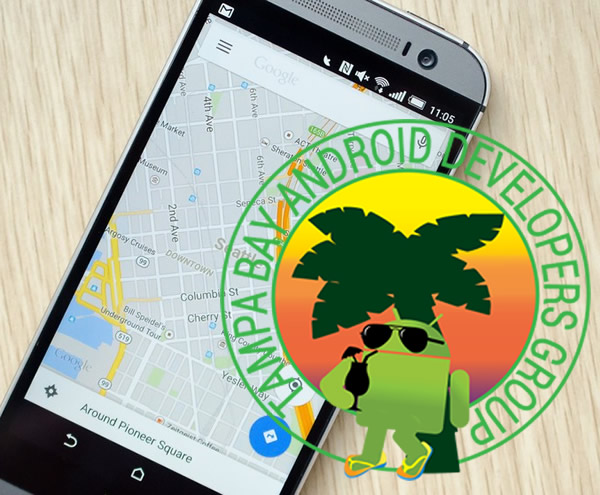
The topic at Wednesday’s Tampa Android Developers Group meetup is Android Google Maps. It’ll be a walkthrough of the Advanced Android in Kotlin 04.1: Android Google Maps codelab produced by Google. It’s in Kotlin — which you should learn if you want to do native Android programming (if you have a grasp of Java or any other object-oriented programming language, you’ll understand Kotlin). Bring a laptop with Android Studio 3.5 or higher!
- Downtown St Pete Networking at the Hangar @ The Hangar Restaurant & Flight Lounge, 7:30 AM to 9:00 AM
- 1 Million Cups St. Pete — AmpSense / Insight Wellness Works @ St. Petersburg Greenhouse, 9:00 AM
- 1 Million Cups Tampa — Ibuumerang / EVENTRON @ Entrepreneur Collaborative Center, 9:00 AM
- Ybor Networking @ Bernini of Ybor, 11:30 AM to 1:00 PM
- Brandon Business Professionals @ Carrabba’s, 11:30 AM to 1:00 PM
- TechHire: SpeedHire @ Tampa !p Offices, University Square Mall, 4:00 PM to 8:00 PM
- Brooksville Writers Group Meetup @ The Rising Sun Bistro, 5:30 PM to 7:30 PM
- Tampa Bay Business Intelligence and Data Analytics — Monthly Meeting @ AgileThought, 6:00 PM to 8:00 PM
- PLAYlive Nation Tyrone — Wednesday Night D&D Adventurers League @ Tyrone Mall, 6:00 PM to 9:00 PM
- Tampa Bay Scrum Masters Guild – March @ 5404 Cypress Center Dr, 6:00 PM to 8:00 PM
- Free Crash Course – Intro to User Experience @ Suncoast Developers Guild, 6:30 PM to 8:30 PM
- Crypto Investors Club @ Hawthorne Bottle Shoppe, 6:30 PM to 8:30 PM
- WordPress Tampa — Payment Processing Solutions @ Charles J. Fendig Public Library, 6:30 PM to 8:00 PM
- Tampa Artificial Intelligence Meetup — Getting Started with Deep Learning on $10/mo Cloud GPU @ Entrepreneur Collaborative Center, 6:30 PM to 8:00 PM
- Design St. Pete — Design Thinking for a cause – Spark Five @ 360 Central Ave, 6:45 PM to 8:45 PM
- Geekocracy! — Book Club – The Name of the Wind by Patrick Rothfus @ London Heights British Pub, 7:00 PM to 9:00 PM
- Games & Grog @ Peabody’s!, 7:00 PM to 11:00 PM
- Tampa Bay Android Developers Group — Android Google Maps @ Bank of the Ozarks’ Innovation Lab, 7:00 PM to 9:00 PM
- Women In Linux — Understanding Linux @ 7:00 PM to 9:00 PM
- Tampa Bay Blockchain Group — Bitcoin Cash @ 81Bay Brewing Company, 7:00 PM to 9:00 PM
- Girls Who Code @ Tampa Hackerspace, 7:00 PM to 8:00 PM
- Carrollwood Toastmasters @ Arthenia L. Joyner University Area Community Library, 7:00 PM to 8:30 PM
- America’s TriviAddiction — DAIQUIRI SHAK – MADEIRA BEACH – SPECIAL SIMPSONS THEMED TRIVIA !!! @ 8:00 PM to 10:00 PM
Thursday, March 5

WITI’s (Women in Technology International) Geek Glam will be a great night out for a great cause! It’ll have a fashion show featuring models you’ll recognize from our local tech scene, a pop-up market, door prizes, and a silent auction whose proceeds will go towards scholarships for women in tech. It happens on Thursday at 5:30 p.m. at the Tampa River Center.
- FL Biz Incubator Morning Spark Tank @ Dunedin Chamber of Commerce, 9:00 AM to 11:00 AM
- MELLOW MUSHROOM THURSDAY’S NETWORKING LUNCH @ Mellow Mushroom, 11:30 AM to 1:00 PM
- Dunedin Professional Meetup — Happy Hour Martinis & Treats @ Carmel Kitchen & Wine Bar, 3:15 PM to 4:45 PM
- Entrepreneurs & Startups – Bradenton Networking & Education — Adjusting for Growth with Brian Sallee: After Hours Network & Learn @ Station 2 Innovation Center
- 7th Annual WITI (Women in Technology International) Geek Glam @ Tampa River Center at Julian B Lane Park, 5:30 PM to 9:00 PM
- St. Pete Personal Growth & Development Happy Hour @ Cassis American Brasserie, 6:00 PM to 7:30 PM
- cYbor Security Meetup — A Gopnik’s Guide to GPG Encryption and Slav Squatting (Members Only) @ The Undercroft, 6:00 PM to 8:00 PM
- Entrepreneur Social Club @ NOVA 535, 6:00 PM to 8:00 PM
- Tampa Bay Connections — Cocktails and Connections @ Cafe Delanie, 6:00 PM to 8:00 PM
- The Writer’s Studio – First Meeting @ 1 Key Capri, 6:30 PM to 8:30 PM
- America’s TriviAddiction — CAPTAIN’S CORNER – BROOKSVILLE – LIVE TEAM TRIVIA !!! @ 6:00 PM to 8:00 PM
- America’s TriviAddiction — CRESCENT OAKS COUNTRY CLUB – TARPON SPRINGS – LIVE TEAM TRIVIA !!! @ 6:00 PM to 8:00 PM
- America’s TriviAddiction — BAYSCAPE BISTRO AT HERITAGE ISLES – NEW TAMPA – LIVE TEAM TRIVIA !!! @ 6:30 PM to 8:30 PM
- Drupal User Group of Tampa Bay — Bootstrap 4 Presentation @ Panera Bread, 7:00 PM to 8:30 PM
- St Pete Business Builders Meetup @ Suncoast Developers Guild, 7:00 PM to 9:00 PM
- Books, Brews & Bags! — March – The Unhoneymooners @ Bier Boutique, 7:00 PM to 10:00 PM
- Electronics Guild Meetup: Moving Forward on Projects @ Tampa Hackerspace, 7:00 PM to 9:00 PM
- A Read and A Restaurant — Florida by Lauren Groff @ 7:00 PM to 9:00 PM
- The Pinellas County Young “Professionals” — Bi-Weekly Thirsty Thursday Happy Hour @ The Avenue, 7:00 PM to 9:00 PM
Friday, March 6
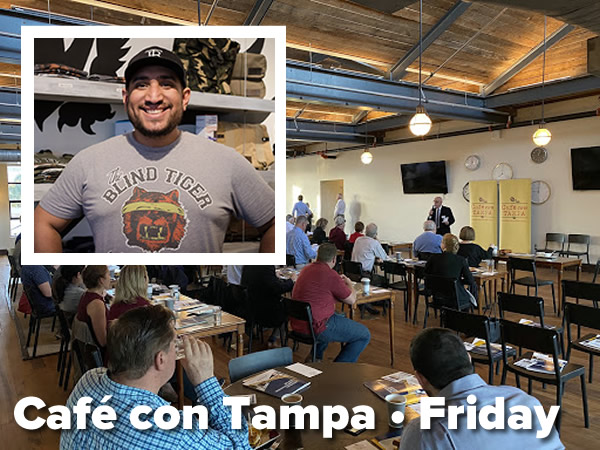
If you haven’t yet been to Café con Tampa, you’re missing out on the best weekly community event in the area. Every week, they bring a compelling speaker to talk about an interesting (and often important) topic at the Commerce Club in Oxford Exchange. For $12, you get a breakfast buffet featuring Tampa Bay’s best breakfast sandwiches, a great presentation, and the change to meet with some of the area’s movers and shakers.
This Friday’s Café con Tampa should be a great one — the guest speaker is Roberto Torres, founder of the Blind Tiger Café, who just opened a branch at Embarc Collective. He’ll talk about a pet topic of mine: Tampa Bay as a place in which to live, work, and play. I’ll be there, and I’d love to see you there as well, representing the Tampa tech community!
- Lean Coffee for All Things Agile (Carrollwood) @ Maple Street Biscuit Company, 7:30 AM to 8:30 AM
- Lean Coffee for All Things Agile (St Petersburg) @ Panera Bread, 7:30 AM to 8:30 AM
- Café con Tampa — Choosing Tampa as The Destination to Live, Work & Play with Roberto “Blind Tiger Café” Torres @ Oxford Exchange, 8:00 AM to 9:00 AM
- Creativity – it’s not just for artists anymore — The International 3-day FL Creativity Conference @ 8350 N Tamiami Trail, Friday 8:30 AM to Sunday 4:00 PM
- Tampa International Networking Lunch @ McAlister’s Deli, 11:30 AM to 1:00 PM
- Microsoft Tech Talks Florida — Making the Team(s) : Tips, Tricks and Tactics for Successful Teams Pilots @ Microsoft Corporation, 12:30 PM to 3:00 PM
Saturday, March 7
- Make THS Better Workday @ Tampa Hackerspace, 9:00 AM to 5:00 PM
- Aspiring Writers Publishing and Marketing — Crafting Good Characters, Especially Those Who Aren’t Like You @ McAlister’s Deli, 11:00 AM to 1:00 PM
- Geekocracy Invades the Bay Area Ren Fest @ 11315 N 46th St, 12:00 PM to 7:00 PM
- Board Games and Card Games in Sarasota & Bradenton — Open Game Day at Table Talk SRQ @ Table Talk SRQ Board Game Cafe, 1:00 PM to 4:00 PM
- Tampa Bay Young Professionals Group — Horseback Riding @ 1:00 PM to 5:00 PM
- Brandon and Seffner area AD&D, Pathfinder, and Starfinder — Mechwarrior 4E RPG (A Time of War) @ Cool Stuff Games – Tampa, 3:00 PM to 8:00 PM
Sunday, March 8
- Women Who Code Tampa — Code + Coffee / Power Talk: How to Succeed and Level Up in Tech @ Station House, 10:00 AM to 12:00 PM
- Intellectual Connection for Myers-Briggs N’s (Intuitives) — The Narcissist from an N perspective @ Life Time Athletic and Life Spa, 1:30 PM to 3:30 PM
- Sew What? (Textile Arts & Crafts) @ Tampa Hackerspace West, 5:30 PM to 8:30 PM
Do you have an upcoming event that you’d like to see on this list?
If you know of an upcoming event that you think should appear on this list, please let me know!
Join the mailing list!
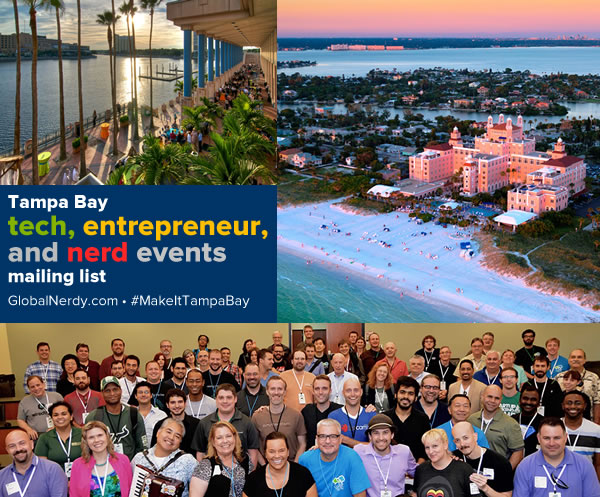
If you’d like to get this list in your email inbox every week, enter your email address below. You’ll only be emailed once a week, and the email will contain this list, plus links to any interesting news, upcoming events, and tech articles.
Join the Tampa Bay Tech Events list and always be informed of what’s coming up in Tampa Bay!