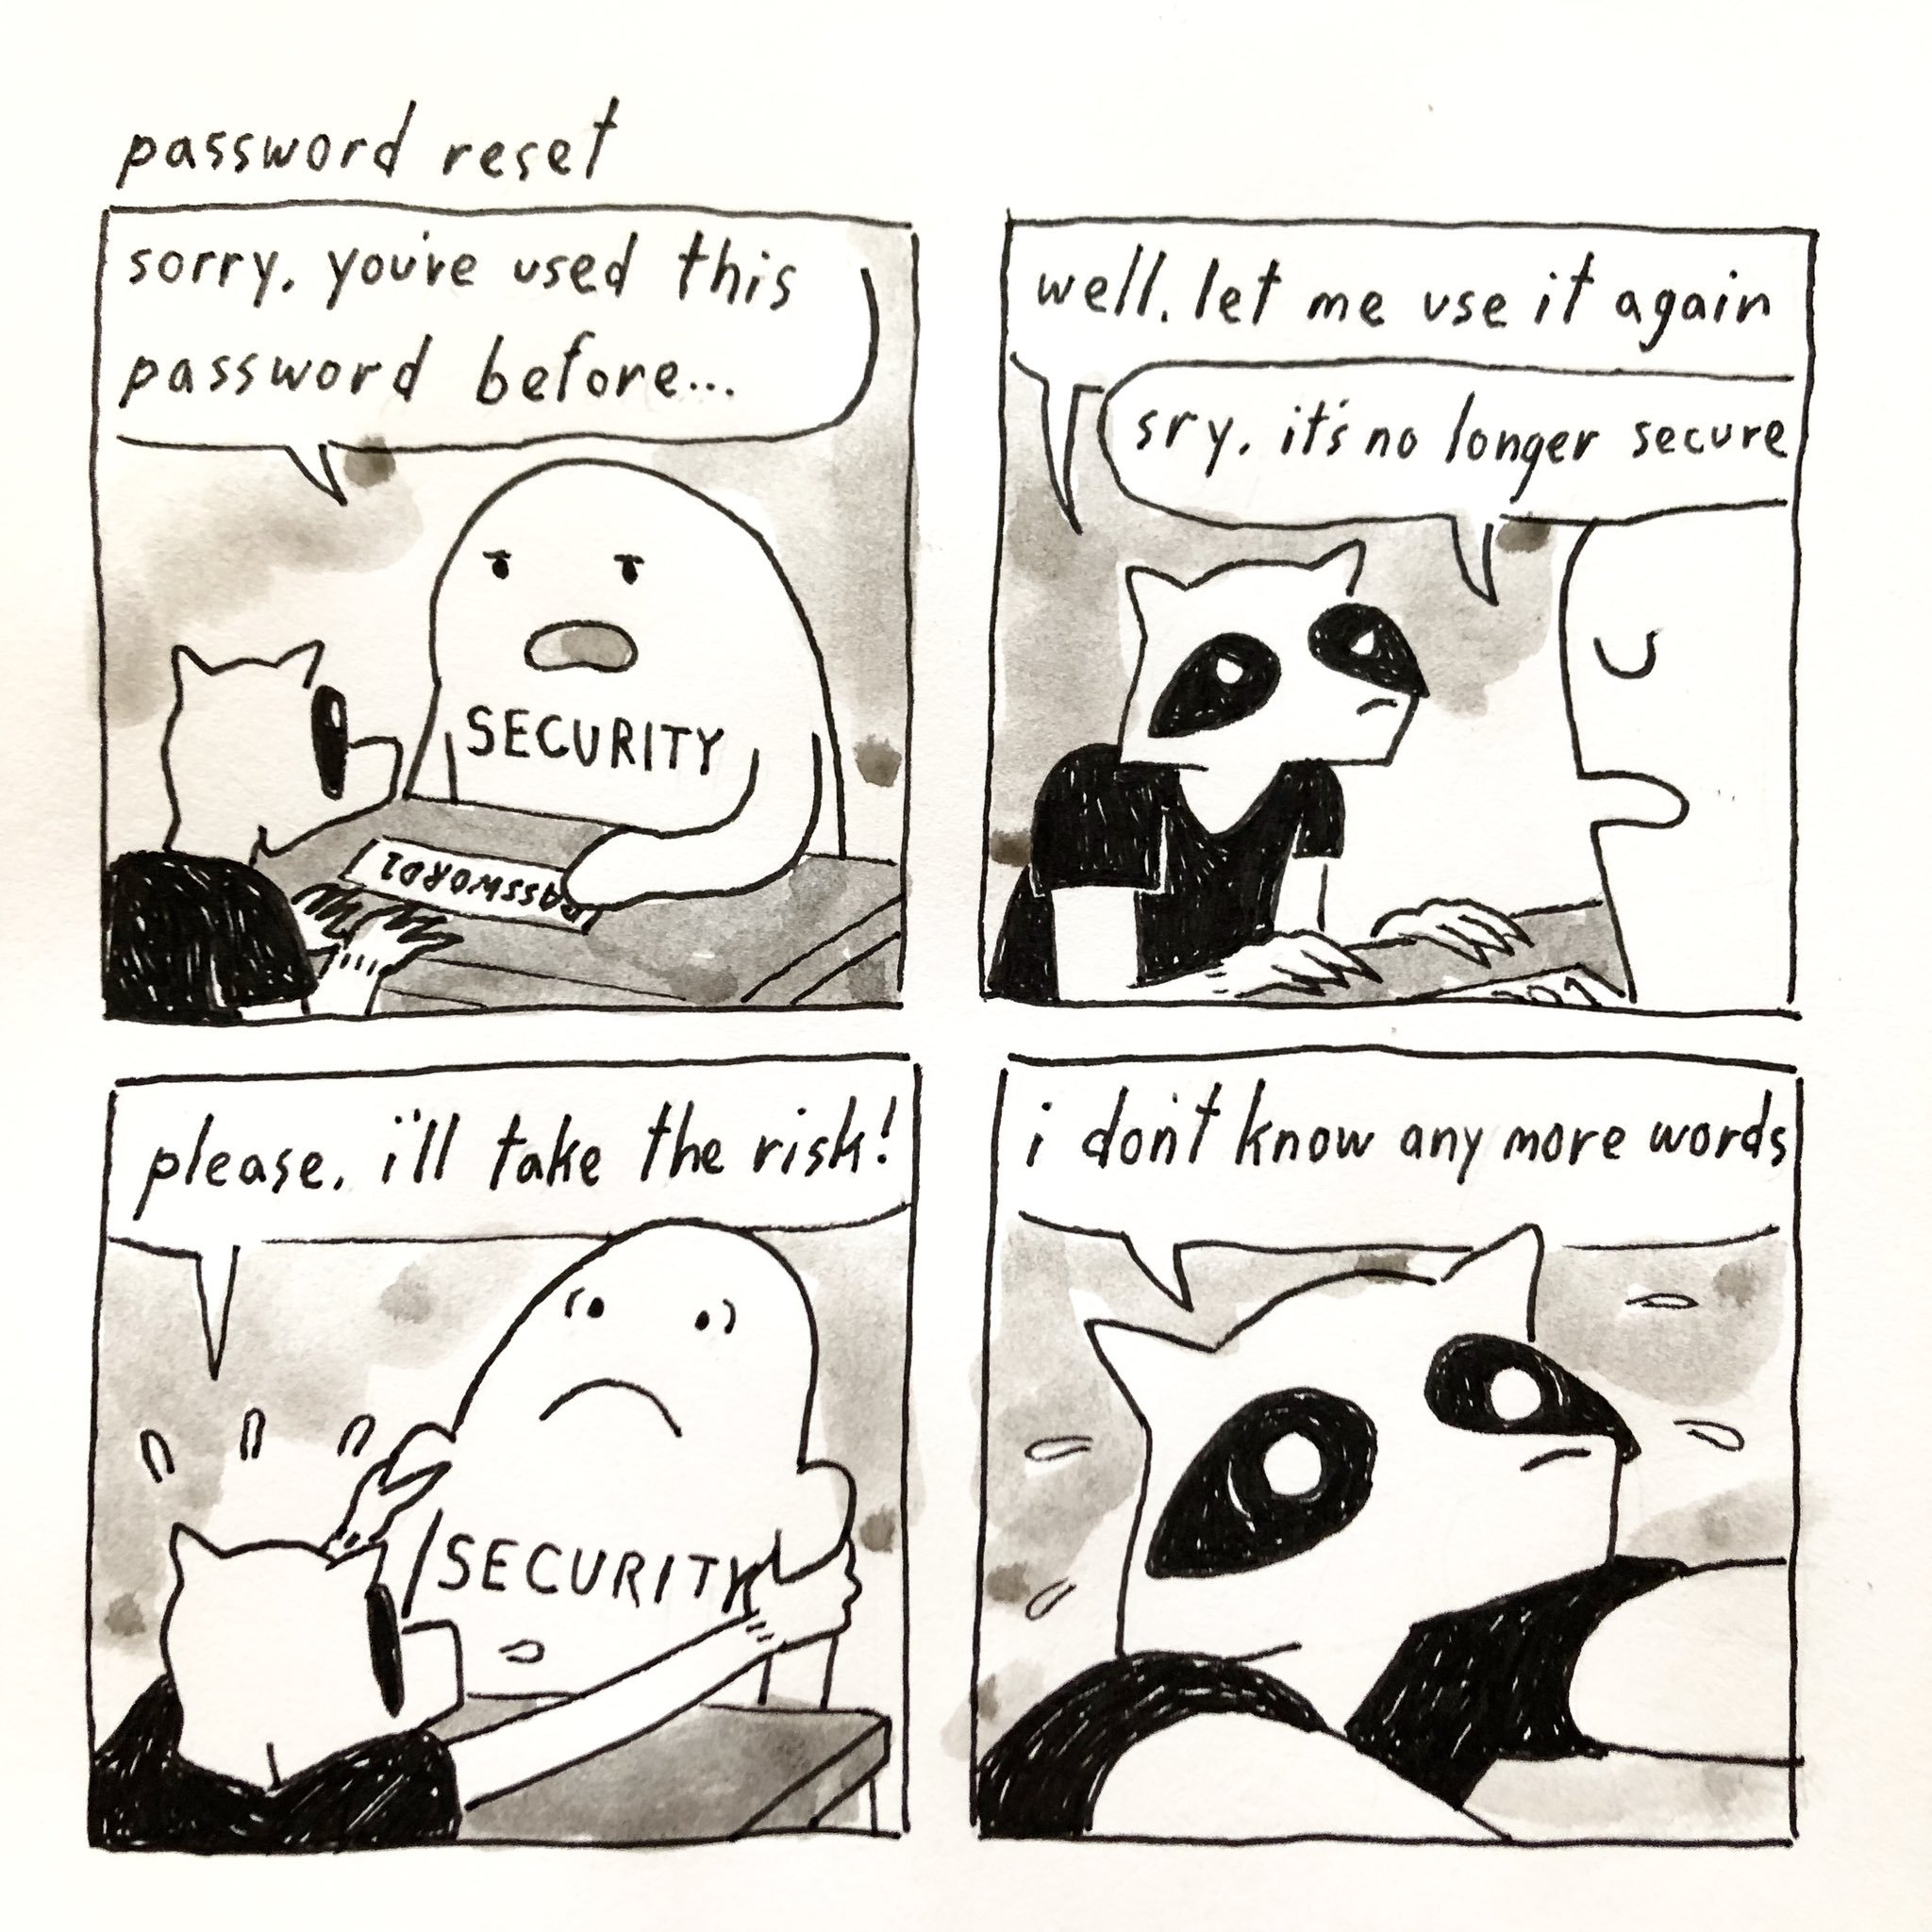
Click the comic to see it at full size.
File this under “funny because it’s true.”
Click the comic to see it at full size.
File this under “funny because it’s true.”

Every week, I compile a list of events for developers, technologists, tech entrepreneurs, and nerds in and around the Tampa Bay area. We’ve got a lot of events going on this week, and here they are!
This weekly list is posted as a voluntary service to the Tampa tech community. With the notable exceptions of Tampa iOS Meetup and Coders, Creatives and Craft Beer — both of which I run — most of this information comes from Meetup.com, EventBrite, and other local event announcement sites. I can’t guarantee the accuracy of the dates and times listed here; if you want to be absolutely sure that the event you’re interested in is actually taking place, please contact the organizers!
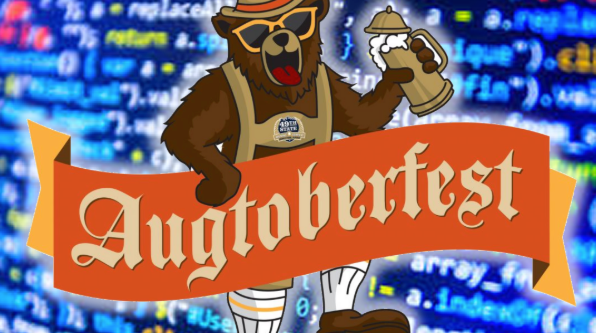
Augtoberfest, the August edition of the Coders, Creatives, and Craft Beer meetup, which happens next Wednesday, August 14th at 6:30 p.m. at 7venth Sun Brewery in Tampa.

I had the privilege of participating in Startup Bus 2019 on the Florida Bus — and the team I was on, Hyve, made the top three! Here are Hyve’s official videos from our adventure…
In addition to the pitch competition that took place in clear view, there was also a behind-the-scenes game in which all the Startup Bus teams could partake. The game was made up of activities that teams would perform for points, and the bus that earned the most points would receive special mention at the finals. The activities were effectively a checklist for teams to follow as they created their startups and applications on their buses.
One of the activities was to make a team video, where team members would introduce themselves and explain why they’re participating in Startup Bus. We recorded this on Wednesday night at NC State in Raleigh.
Another action item in the behind-the-scenes game was to pitch our idea to a stranger in one of the towns where we stopped. We pitched the Hyve concept to the Lyft driver who took us from NC State to our hotel. Here’s how it went…
In addition to building the business and the app on the bus, we practiced out pitches at regular intervals. Here’s Tracy practicing his pitch as the bus raced towards New Orleans:
The qualifying rounds took place on Saturday, July 27th at New Orleans’ Propeller Incubator, where all the teams from all the buses — the Advancing Black Entrepreneurs, Florida, Mexico, New York, Ohio, Silicon Valley, and Washington DC teams — made their pitches.
Every member of every team had to be ready to pitch, because in the qualifying round, the judges chose two people from each team to make their pitch, one at a time. They tend to choose the least confident-looking team members, and a couple of them already knew me. We did well, though, with Rina doing the “set ’em up” pitch and Tracy doing the “finish ’em off” one:
We’d have to wait until the next day to find out who made it to the semifinals, but we were among them! Even better, we made it to the finals. We re-worked our pitch for the finals judges with the help of the Florida Bus Conductors — Akira Mitchell, Nick Price, and Shane Needham — and here’s the result:
Once all the finalists made their pitches, the judges sequestered themselves, and shortly afterwards, they made their announcements, which included Hyve!
Just because I love that bit about walking the line between good and evil, here’s just the part about Hyve:

Beginning ARKit is a video course offered at the premier mobile development tutorial site, RayWenderlich.com. It introduces iOS developers to building augmented reality apps for iOS with Apple’s ARKit library. In 41 bite-sized videos spanning 2 hours and 22 minutes, I take you from the AR version of Hello, World! and show you how to build:
Not only did I narrate the videos, but I created the script, and all the code and most of the graphics for the course.
The course is available only to RayWenderlich.com subscribers, but some excerpts have been made available for online preview. I’ve included them below:
RWDevCon 2018 was a mobile development tutorial conference covering iOS and Android development held from April 5th through 7th, 2018 in Alexandria, Virginia. I was the only speaker to have two sessions:
These sessions were the two highest-rated ones at the conference, based on attendee feedback forms. It was this feedback that got me an offer to create the Beginning ARKit video course.
The four-hour conference is available only to RayWenderlich.com subscribers, but the two-hour tutorial was made freely available online and shown above.

Based on the success of the ARKit sessions at RwDevCon 2018, I did a presentation at a Meetup of the combined Tampa Bay User Experience / Front-End Design Meetup with my wife, Anitra Pavka. We talked about build good user experiences for augmented reality, using both commercial applications as well as the applications I made for the RwDevCon presentations.
The slides from our presentation are below:

I was a tech editor on the first and second editions of the RayWenderlich.com book ARKit by Tutorials, and am currently tech editing the third edition, due for release this fall.

My AR portfolio isn’t limited to just iOS — I also have an article on Android AR: Augmented Reality in Android with Google’s Face API, a tutorial in which I show readers how to build Snapchat-style filters that draw comic images over detected faces.
Would you like to know more about my augmented reality work? Feel free to contact me at joey@joeydevilla.com.
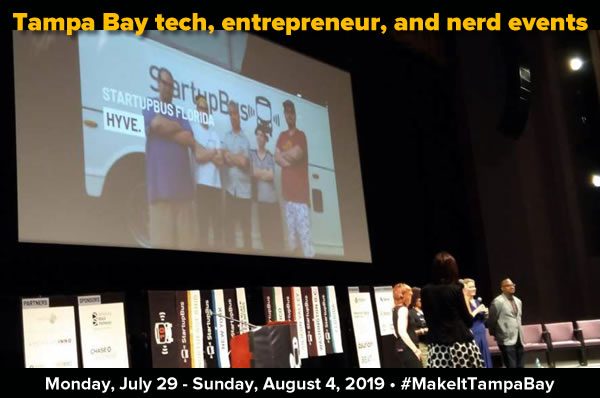
Every week, I compile a list of events for developers, technologists, tech entrepreneurs, and nerds in and around the Tampa Bay area. We’ve got a lot of events going on this week, and here they are!
This weekly list is posted as a voluntary service to the Tampa tech community. With the notable exceptions of Tampa iOS Meetup and Coders, Creatives and Craft Beer — both of which I run — most of this information comes from Meetup.com, EventBrite, and other local event announcement sites. I can’t guarantee the accuracy of the dates and times listed here; if you want to be absolutely sure that the event you’re interested in is actually taking place, please contact the organizers!

In case you hadn’t yet heard, I’m on a Startup Bus team, Hyve. We built an anti-email abuse system that uses virtual disposable email addresses (DEAs) — in three days, and on a bus.
Hyve is based on a long-standing email security principle: use different email addresses that are dedicated to single uses. The reason that most of us don’t do this is because it’s a cumbersome, painful process. Hyve automates the creation of virtual email intermediaries that you use to connect to or sign into services, and you can mute them if you need a little silence or delete them if you need to cut off spam, annoyances, or other email abuse.
You might be asking: “Does Hyve’s underlying principle actually work?” Don’t ask us — ask the security experts below.
Spoiler: YES.
Email is personally identifiable information — why are you using it as the way to identify yourself to parties who are likely to sell it? Don’t use your primary email address to log into services — create a secret one solely for that purpose.
The author’s use of different email addresses for different kinds of services is borrowed from a U.S. government security principle: use classified and unclassified systems, and keep them separate. This means creating separate email addresses for secure and sensitive purposes such as banking, and never using these addresses for anything other than their designated purpose.
When you click “I forgot my password” on a login screen, you’re often sent a password recovery link via email. With the prevalence — and profitability — of social engineering attacks, it makes sense to use an email address that nobody else knows.
Lots of interesting ideas in this article. The main idea behind this article is to use different email addresses for different purposes, such as:
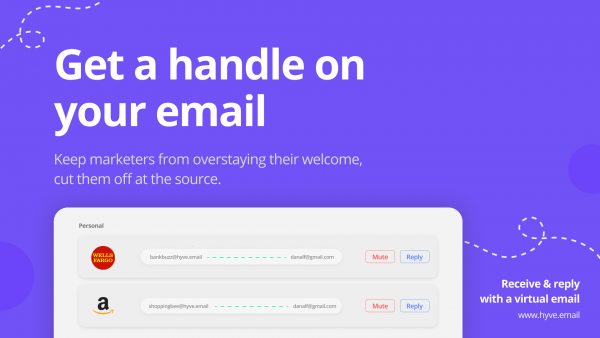
Despite the fact that Hyve came into being over a three-day trip on a bus taking a zig-zag route through the southeast U.S., we have a working product that we’d love to have you try out! Come to our site, Hyve.email, and sign up for the cure to spam and other email bad actors.

Sometimes the best apps simply take a tried-and-true manual process, automate it, and make it easy to use. That’s the general idea behind Hyve, the project that I’m working with my team at Startup Bus 2019.
Hyve is based on a tried-and-true technique known as disposable email addresses. It’s a pretty simple idea — instead of connecting to everyone using just one email address, you use a different email address for each contact or purpose. For example, you’d use one email address for Amazon, a different one for your bank, a different one for your friends, a different one for the newsletter you subscribe to, and so on.
The power of disposable email addresses is that if a contact gets too spammy, all you have to do is simply close or stop using the email account associated with them.
Some people create disposable email addresses by creating a whole new Gmail or Hotmail email account for each purpose, but that means managing a number of email logins and inboxes. This approach gets pretty unwieldy very quickly.
The better approach is to create virtual disposable email addresses. These are things that behave like email addresses, but forward email sent to them to your real email address. If you have access to your mail server and some technical skill, you can configure your own. For the rest of us, there are virtual disposable email address services, but most are difficult to use and pay almost no attention to user-friendliness.
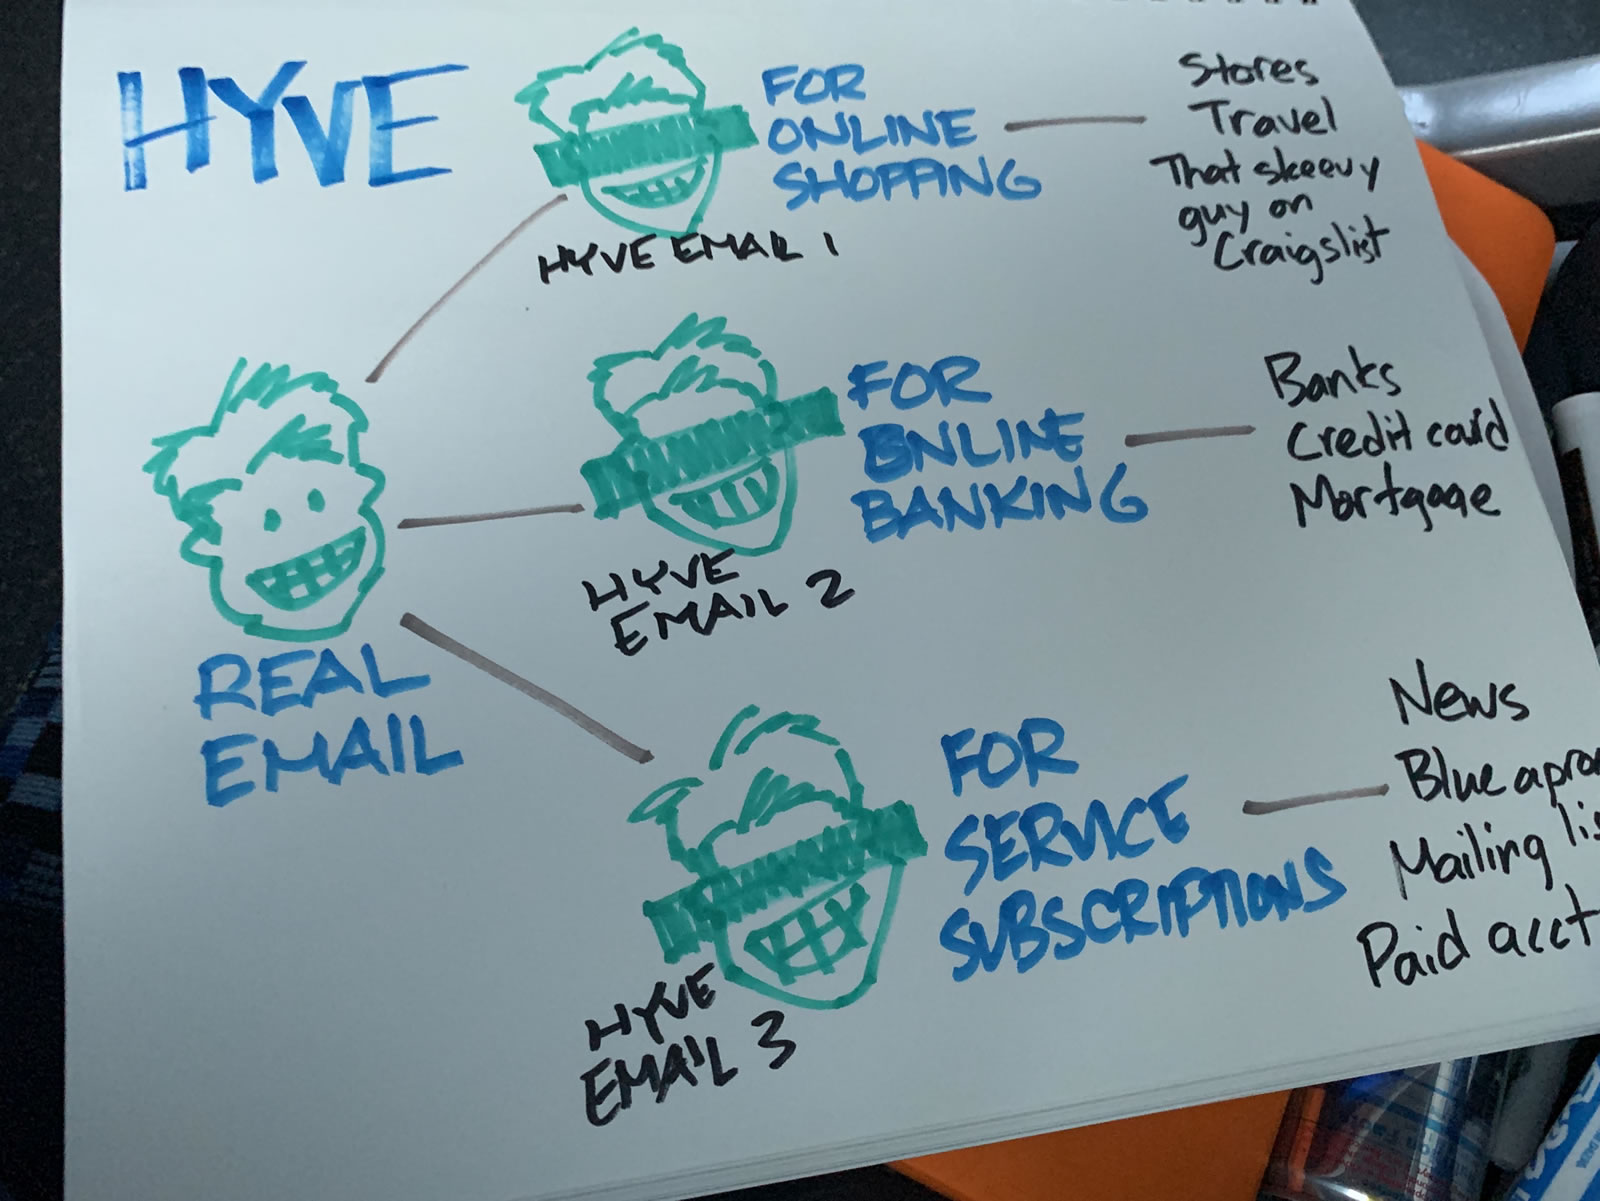
Click the diagram to see it at full size.
Hyve gives you the power of disposable email addresses, but without the tedious mail server configuration work or user-unfriendly interfaces. With Hyve, you can create a new virtual email address in seconds, and then use it to connect to whatever you want: an online store, a subscription service, or even a person.
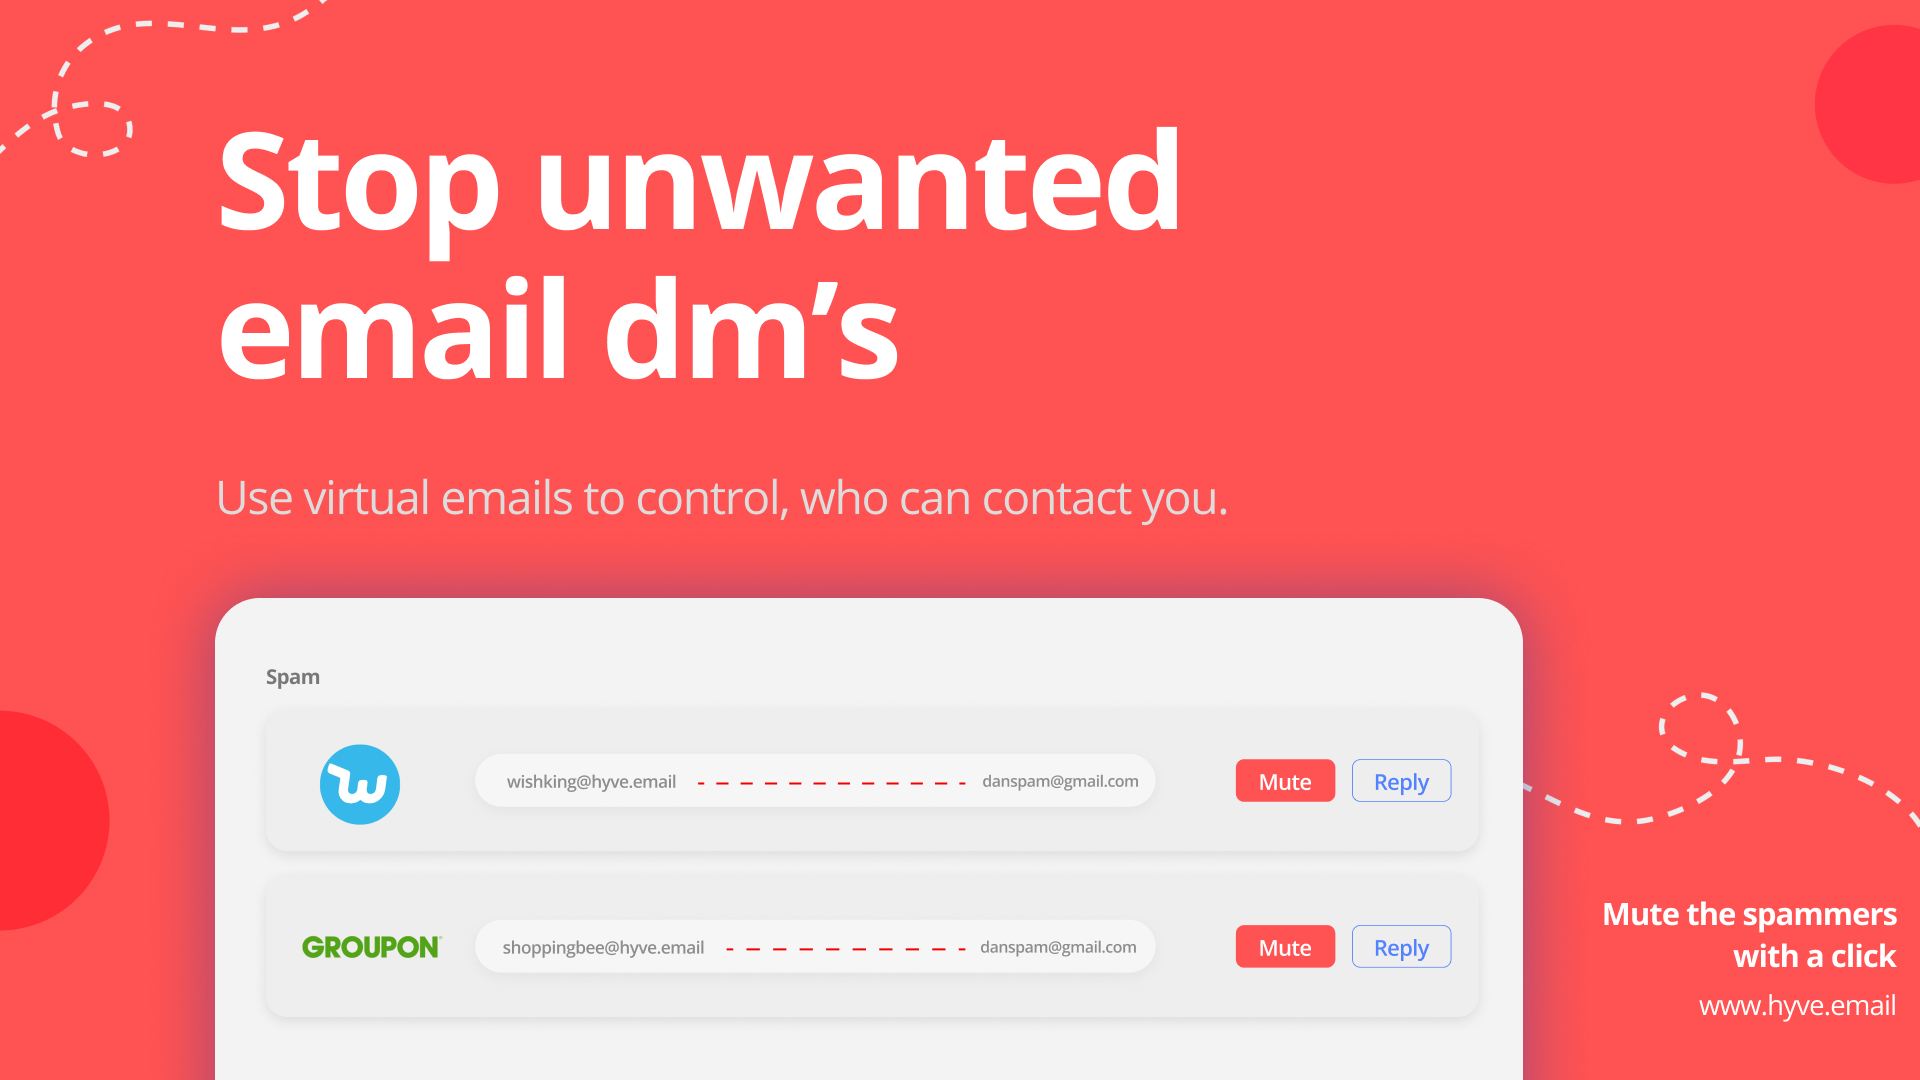
Any email sent to one of your Hyve email addresses gets sent to your real email address. Hyve is a true double-blind system, which means that you can also use a Hyve email address to send mail that appears to come from your virtual email address.
If you want to keep communicating with someone via Hyve, you don’t have to do anything. If you need a temporary break from someone who’s linked to you via Hyve, you can mute them. And if you need to never, ever again hear from someone connected to you via Hyve, just delete the virtual email address. You’ll never hear from them again, and they’ll won’t be able to reach you.
Despite the fact that Hyve came into being over a three-day trip on a bus taking a zig-zag route through the southeast U.S., we have a working product that we’d love to have you try out! Come to our site, Hyve.email, and sign up for the cure to spam and other email bad actors.