
I’m now the proud owner of an Adafruit PyGamer game console! It’s an open-source handheld game player that you can program using MakeCode Arcade, CircuitPython, or Arduino.
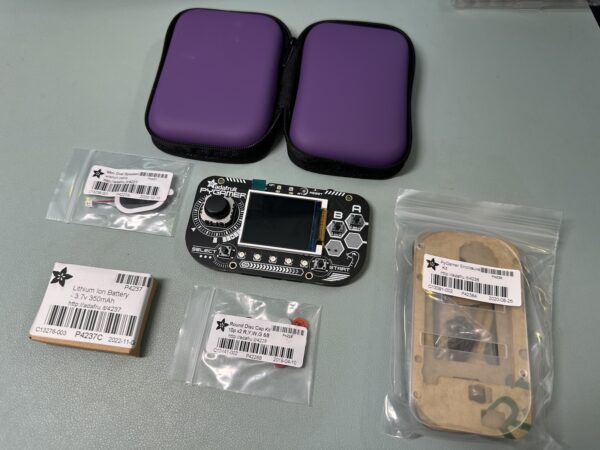
I’d been meaning to get one for some time. There was a deal on them last weekend, so I placed an order for the PyGamer Starter Kit, which included all the goodies pictured above.
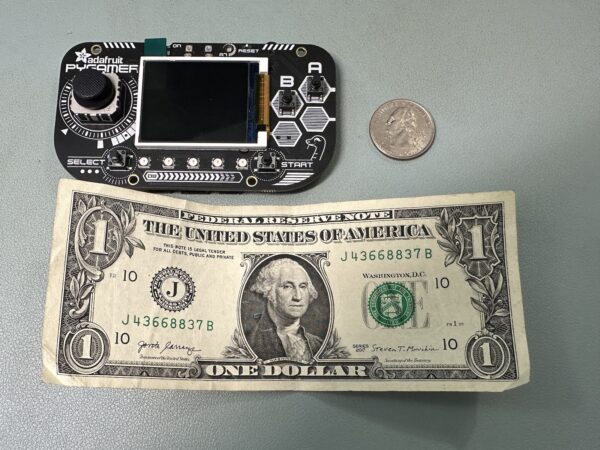
The PyGamer is a cute little unit that doesn’t take up very much space, as the photo below (shown beside a U.S. dollar bill and quarter for scale) shows:
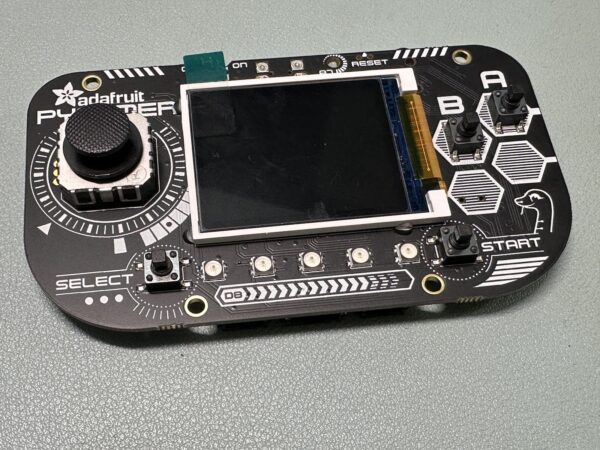
Here’s a close-up photo of the front of the circuit board. That’s an analog joystick on the left, the screen in the middle, the “A” and “B” buttons on the right, and the “Select” and “Start” buttons along the bottom, with a row of five LED lights between them:

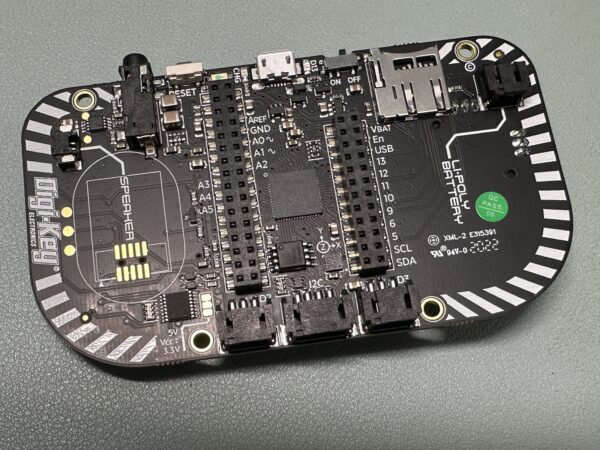
Here’s the back of the circuit board. The most prominent features are the processor (the square thing in the center of the board), the two sockets to either side of the processor, which allow you to connect the unit to FeatherWing daughterboards for all sorts of hardware projects, and the three STEMMA connectors at the bottom, which make it easy to connect the unit to all sorts of sensors and devices:
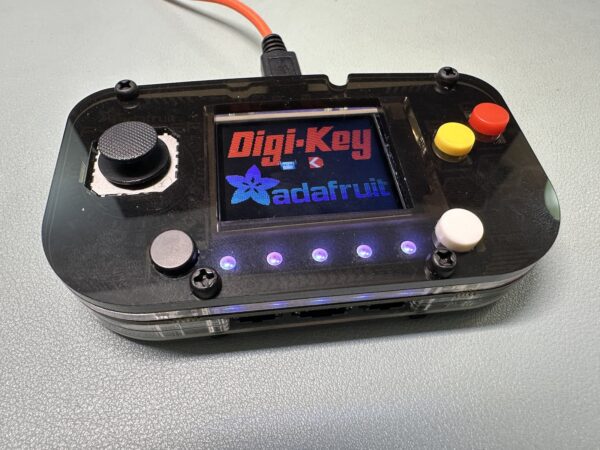
The Starter Kit comes with pre-cut acrylic pieces that form a protective shell for the unit, plastic caps for the buttons, a speaker for game sounds, a rechargeable battery, and a carrying case. Here’s what the PyGamer looks like with the enclosure assembled:
What are its specs?
At the heart of the PyGamer is the ATSAMD51, a microcontroller built on the ARM Cortex M4 processor, which is used as the basis for a lot of chips for small devices or embedded controllers. Released in 2018, the ATSAMD51 is a 32-bit chip running at 120 MHz with 512K Flash memory and 192K of RAM. It’s not going to compete with a Raspberry Pi, but it’s more than enough for handheld retro-gaming.
The PyGamer board housing the processor provides these goodies:
- An additional 8 MB of Flash memory for files, which is meant for game assets: images, sounds, fonts, and other data.
- A MicroSD card slot for even more Flash memory.
- A backlit 160 by 128-pixel color TFT display.
- An analog thumb joystick, a scaled-down version of the ones you’ll find on PlayStation and Xbox controllers.
- 4 buttons — the classic “A,” “B,” “Start,” and “Select.”
- 5 Neopixel LEDs, whose colors can be individually controlled. These can be used for additional feedback, such as showing the user how many “lives” they have.
- A 3-axis accelerometer for sensing motion.
- A light sensor.
- A headphone jack as well as a speaker driver. The PyGamer Starter Kit includes a speaker that plugs into the driver for headphone-free sound.
How do you program it?
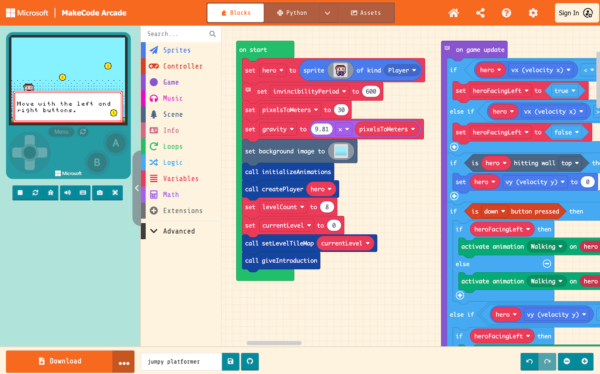
The easiest way to program it is via MakeCode Arcade, a friendly programming tool that allows you to create games using drag-and-drop blocks like Scratch. It also supports game programming in JavaScript or Python with its game libraries.
Want to get a little more hardcore with the programming? It’s also programmable in CircuitPython, a version of Python made specifically for microcontroller boards.

Want to get even more hardcore? You can also program it in Arduino’s programming language, which is a mutant of C++.
Why did I get this thing?

For fun, of course — but also for sharpening my programming and hardware skills while having fun! In today’s world of laptops, virtual machines, and a zillion abstractions that distance programmers from their systems’ “bare metal,” having a low-level understanding of computers is an increasingly rare skill. As always, I’m trying to set myself apart.
I’ll also use it in an upcoming video series on programming — watch this space in 2024 for more!
