 Since getting my Raspberry Pi 4 as part of the cybersecurity course I took last summer, I haven’t done any work with my older Raspberry Pi 3, which is still a decent computer, especially considering its size and price.
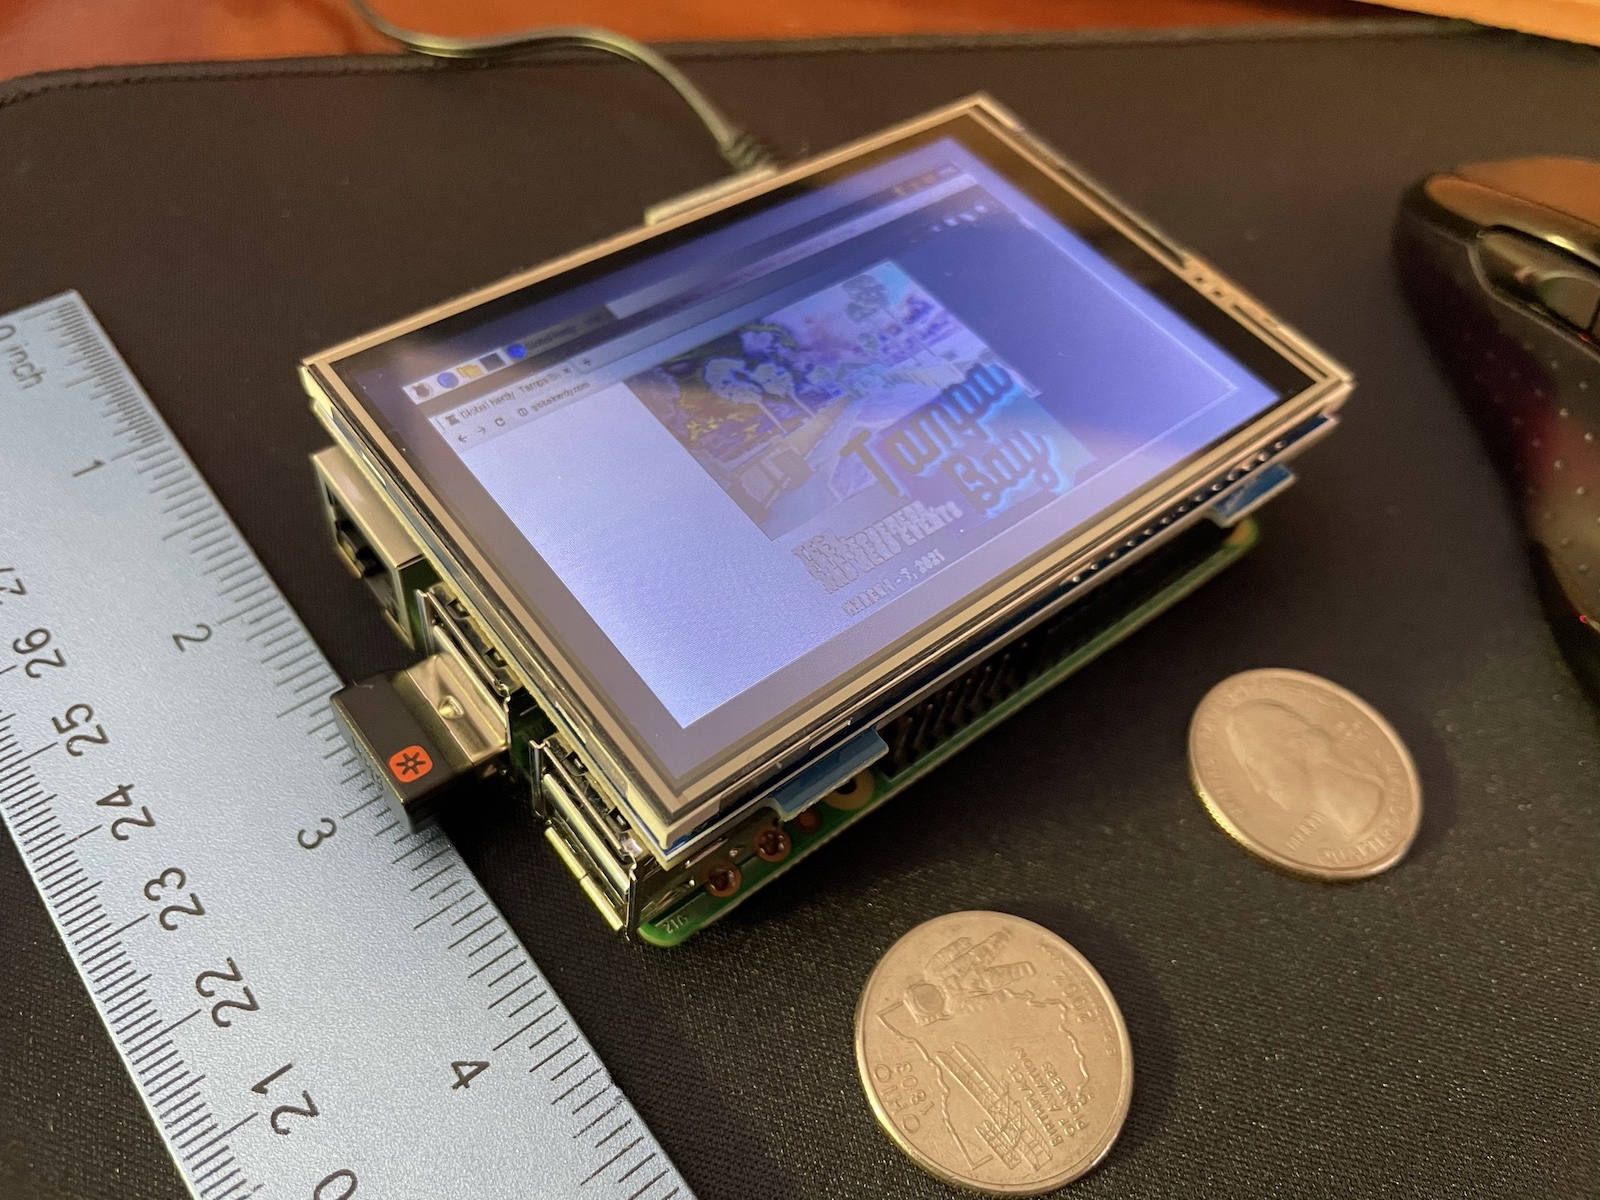
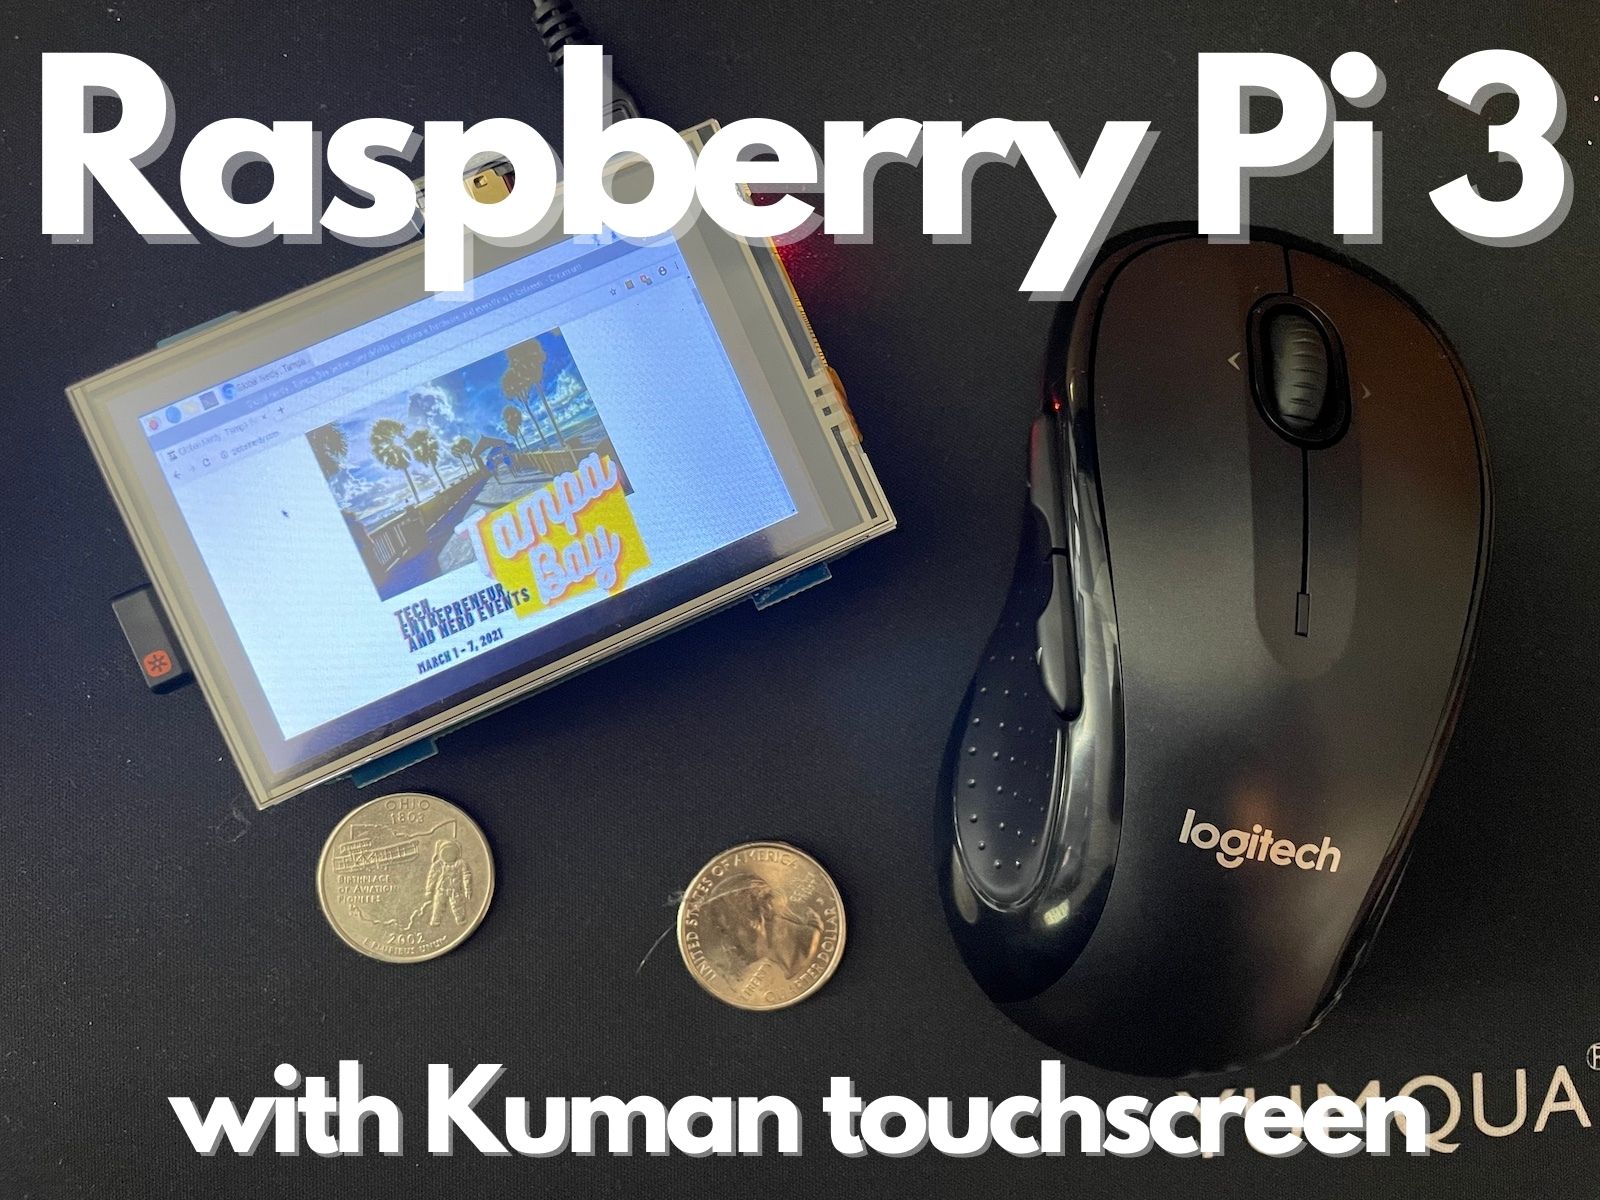
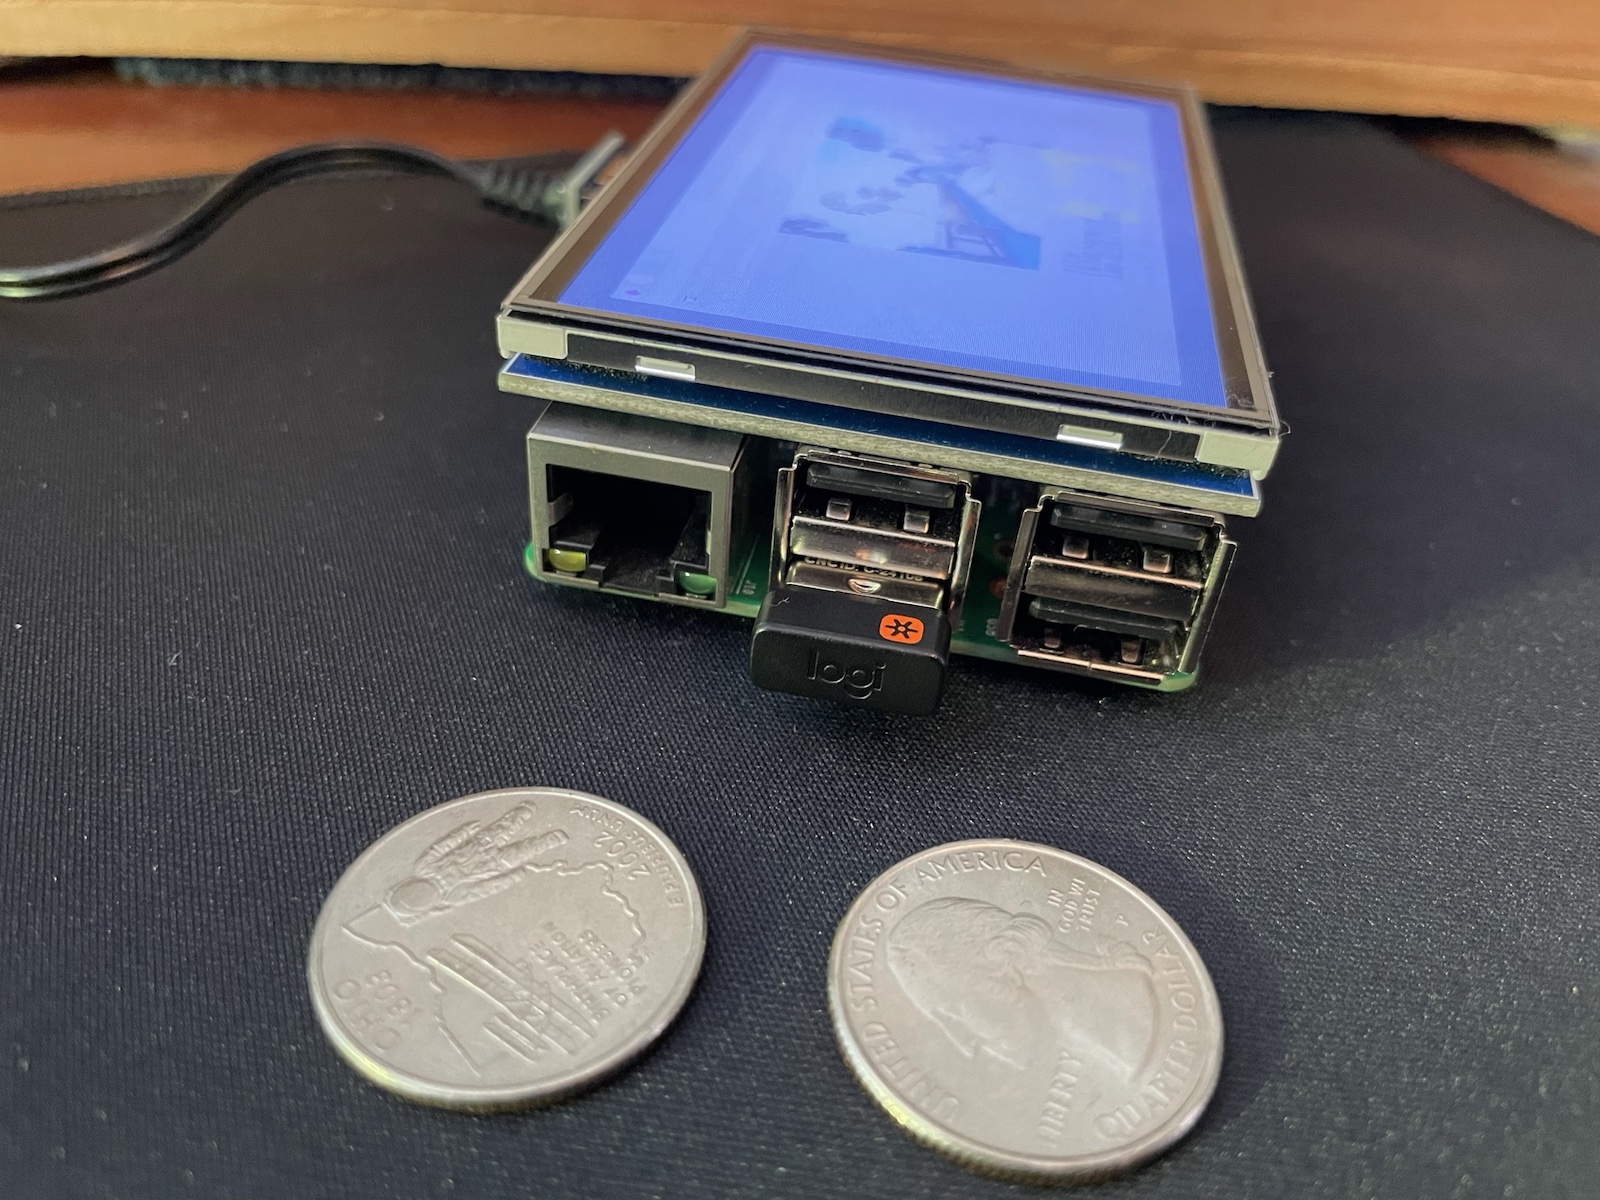
That all changed when I finally unboxed my Kuman 3.5″ LCD display, (a steal at $20) which my in-laws gave to me for Christmas (they went through my Amazon wishlist for gift ideas). They had no idea what it was, but figured I’d like it, which I do!
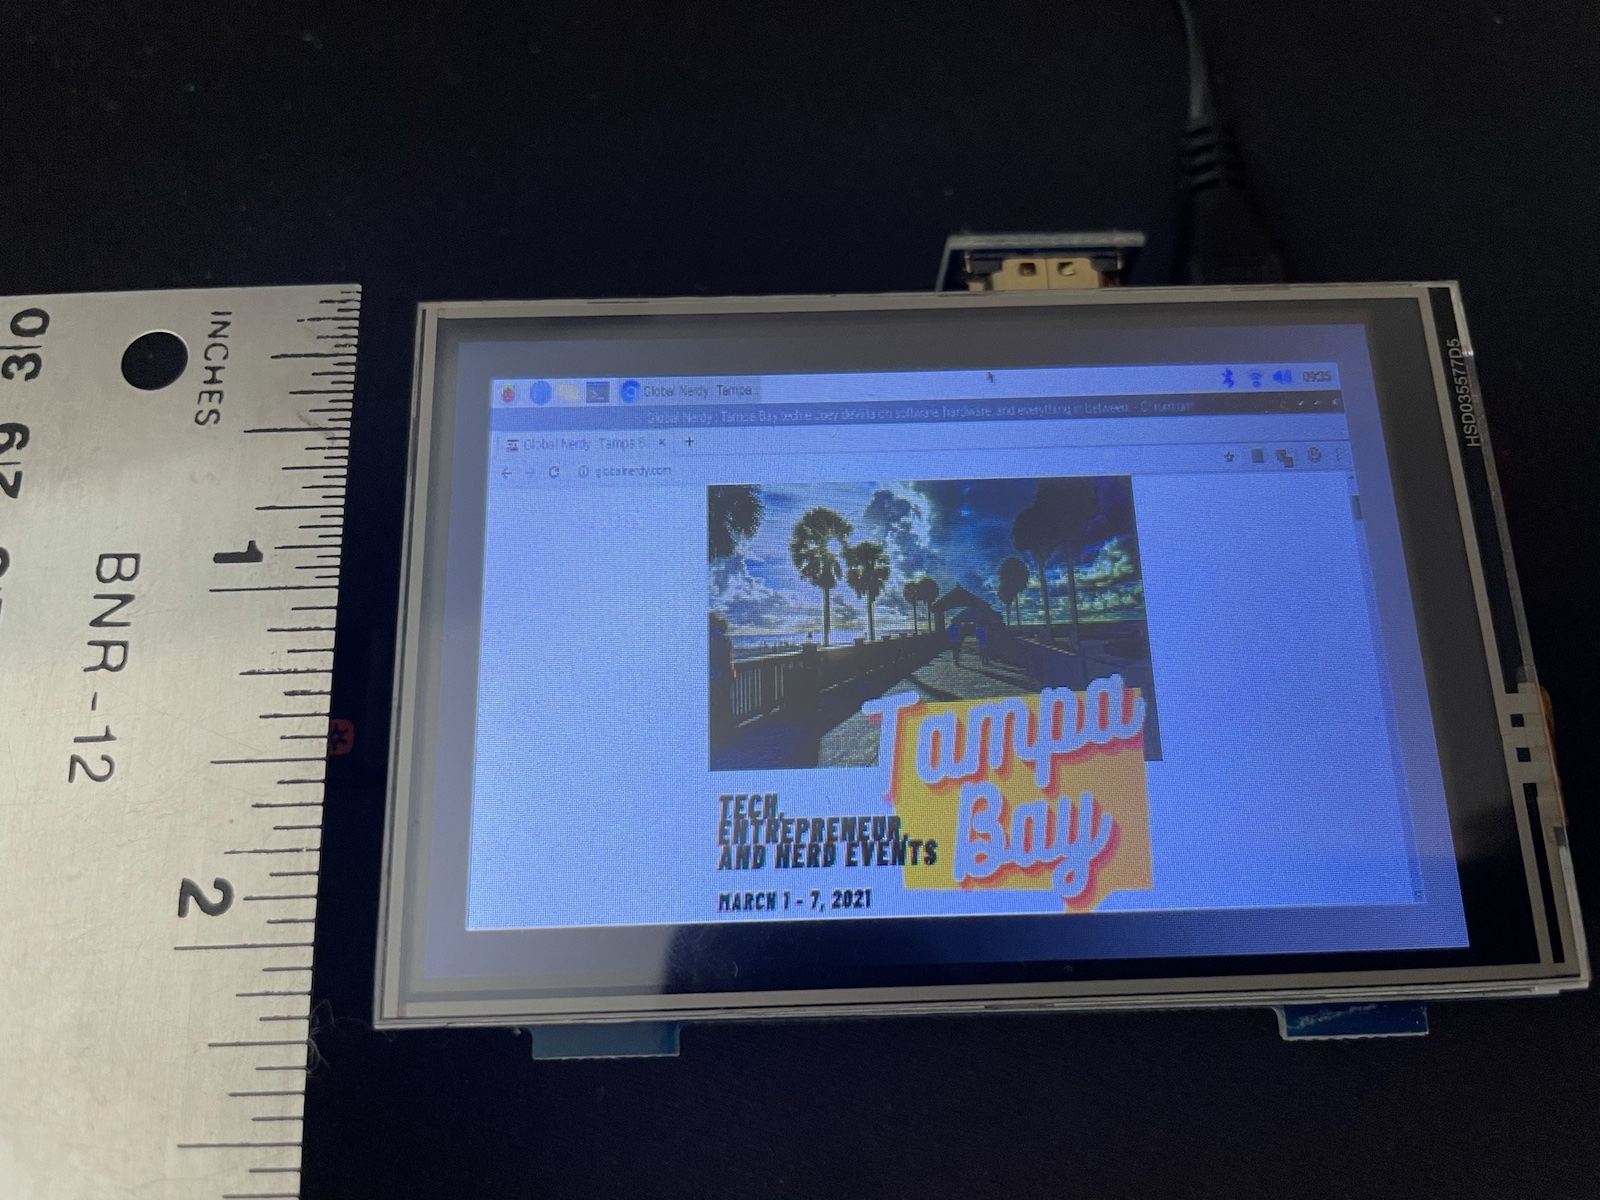
With a 3.5″ diagonal and 480 by 320 resolution, this screen isn’t meant for reading web pages or PDFs or writing code, documents, or spreadsheets. It’s meant to be a display for an IoT project that doesn’t need to display a lot of information, such as a weather app, smart thermostat, or even low-res videogames.
The screen’s not just an output device, but an input device as well, since it’s touch-sensitive. Once you’ve installed the driver, the Pi treats the screen as if it were another mouse, treating taps as mouse clicks, and the location of your tap as mouse coordinates.
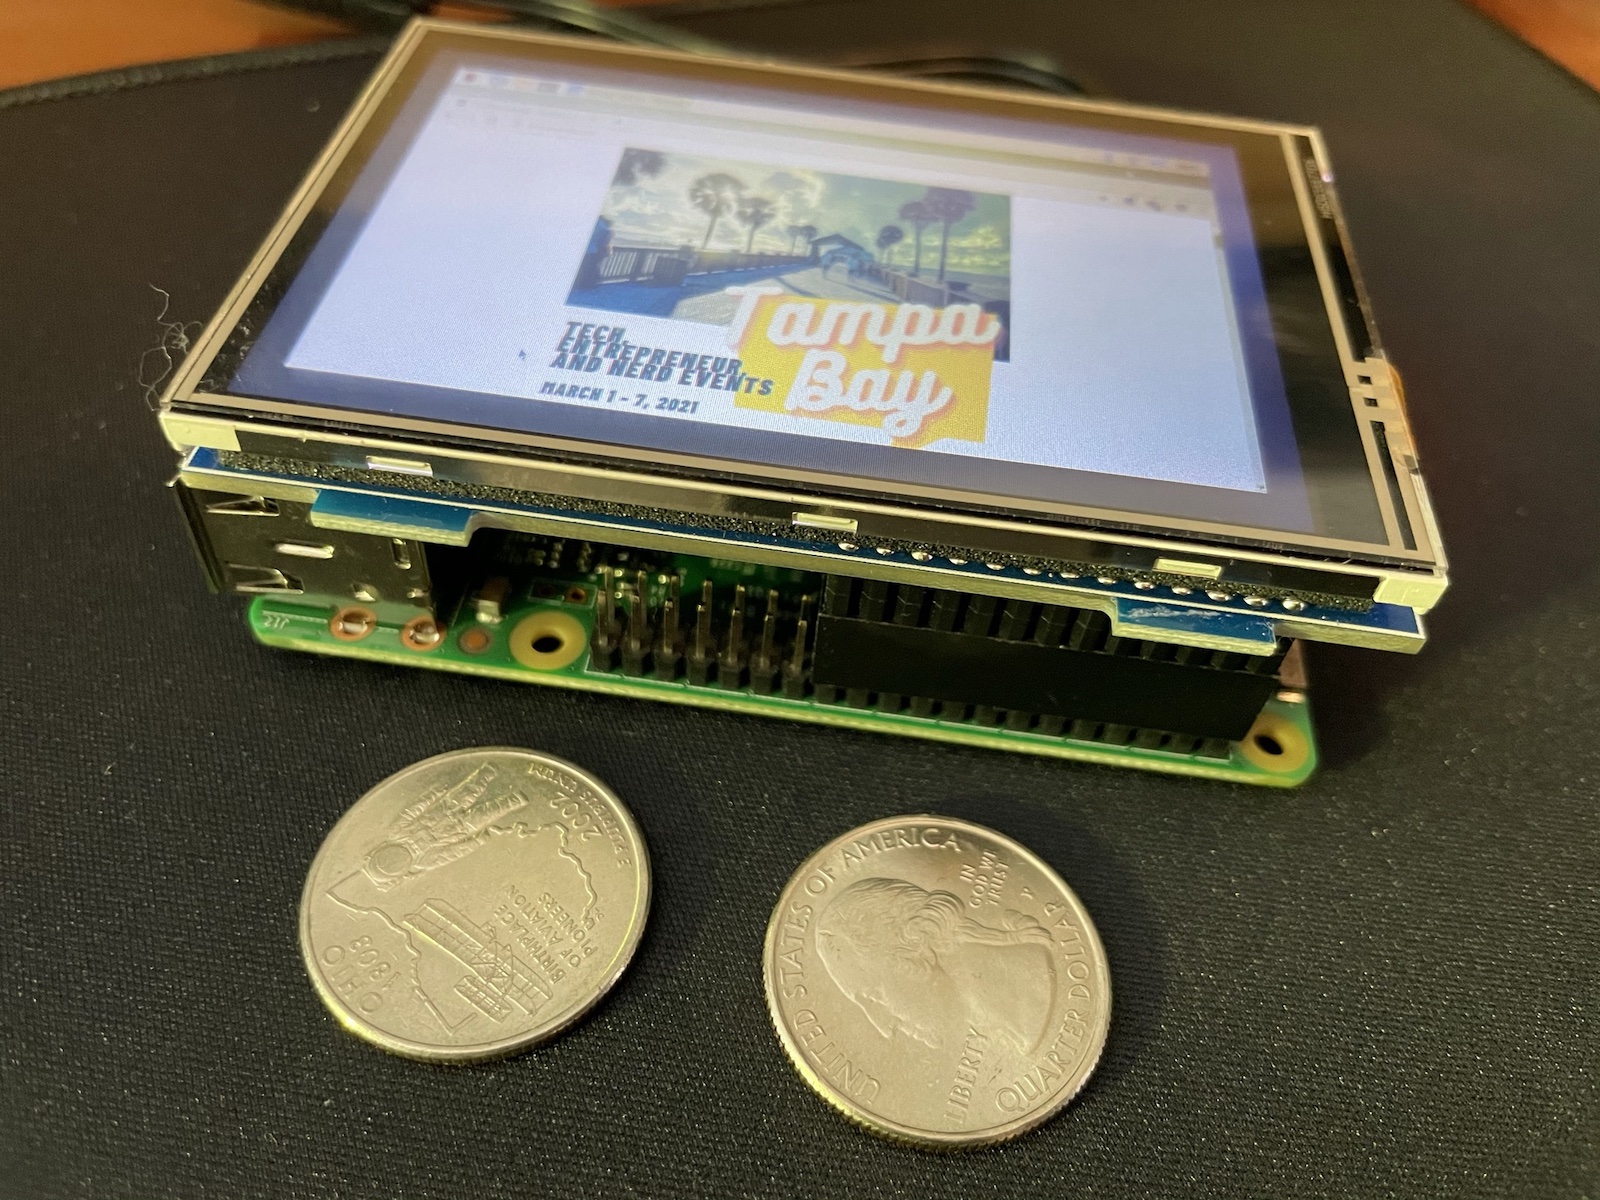
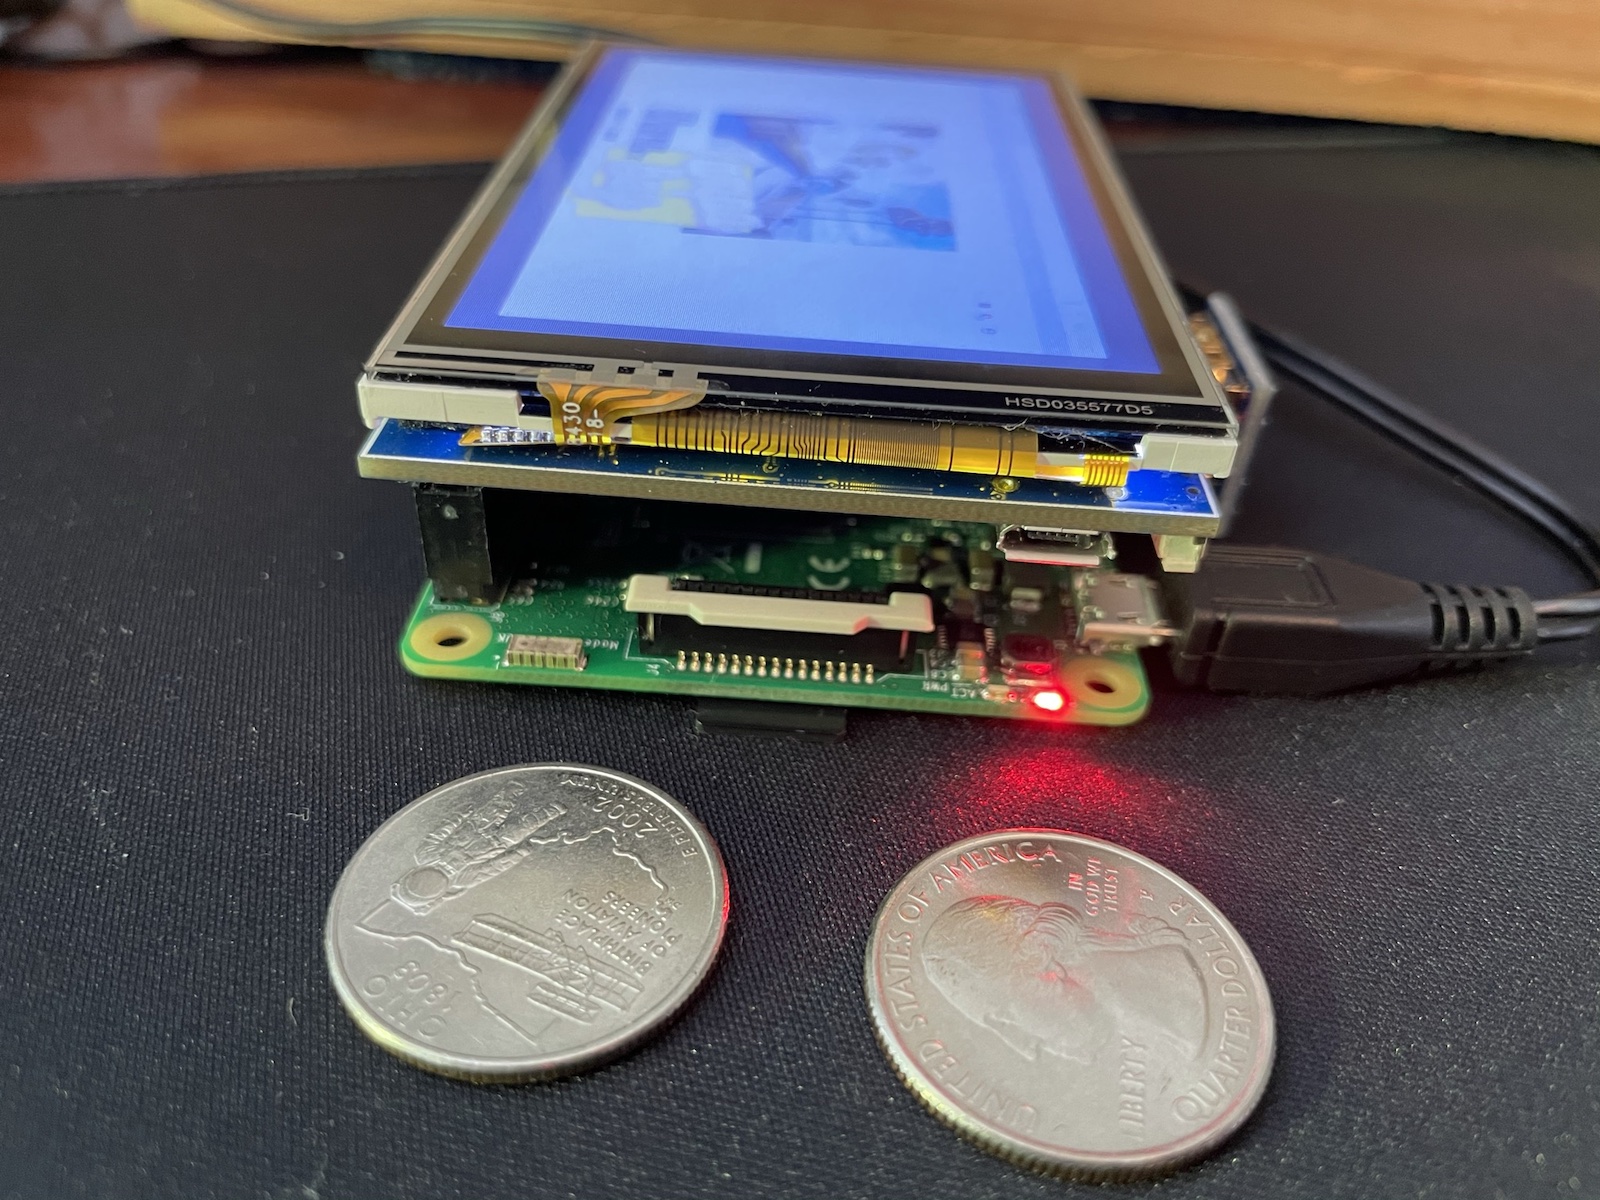
The screen plugs directly into the Pi’s GPIO (General Purpose Input/Output), a 40-pin connector located along the top edge of the board, which it uses for power. It’s also what physically holds the screen to the Raspberry Pi.
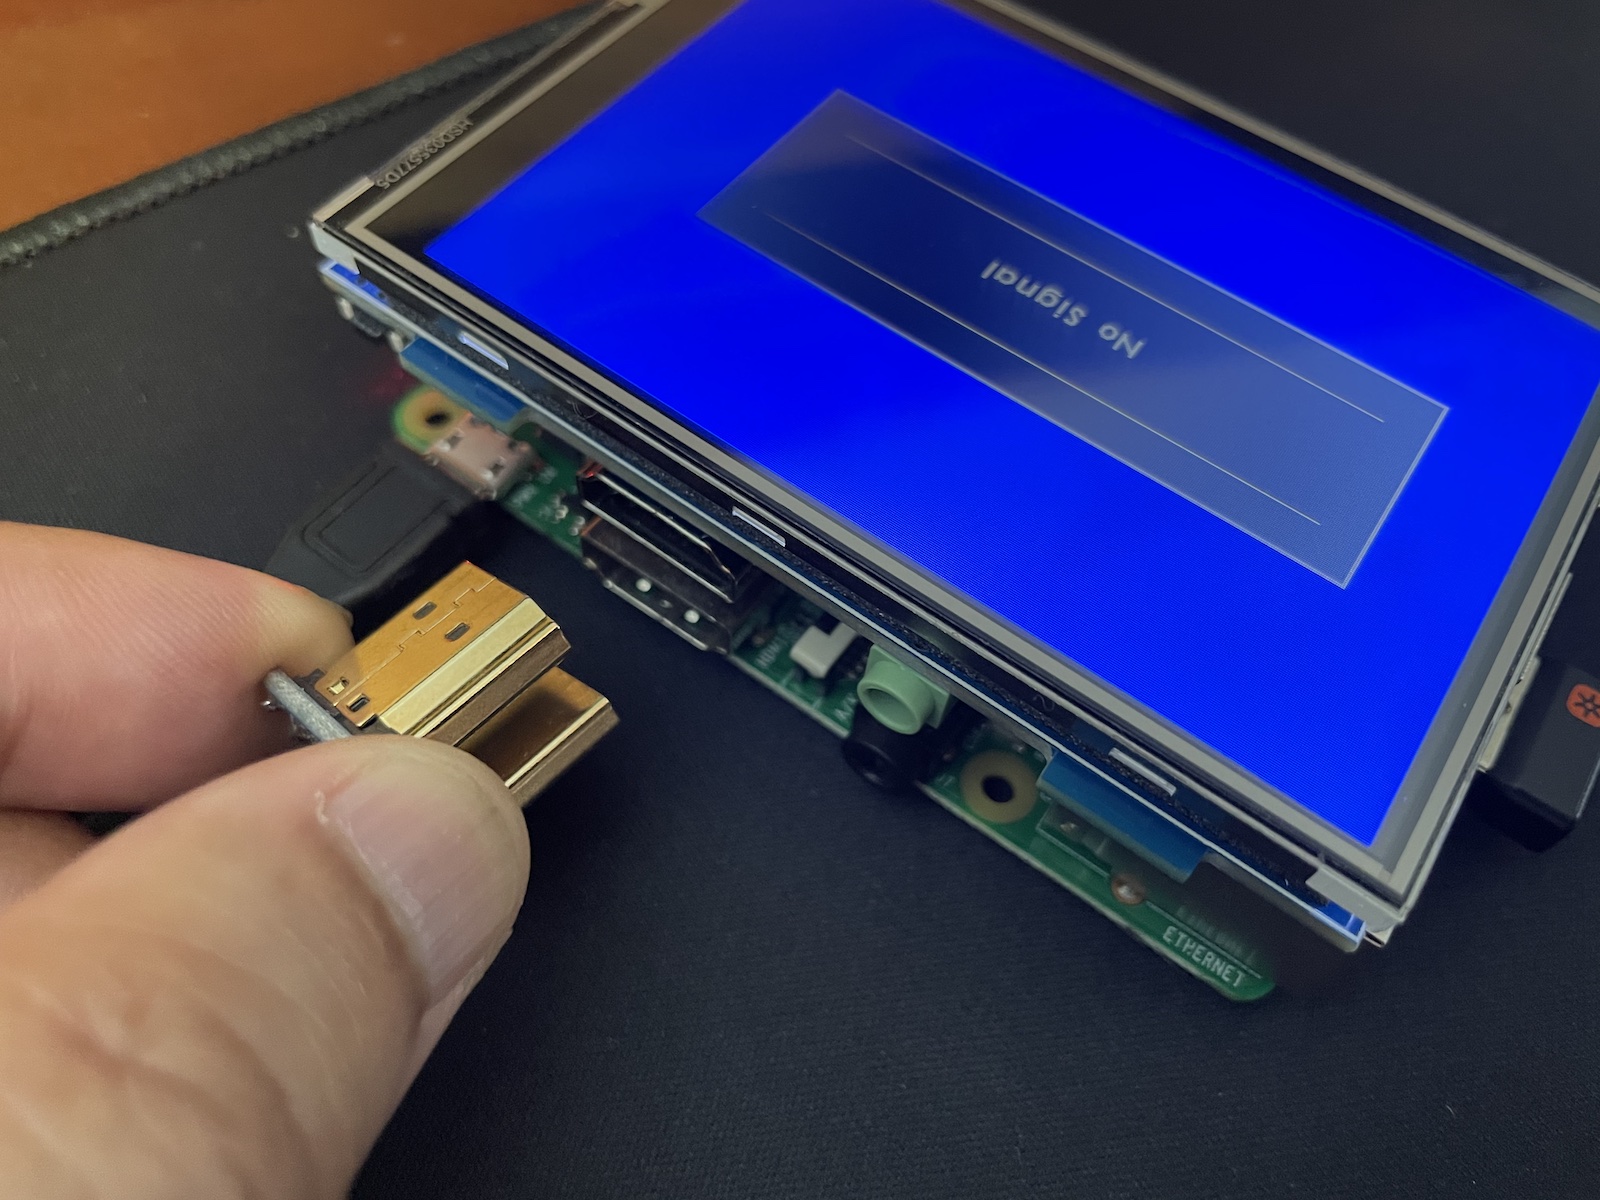
The video signal is fed to the screen through a U-shaped HDMI connector that connects the Raspberry Pi’s HDMI port to the screen’s HDMI port.
I’ll post the results of my noodling with this new Raspberry Pi/screen combo here on Global Nerdy. It should be interesting!